My Photography & Travel Guide to Singapore
Singapore is a gem, and for photographers, it is pure creative fuel. I have visited many times, and each trip reminds me why it remains one of my favorite cities in the world. It is compact, easy to navigate, and packed with visual variety. Three days is usually perfect. Long enough to explore deeply. Short enough to leave you wanting more.
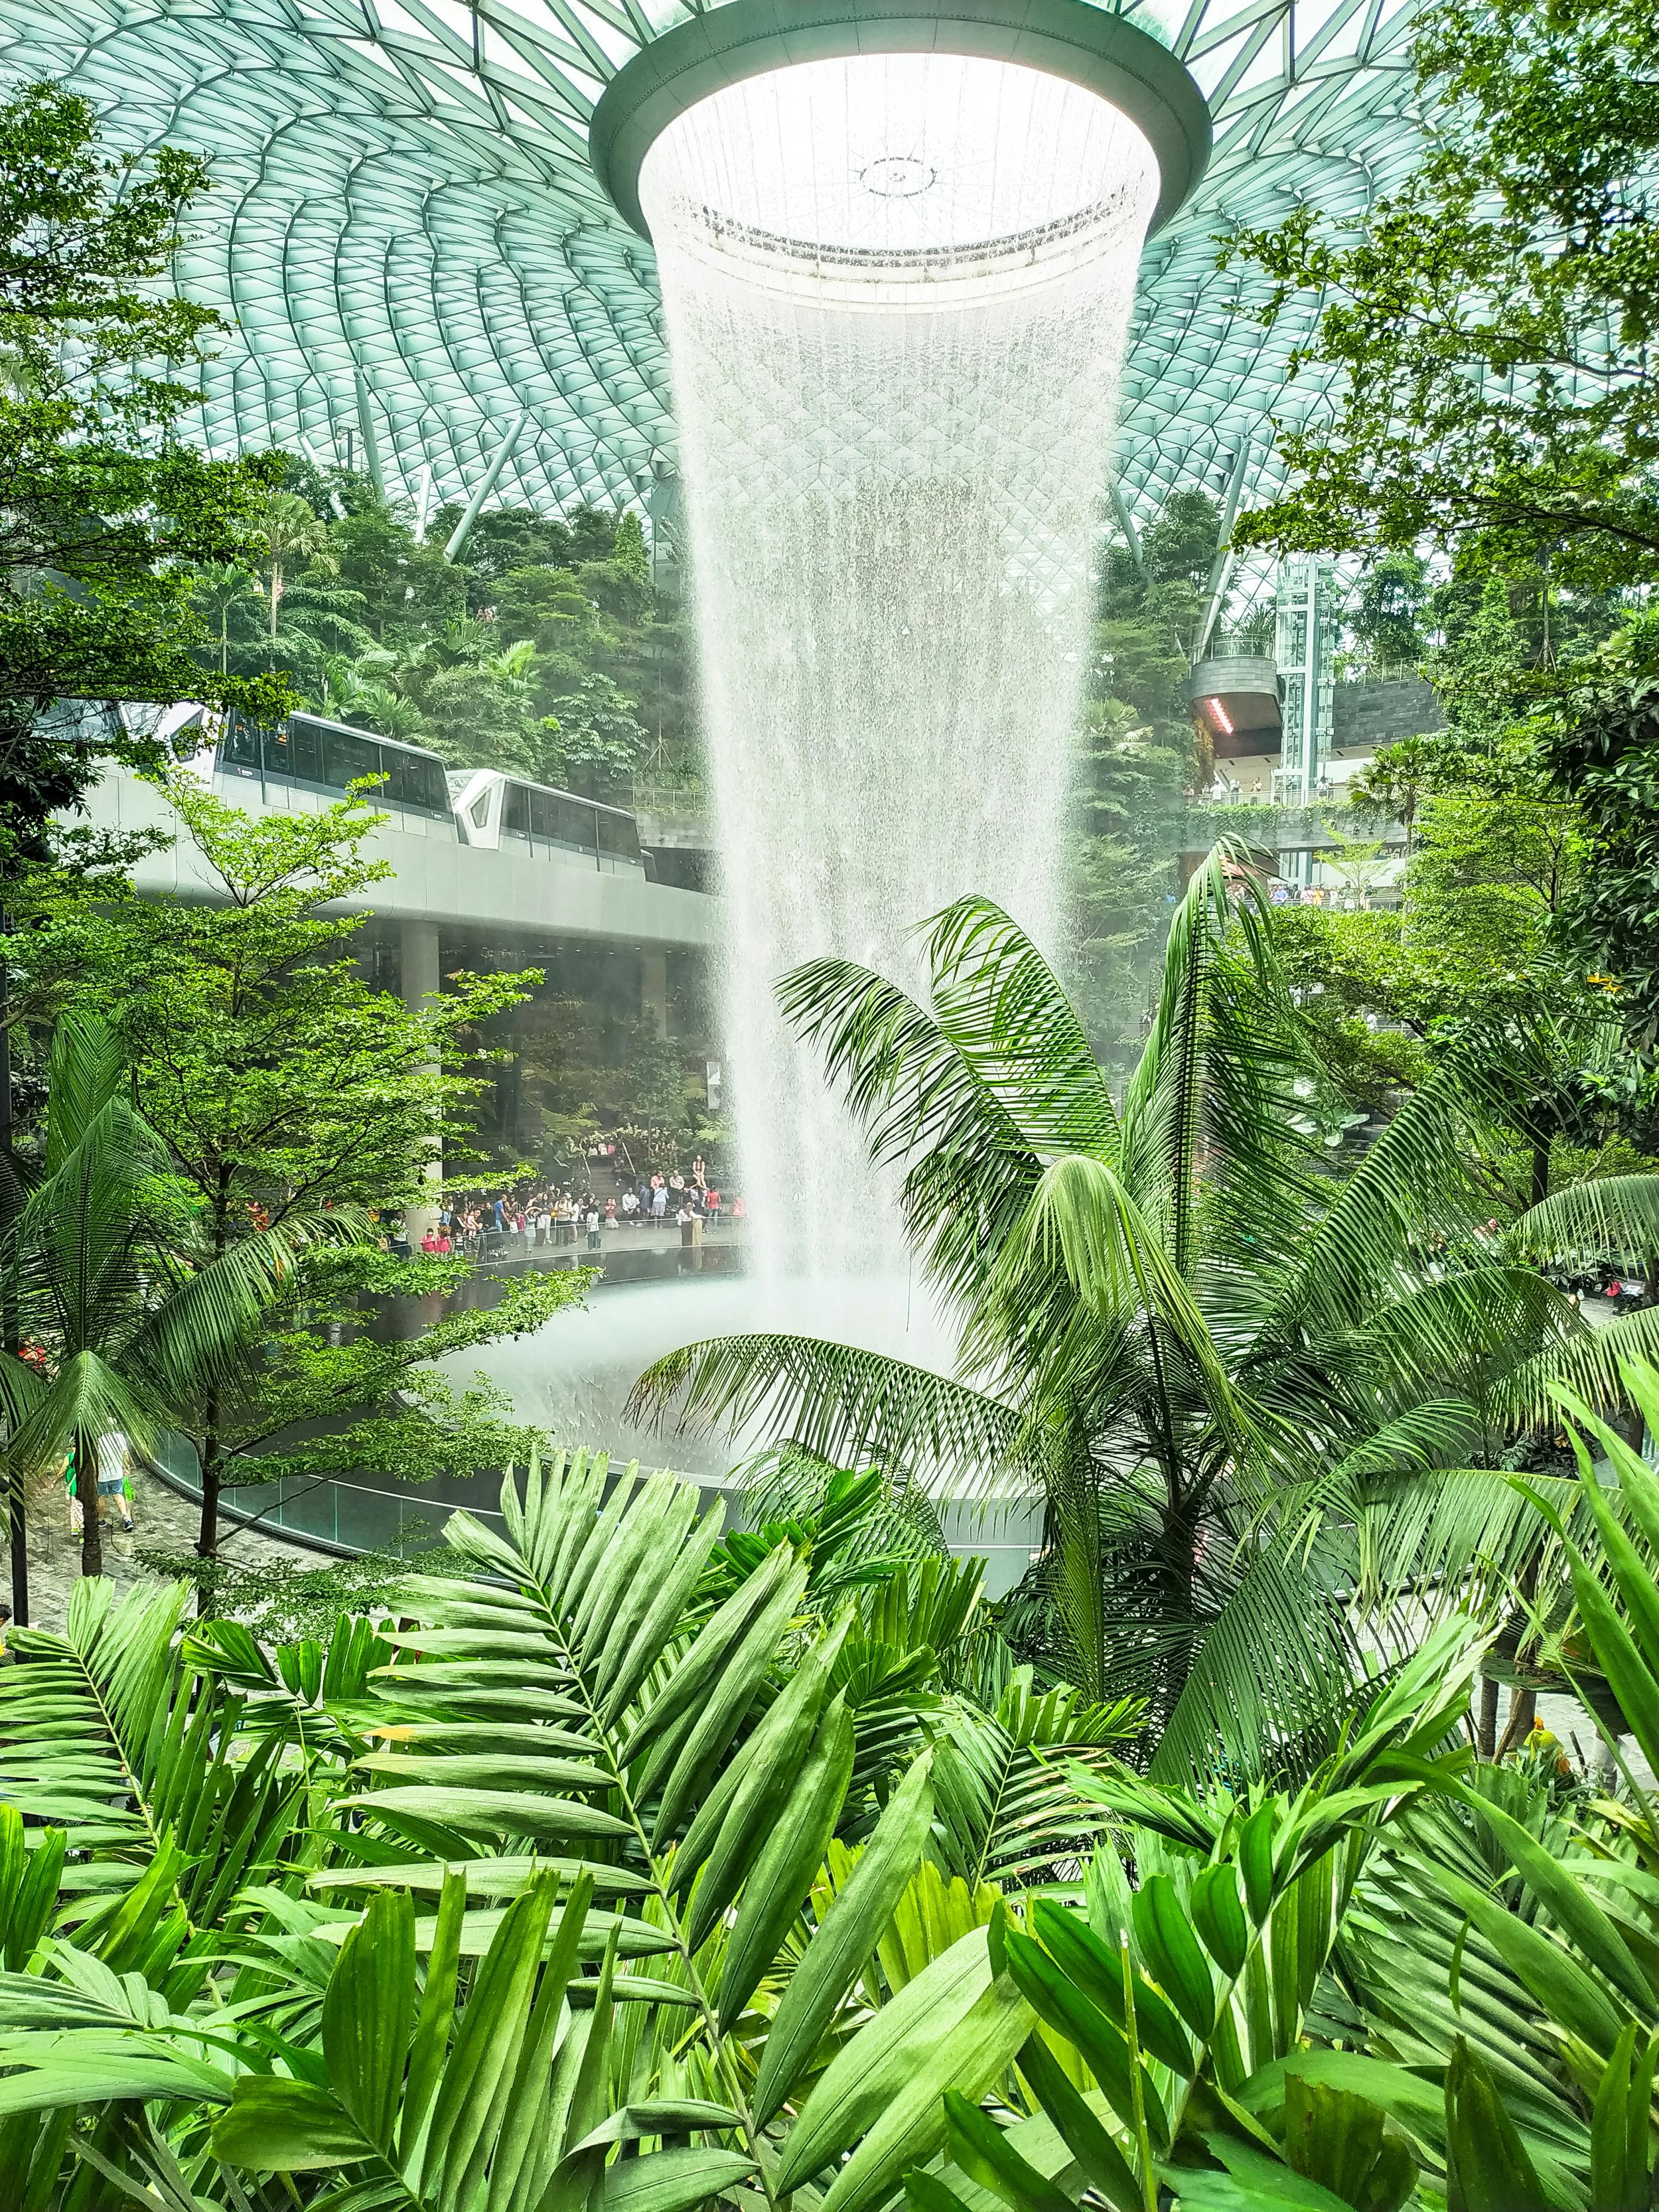
You feel it the moment you land at Jewel Changi Airport. The soaring glass dome, the lush indoor forest, and the dramatic Rain Vortex set the tone before you even step into the city. As you drive in, palm-lined boulevards and immaculate gardens frame a skyline that feels both futuristic and welcoming. Singapore may be known as Asia’s financial hub, but it is so much more than banking towers and boardrooms.
It is also one of the safest destinations in the world. You will notice it right away. Locals casually leave their phones on café tables. Streets are spotless. The city feels calm, organized, and refreshingly efficient, which allows you to focus fully on exploring and creating.
The cultural variety is extraordinary. Chinatown, Little India, Kampong Glam, and the Katong district all feel distinct from each other, all within thirty minutes of each other. Each one offers a completely different palette, a different energy, and a different kind of photograph. Add the colonial civic district, the green corridors of the Botanic Gardens, and the futuristic geometry of Marina Bay, and you have a city that can genuinely occupy you for days without repetition.
Singapore Airport
What makes Singapore exceptional for photographers is the range. You can photograph golden-domed mosques and neon-lit hawker centers in the morning, shoot the Supertrees at Gardens by the Bay during blue hour, and end the night with long exposures of the Marina Bay skyline reflecting off still water. You rarely have to travel far. The city is compact, well-organized, and designed to be walkable in ways that most major Asian capitals are not. It is also one of the safest cities in the world, which means you can move through neighborhoods at any hour without hesitation and focus entirely on the light.
In this Photography Guide to Singapore, I share the places and experiences that continue to draw me back. You will find my favorite photography locations, guidance on when and where to shoot, practical travel tips, and gear recommendations, along with cultural insights to help you explore and photograph Singapore with confidence, respect, and ease.

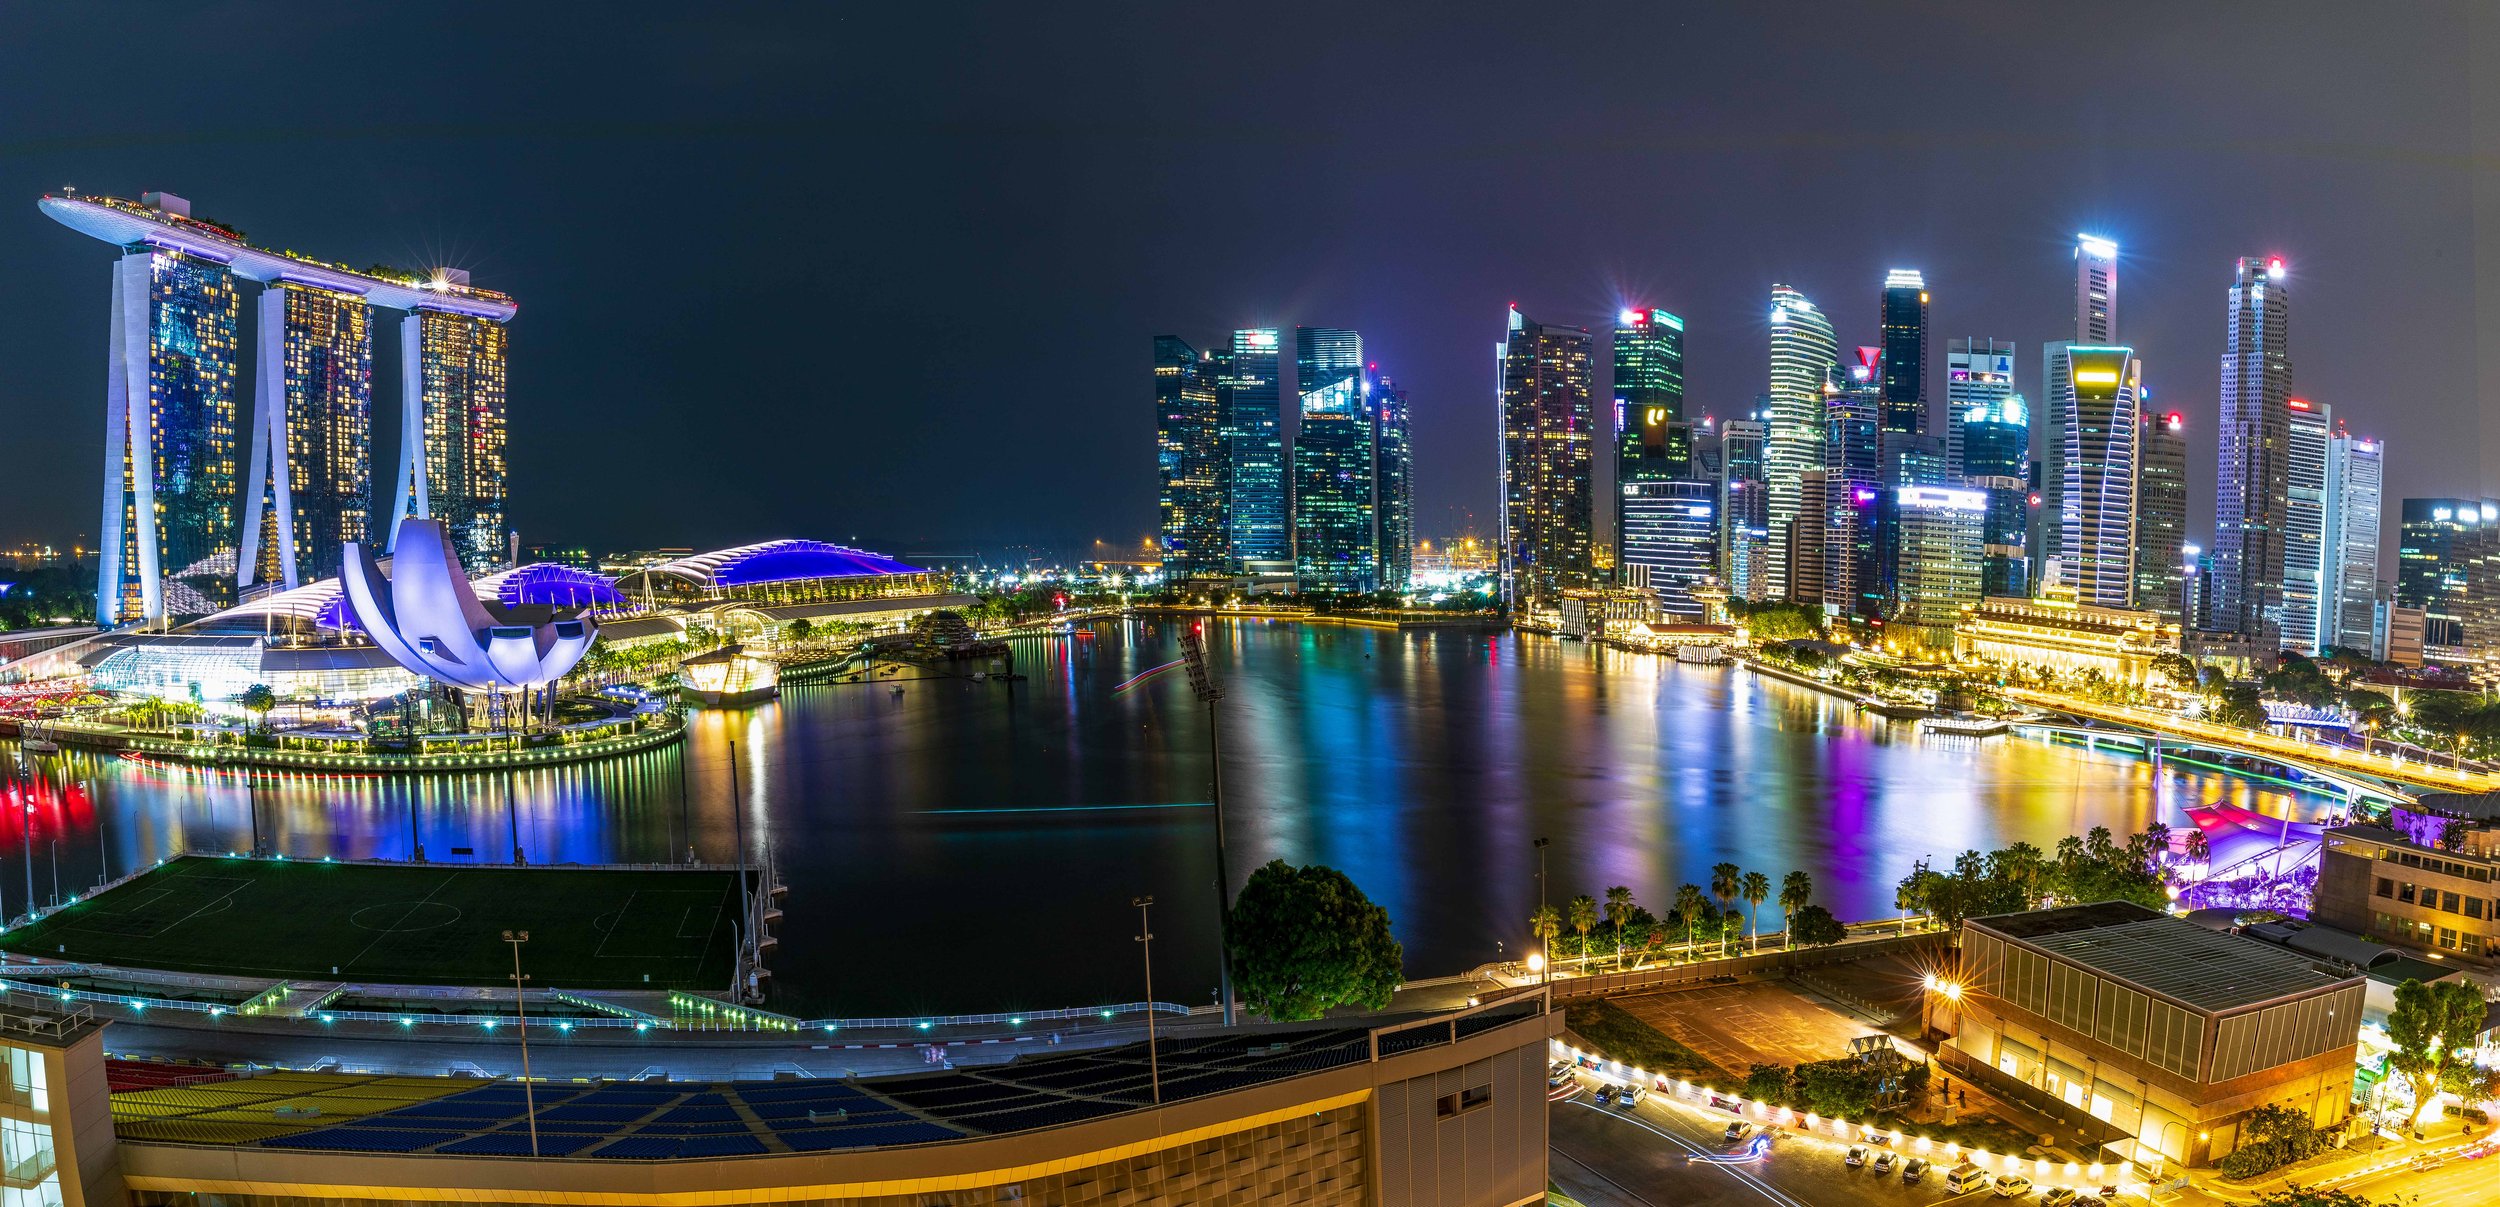
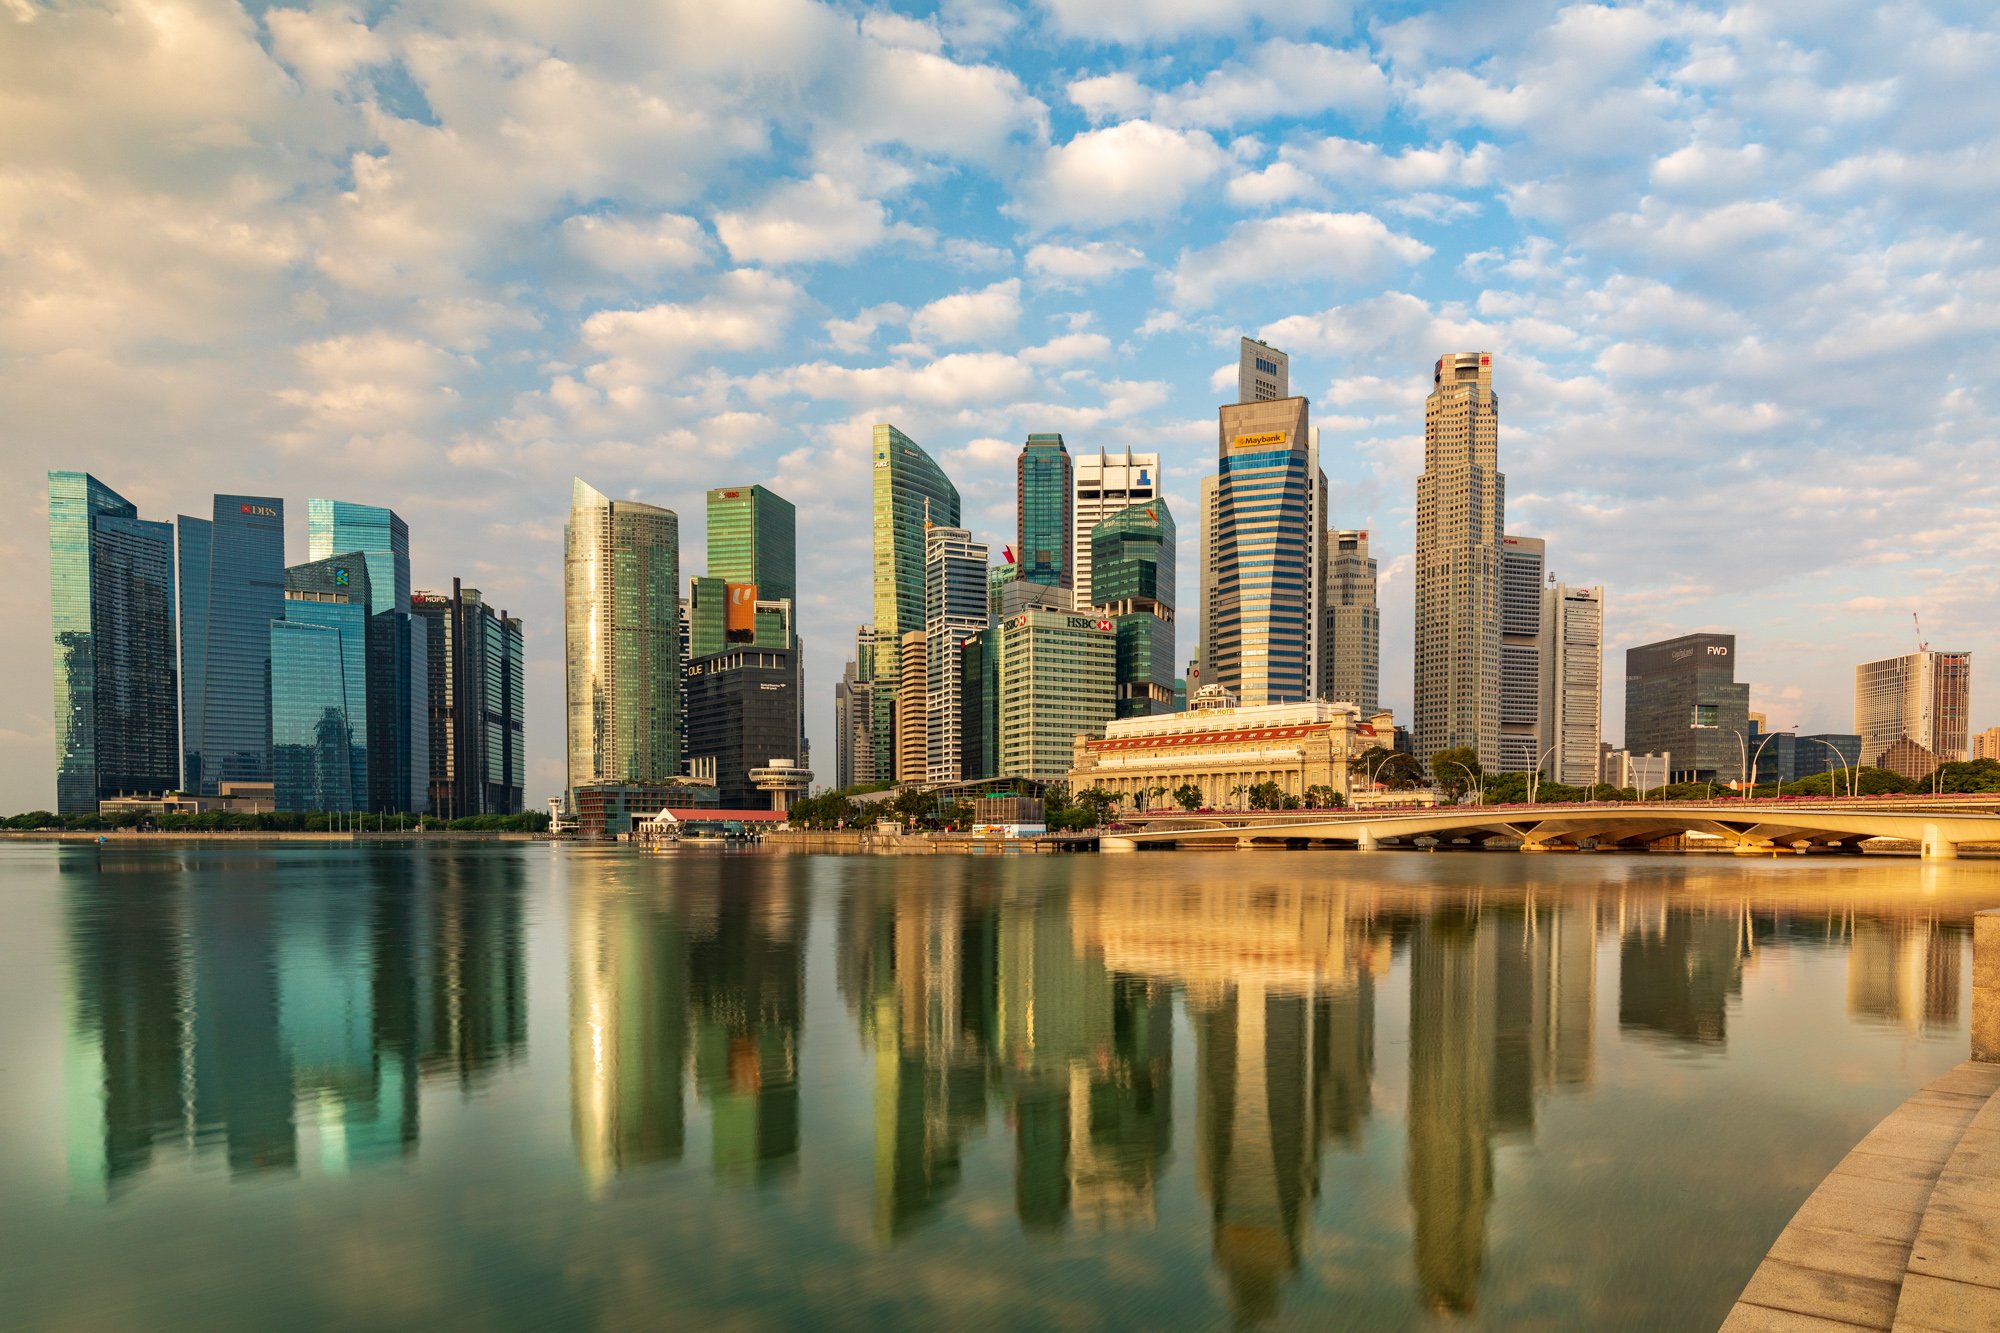
Marina Bay
Best Time to Visit
Singapore sits just above the equator, which means heat and humidity are constants. Temperatures hover between 80 and 90 degrees Fahrenheit year-round. You learn quickly that you cannot fight the climate, but you can plan around it.
For photography, February through April is the sweet spot. This is typically the drier period, with clearer skies and lower haze. Early mornings around Marina Bay are more comfortable, the light is cleaner, and the colors in the hawker centers and temples feel more saturated when the air is less thick.
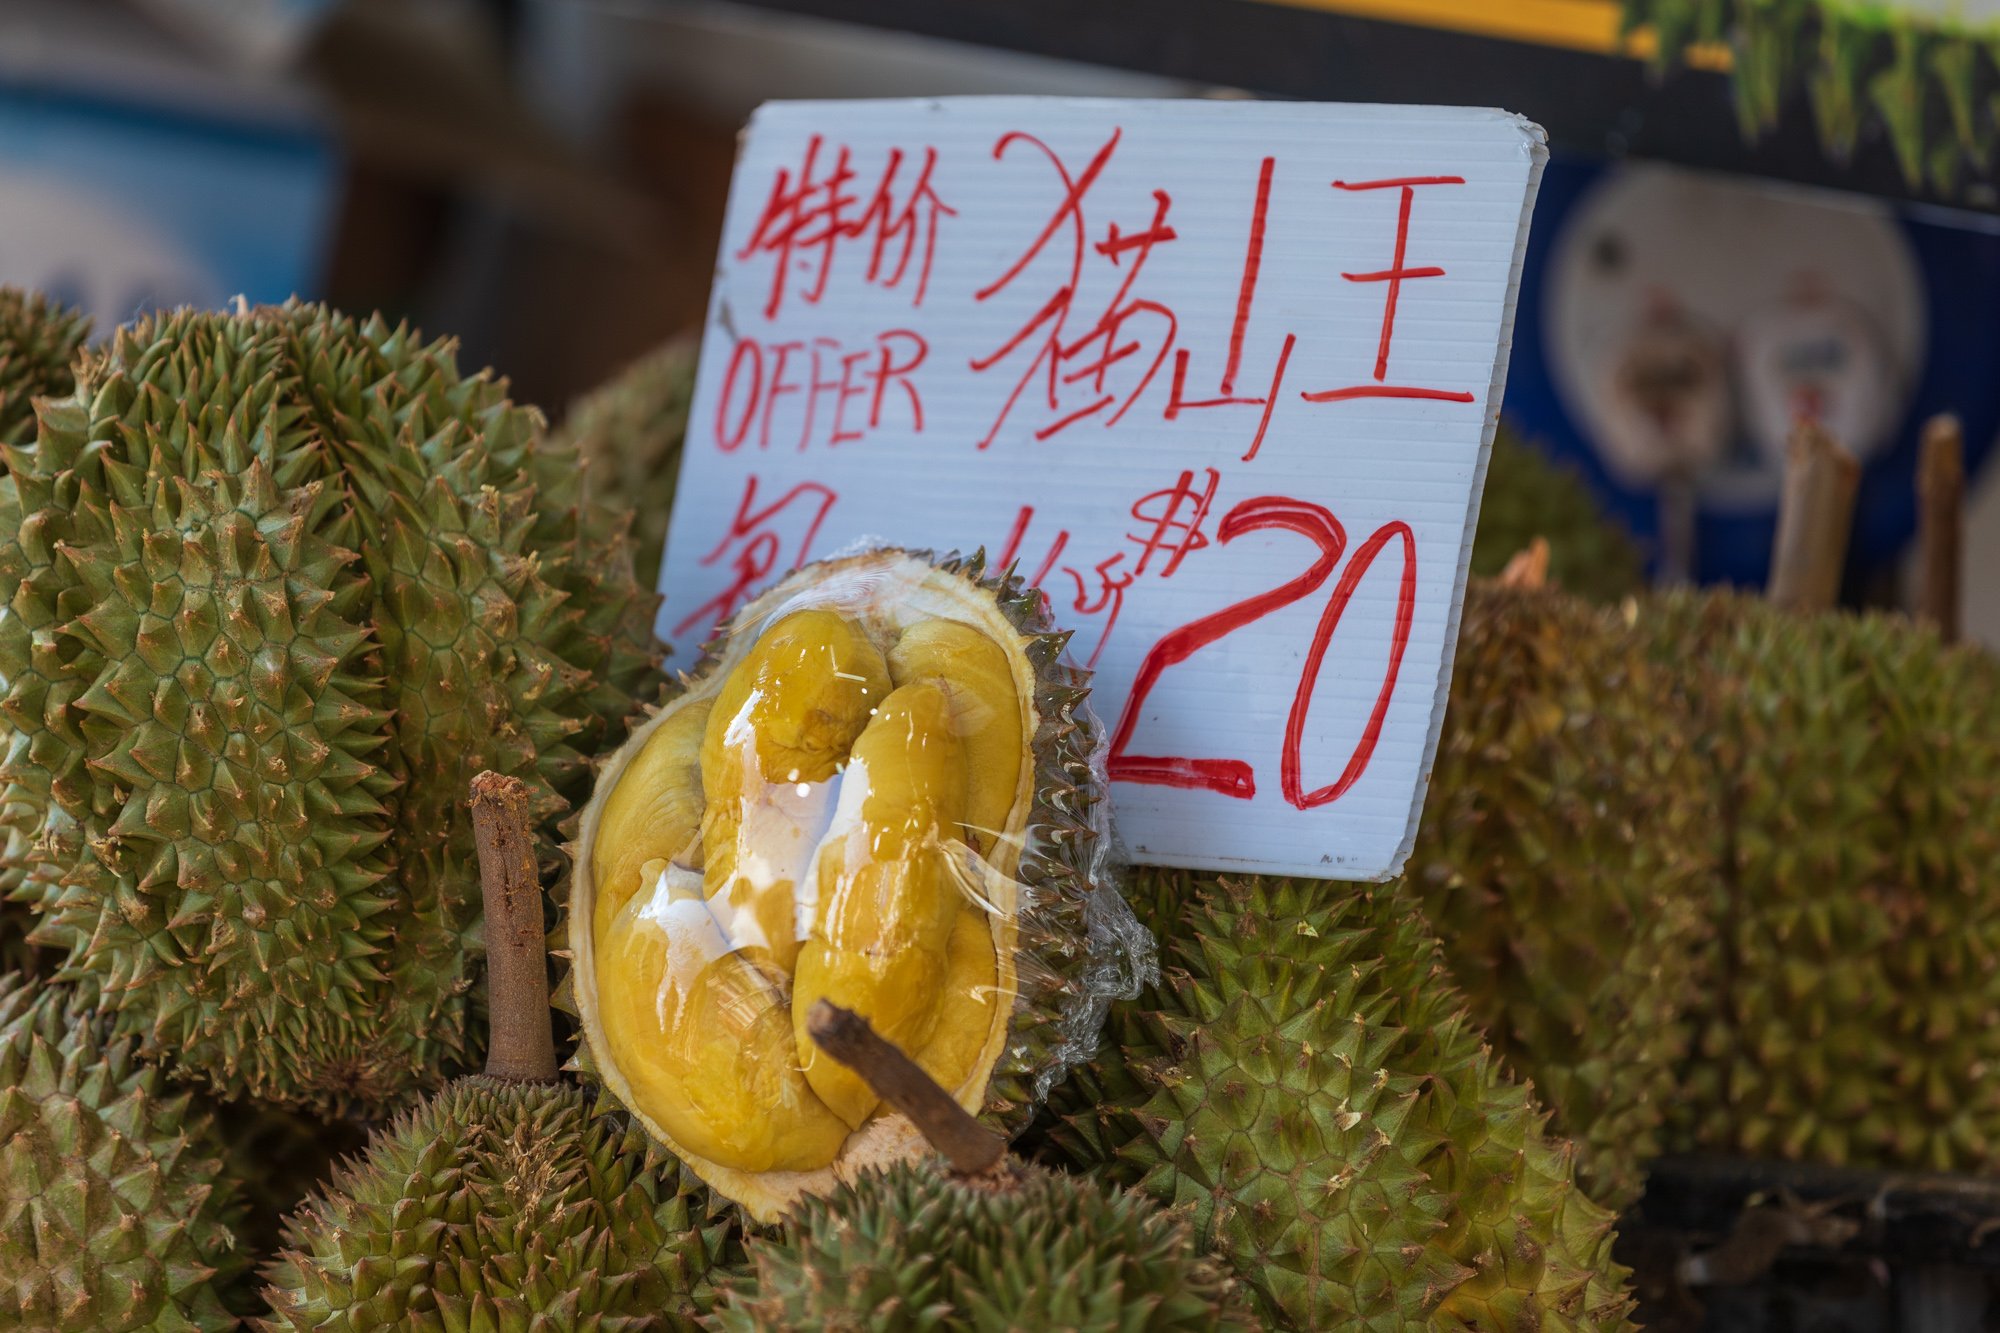
If you visit in late January or February, you may overlap with Chinese New Year in Chinatown. Lanterns are strung across the streets, lion dances happen in the mornings, and the energy is extraordinary. This is some of the best cultural photography in Southeast Asia.
August brings Singapore's National Day celebrations, centered on Marina Bay. Fireworks, aerial displays, and patriotic pageantry around the water create spectacular long-exposure opportunities.
Regardless of when you go, do not try to shoot in the middle of the day. The light is flat, the heat is intense, and the results will show it. Build your days around early morning golden hour and blue hour before and after sunset. Those are the windows that make Singapore look the way it does in the best photographs you have seen of it.

Where to Stay?
FLocation matters more in Singapore than almost any city I have photographed. You want to be able to walk out the door and already be in the scene. The two neighborhoods I return to are Marina Bay and Kampong Glam.
Marina Bay puts you in the heart of the skyline. Sunrise and blue hour are both within walking distance, and you can frame the Supertrees, the Helix Bridge, and the ArtScience Museum without getting in a cab. Kampong Glam offers something warmer and more layered: colorful shophouses, street art, the Sultan Mosque, and the narrow alleyways of Haji Lane. If you are doing multiple days and want variety, split your stay or choose a mid-point between the two.
Luxury Hotels
The Fullerton Bay Hotel Built directly over the water on Marina Bay, this is my first choice for photographers who want to maximize shooting time. Bay-view rooms give you unobstructed sightlines at sunrise and blue hour. Walk downstairs, and you are already in position. The rooftop bar, Lantern, is also a great location for after-dark skyline shots.
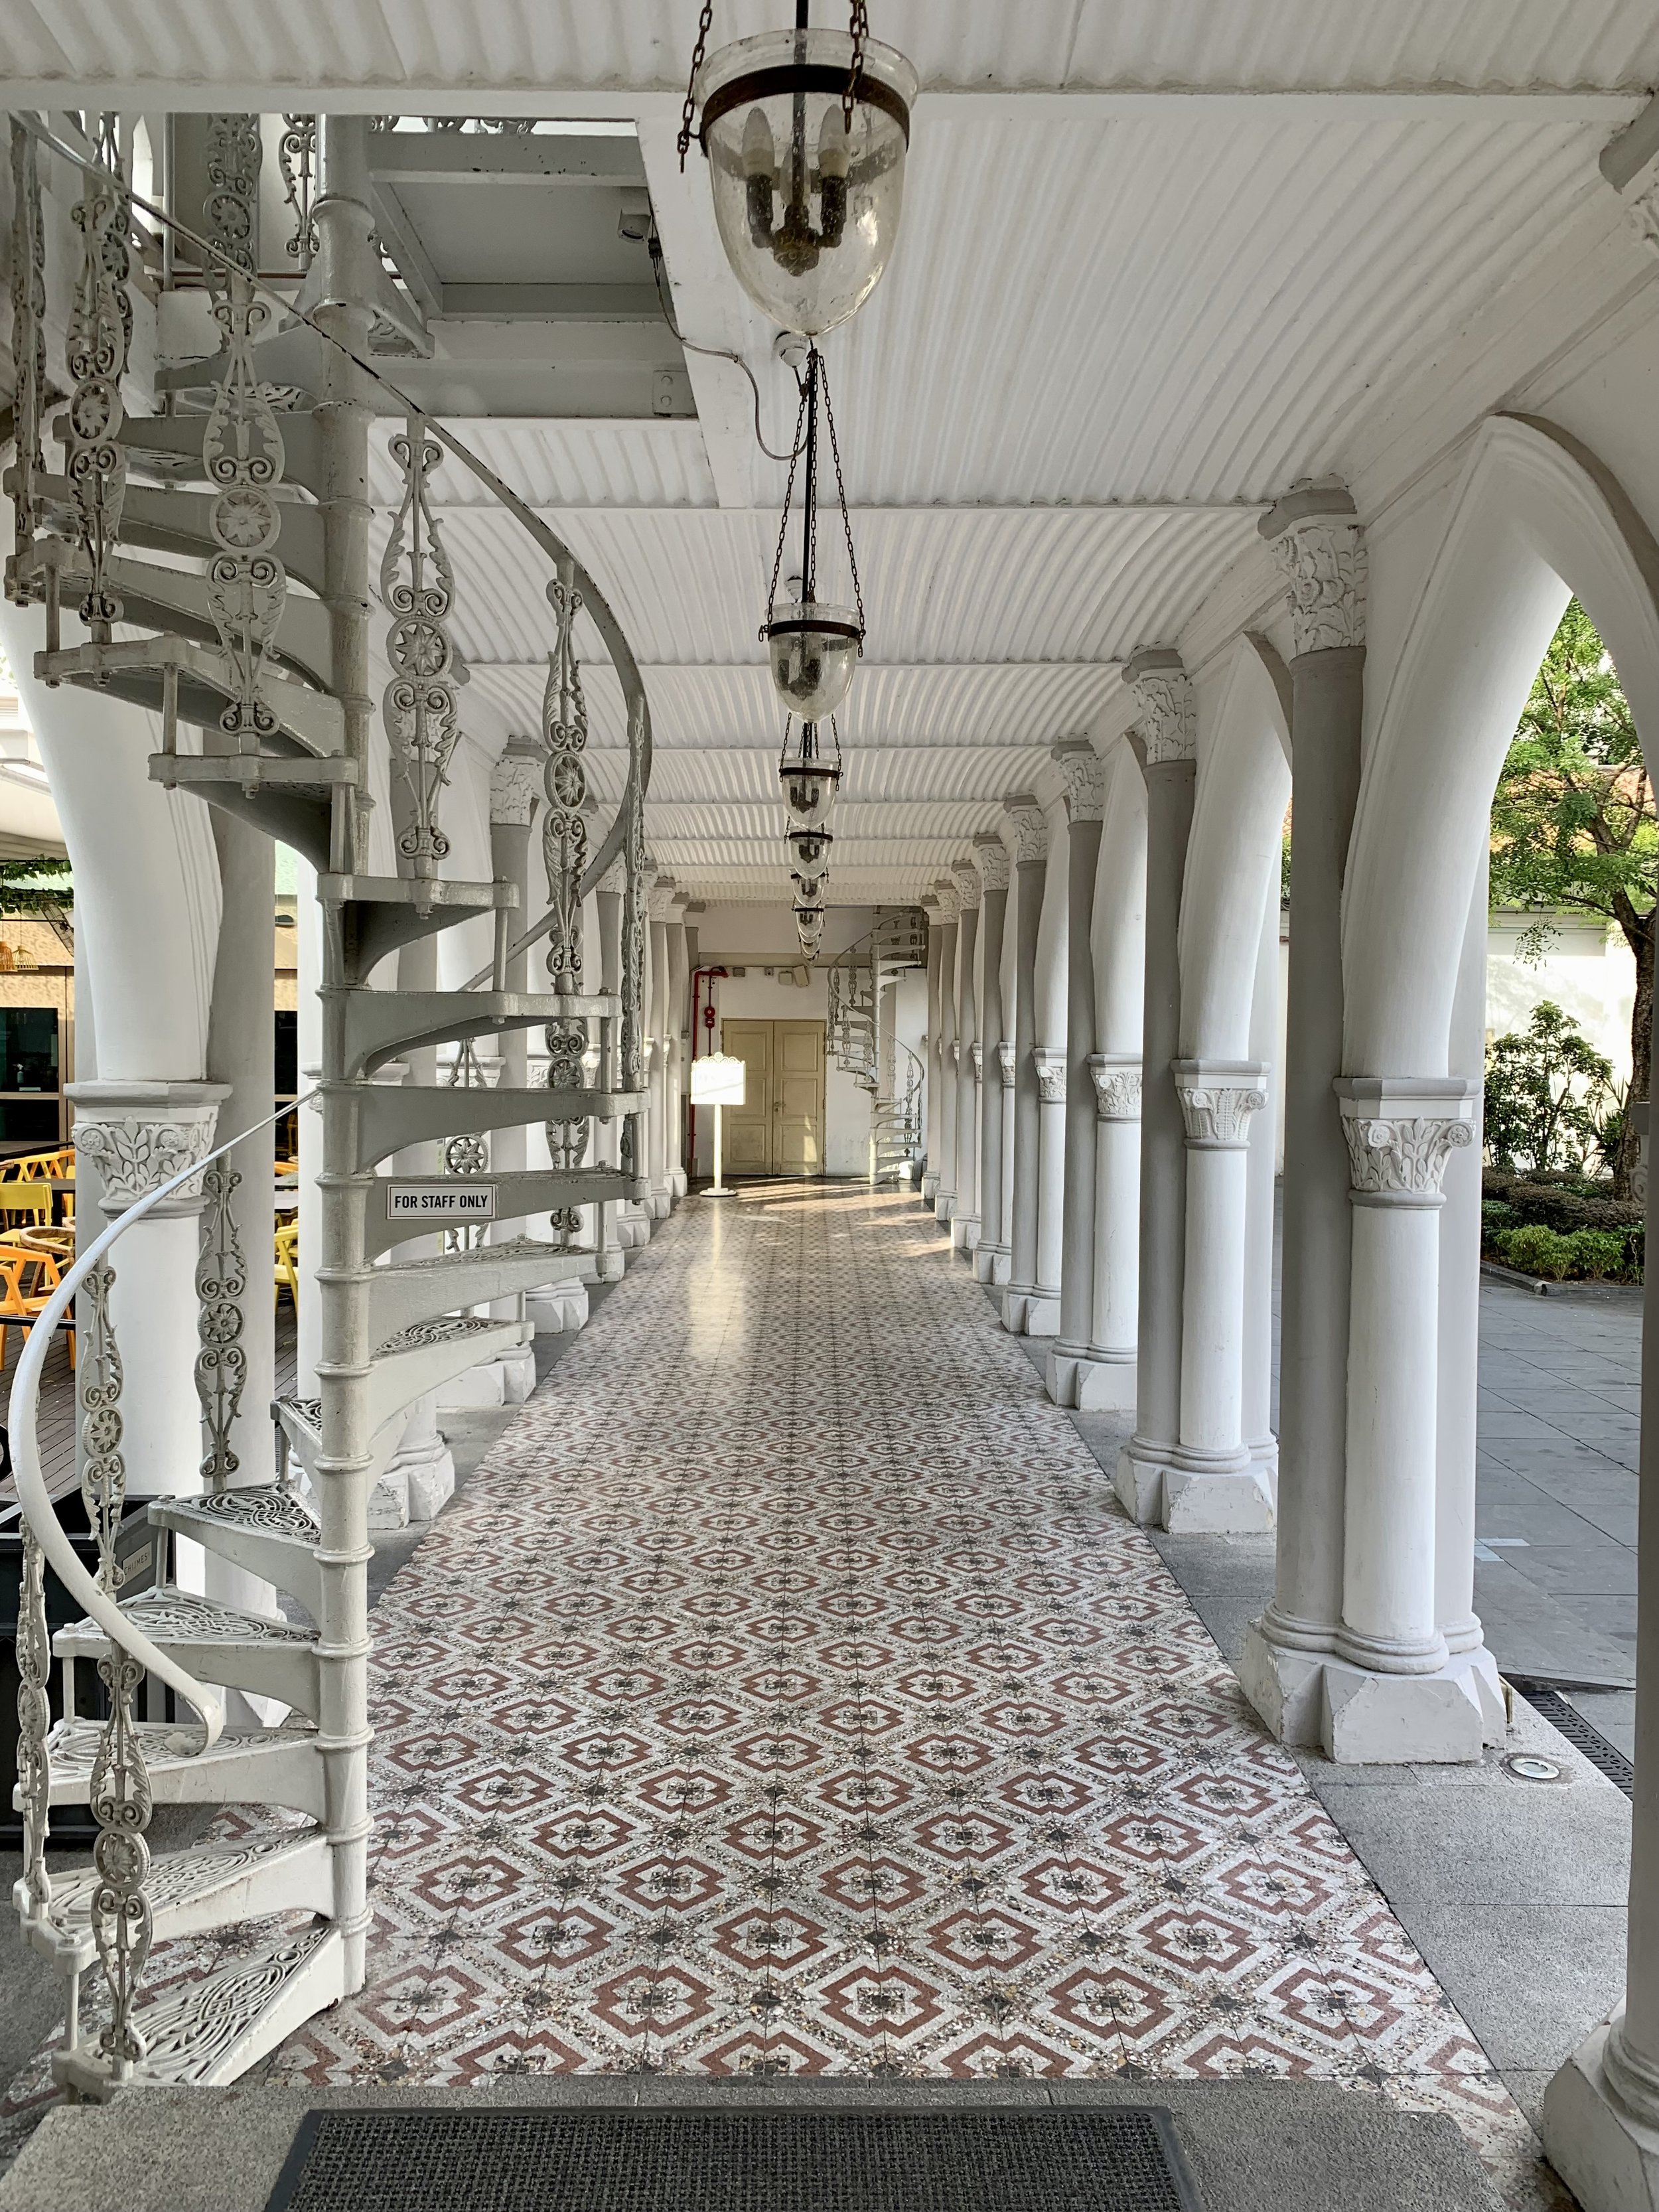
Raffles Singapore A true icon. The white colonial facade, palm-lined courtyards, and soft interiors make this hotel an architectural subject in its own right. If you want atmosphere, history, and photographic material inside and outside your own front door, this delivers. It is a splurge, but it is the kind of place you remember forever.
Capella Singapore Set on Sentosa Island, Capella trades the city skyline for lush greenery and colonial mansion architecture. It is ideal if you want to balance urban photography with quieter, more resort-style shooting. The grounds alone are worth an hour with a camera.
Mid-Range & Boutique Hotels
PARKROYAL COLLECTION Pickering This hotel is a photography subject in itself. The vertical gardens and layered terraces are dramatic and unusual, and they look extraordinary with a wide-angle lens. Centrally located and easy to use as a base for multiple neighborhoods.
Hotel Indigo Singapore Katong Located in the pastel Peranakan district, this hotel puts you steps from some of the best street-level color photography in the city. Wake up early, walk outside, and you are already in the frame.
Hotel G Singapore Creative, modern, and central. Strong value and walking distance to a broad range of neighborhoods. A smart choice for photographers who plan to spend most of their time out shooting and just need a clean, well-located base.
How Many Days to Visit
Three days is a solid minimum. Four to five days gives you a relaxed pace with room to revisit locations at different times of light.
A rough outline for four days:
Day 1: Arrive, check in, early evening walk along Marina Bay. Shoot the Helix Bridge and the Supertrees during blue hour.
Day 2: Sunrise at Jubilee Bridge. Morning in Chinatown and the Buddha Tooth Relic Temple. Afternoon in Kampong Glam and Haji Lane. Cloud Forest at Gardens by the Bay after dinner.
Day 3: Little India and the House of Tan Teng Niah in the morning. Peranakan Houses on Joo Chiat Road in the afternoon. Lau Pa Sat in the evening for the satay corridor and night photography.
Day 4: Flexible day. Revisit your best locations at different light. Singapore Botanic Gardens if you want green space and wildlife. Maxwell Food Centre for late breakfast. Edit and back up your images.
If you have a fifth day, consider a half-day trip to the Southern Ridges walking trail or the Malay Heritage Centre.
Getting Around
Singapore has one of the most efficient public transit systems in Asia, and possibly the world. The MRT (Mass Rapid Transit) covers the entire city, runs clean and on time, and is comfortable even when you are carrying camera gear. For most photography locations, it is all you need.
Grab is the dominant ride-hailing app in Singapore and works seamlessly. Use it for trips to neighborhoods that are slightly farther from MRT stops, or when you are carrying heavy kit and do not want to walk. Taxis are also readily available and metered.
Walking is underrated here. The Marina Bay waterfront, Chinatown, Kampong Glam, and the civic district are all walkable within themselves and connect to each other more easily than you might expect. Some of the best street photography in the city happens when you put the map away and just move.
One practical note: Singapore is hot. If you are doing a long morning shoot around Marina Bay or the Botanic Gardens, bring water, wear lightweight clothing, and plan a coffee stop mid-morning. The heat will wear you down faster than you expect if you are not prepared for it.
Where to Eat
Singapore is one of the great food cities of the world. That is not a casual claim. Michelin stars sit next to hawker stalls that have been cooking the same dish for forty years, and both deserve your attention.
The hawker centers are not a tourist attraction. They are where Singaporeans eat every day, and the quality is genuinely extraordinary. If you only do one food thing in Singapore, let it be a meal at a proper hawker center. Sit at a shared table, order from two or three different stalls, watch the steam rise from the woks, and take your time.
Maxwell Food Centre is a great starting point. Located near Chinatown, it is where you will find some of the best Hainanese chicken rice in the city. Arrive before noon to beat the lunch crowd. The light inside the center in the morning, low and warm and filtering through the stalls, is also worth photographing.
Lau Pa Sat is worth visiting at night. After around 7pm, the adjacent street closes and turns into a satay corridor with grills lined up on both sides. The smoke, the glow, and the crowd make for exceptional documentary photographs.
Chinatown Complex Food Centre is enormous and covers an enormous range of cuisines. The scale is part of what makes it interesting to photograph.
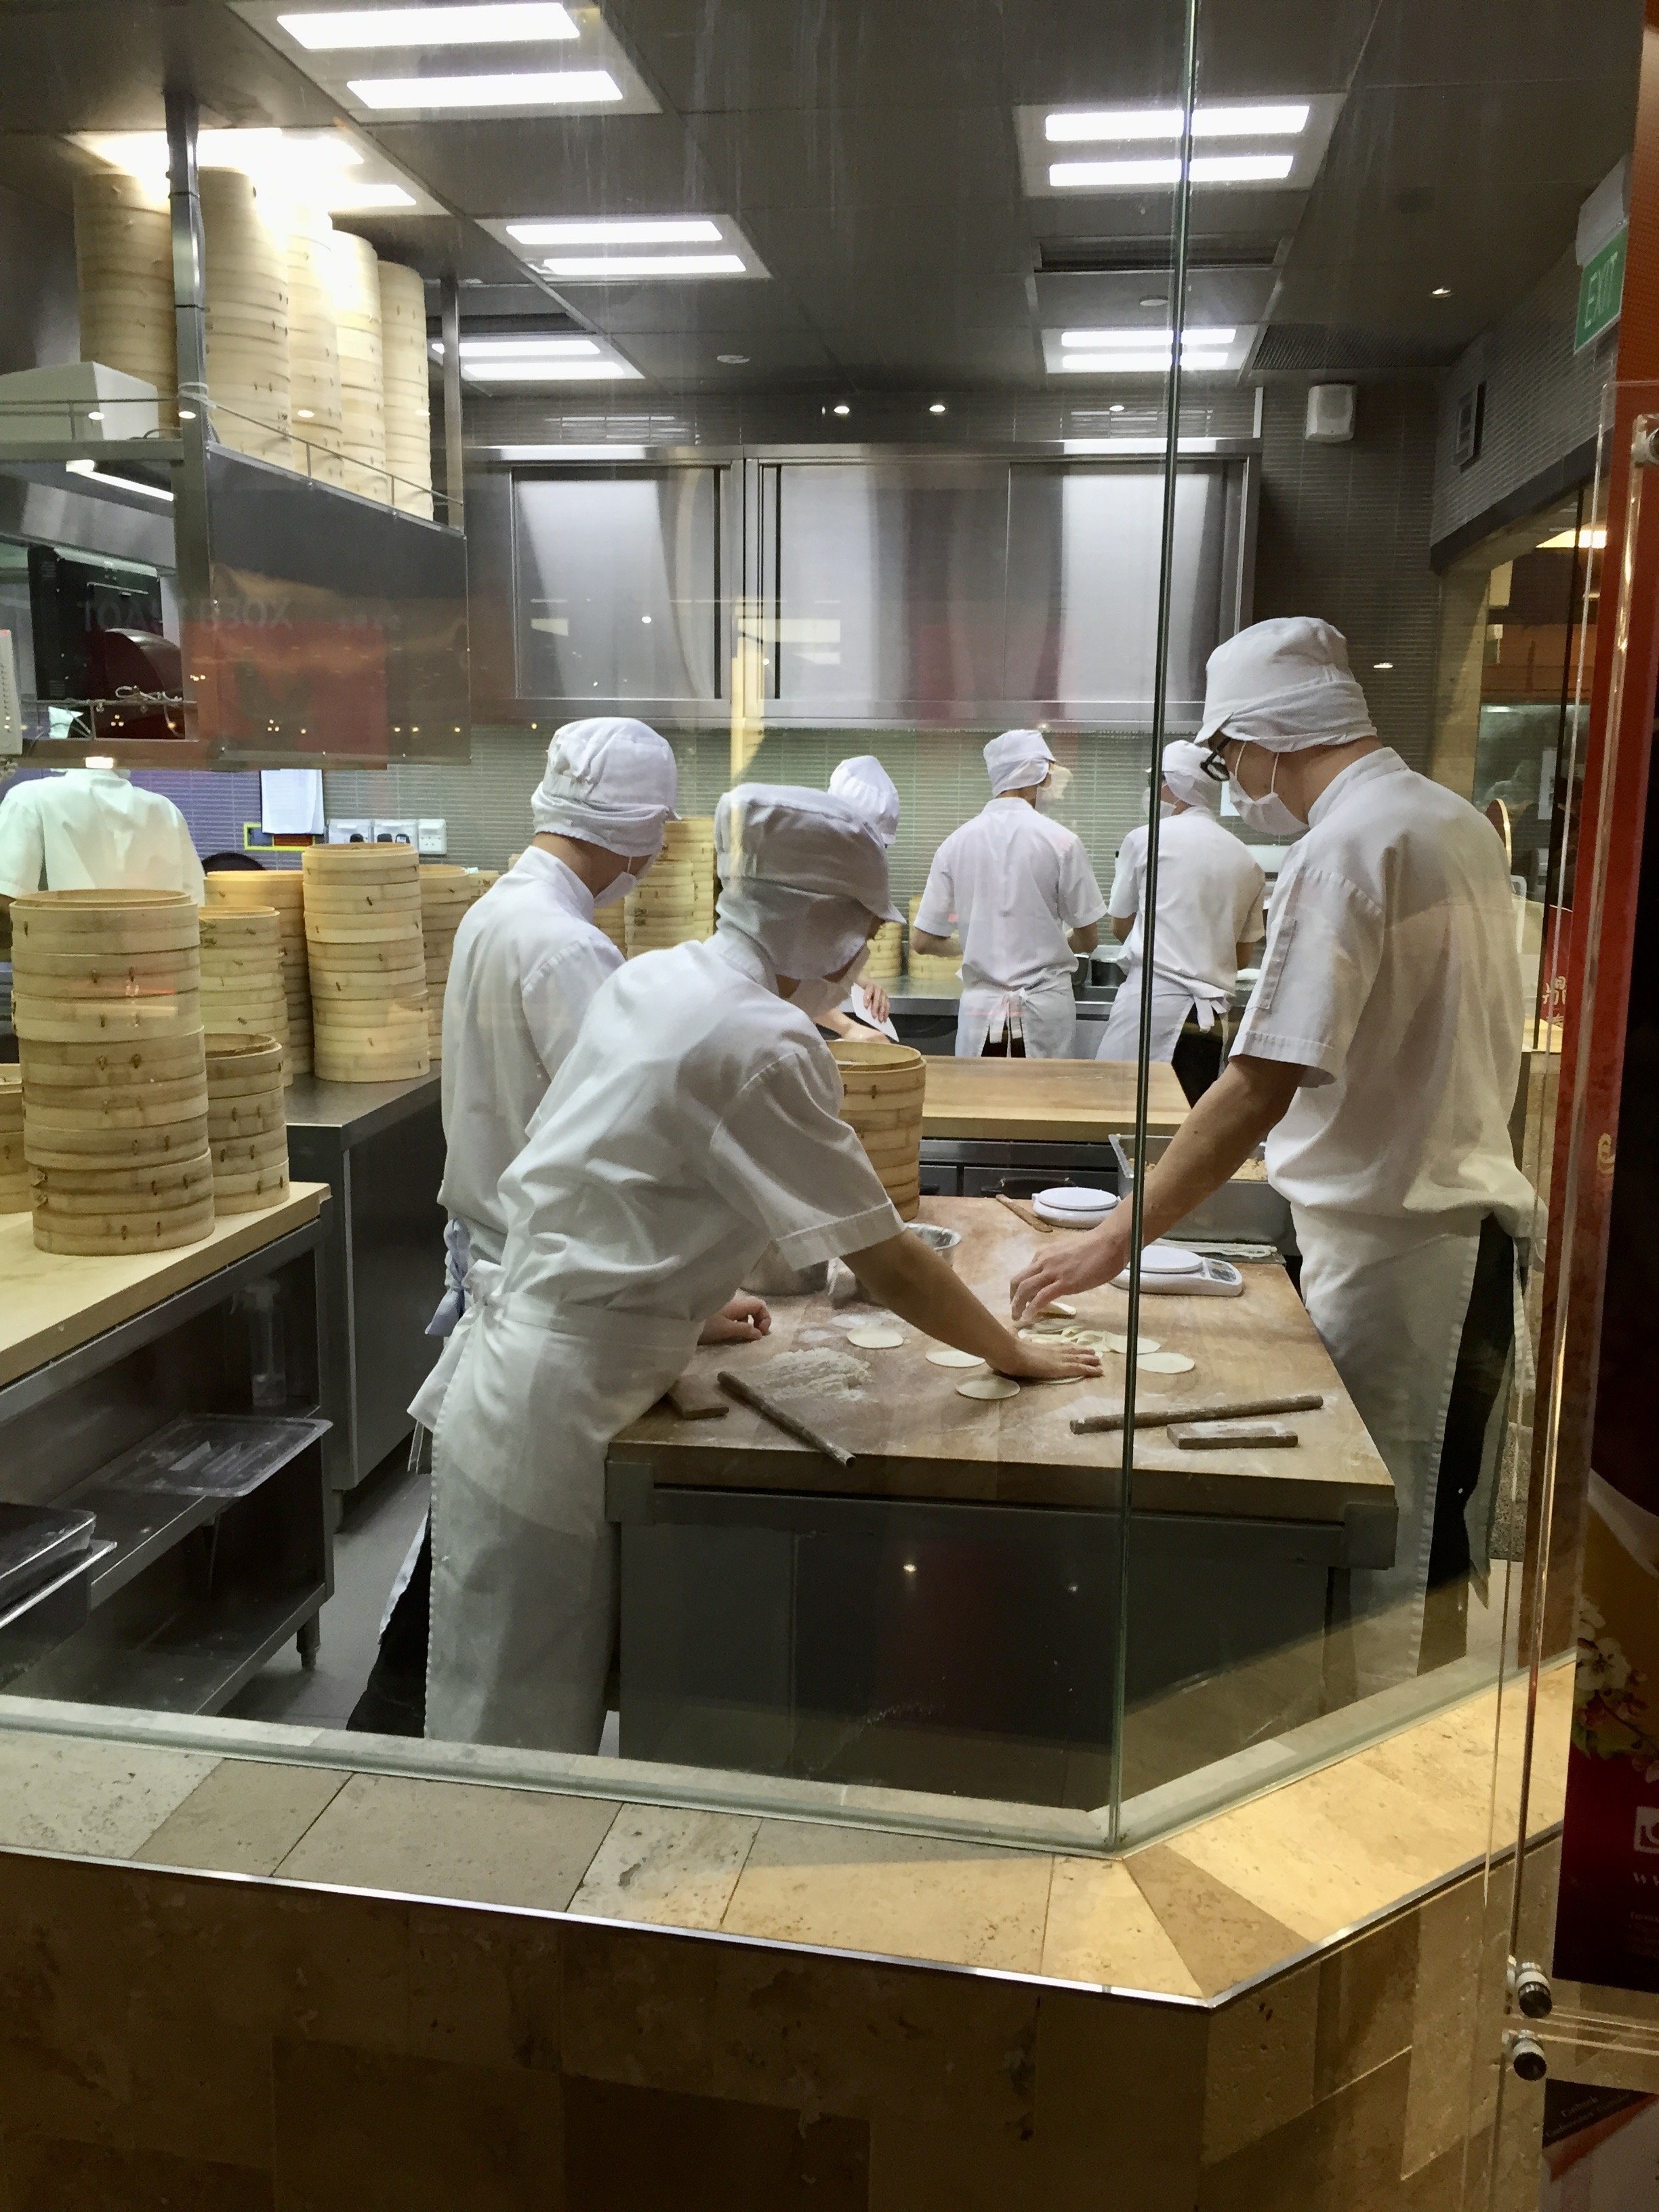
Dumplings
Restaurants in Singapore
Burnt Ends One Michelin-starred modern Australian barbecue at Dempsey Hill, run by Chef Dave Pynt over custom-built wood-fired ovens. Sit at the counter if you can get it. The open kitchen gives you the closest thing to a documentary shoot inside a restaurant, with flames, movement, and heat all in the same frame. Reservations are essential and go fast.
Candlenut The world's first Michelin-starred Peranakan restaurant, helmed by Chef Malcolm Lee at Dempsey Road. Peranakan cuisine draws from Chinese, Malay, and Indonesian heritage, and the flavors here are layered and deeply rooted. The plated dishes are beautifully composed for detail shots. Book the tasting menu if you want the full experience.
Labyrinth Chef LG Han has been reinventing Singaporean hawker classics inside a proper restaurant setting for years, and the results are consistently impressive. On Asia's 50 Best Restaurants list and worth every penny. The menu changes regularly, but the storytelling approach to local ingredients never does.
Hawker Chan Legendary for its Michelin-recognized chicken rice. Simple setting, honest food, and a great reminder that excellence does not require formality. The cultural context alone makes it worth the stop.
Tiong Bahru Bakery Perfect for a slow breakfast. Excellent croissants, soft morning light, and a relaxed neighborhood energy that makes it an ideal place to review images and plan the day ahead.
Cozy Coffee Shops
Chye Seng Huat Hardware Industrial design, textured walls, and serious coffee. The space is highly photogenic on its own, especially if you enjoy architecture and interior light. A Singaporean institution.
The Glasshouse Bright, green, calm. Natural light pours in throughout the morning, making it an easy choice for post-shoot editing time.
Symmetry A laid-back café in Kampong Glam with good lattes and the kind of unhurried energy that makes it easy to sit for two hours planning your next shoot
Photography Gear
Singapore offers a wide range of photographic subjects, from architectural long exposures at night to fast-moving street scenes in hawker centers. Here is how I think about the kit:
Camera body: Canon EOS R5 Mark II, Sony A7R V, or Nikon Z8. All three are excellent in the heat and will handle the dynamic range of the Marina Bay night shots without issue.
Wide-angle (15 to 35mm): Essential. The Supertrees, the Helix Bridge, the ArtScience Museum, and the interior of Jewel Changi Airport all reward a wide perspective. This is the lens you will use most.
Standard zoom (24 to 70mm): Your all-day workhorse for street photography and the hawker centers. Versatile enough to handle the Peranakan houses and close-up food detail shots.
Telephoto (70 to 200mm): Useful for compressing the Marina Bay skyline from the Fullerton Bay viewpoint, and excellent for wildlife at the Botanic Gardens or Sungei Buloh Wetland Reserve if you make it out there.
Tripod: Non-negotiable for blue hour and the Supertree light show. A compact travel tripod works well here since you will be moving between locations.
ND filters: Bring a 6-stop and a 10-stop. Useful for long exposures at the Marina Bay waterfront and anywhere you want to smooth water movement.
Extra batteries and cards: The heat drains batteries faster than you expect. Bring two spares minimum.
Drone: Singapore has strict CAAS (Civil Aviation Authority of Singapore) drone regulations. Flying in the Marina Bay area and near major landmarks is heavily restricted. Check the CAAS OneMap before any drone flight and apply for permits well in advance. Do not assume you can fly without checking.
iPhone Photographers
Singapore rewards careful mobile shooting, but you need to think about when and where you are standing.
At the Supertree Grove, use Night Mode on iPhone 14 Pro or later for the light show. Lock your focus on a single Supertree and let the exposure drag slightly to capture the light gradients. Portrait Mode does not work well at this scale, but the ultra-wide (0.5x) gives you a compelling vertical composition looking straight up through the tree structure.
In Chinatown and Haji Lane, use Portrait Mode at 1x for the shophouse facades. The depth separation against the sky or the lane behind them adds dimension that otherwise gets lost. Shoot in the morning before the foot traffic starts.
For hawker center detail shots, use the macro capability of the main lens at 1x rather than the telephoto. Get close to the food, lock focus manually if needed, and shoot in ProRAW for maximum flexibility in Lightroom Mobile. The steam and smoke in the hawker centers can make autofocus hunt, so take your time.
Photography Locations
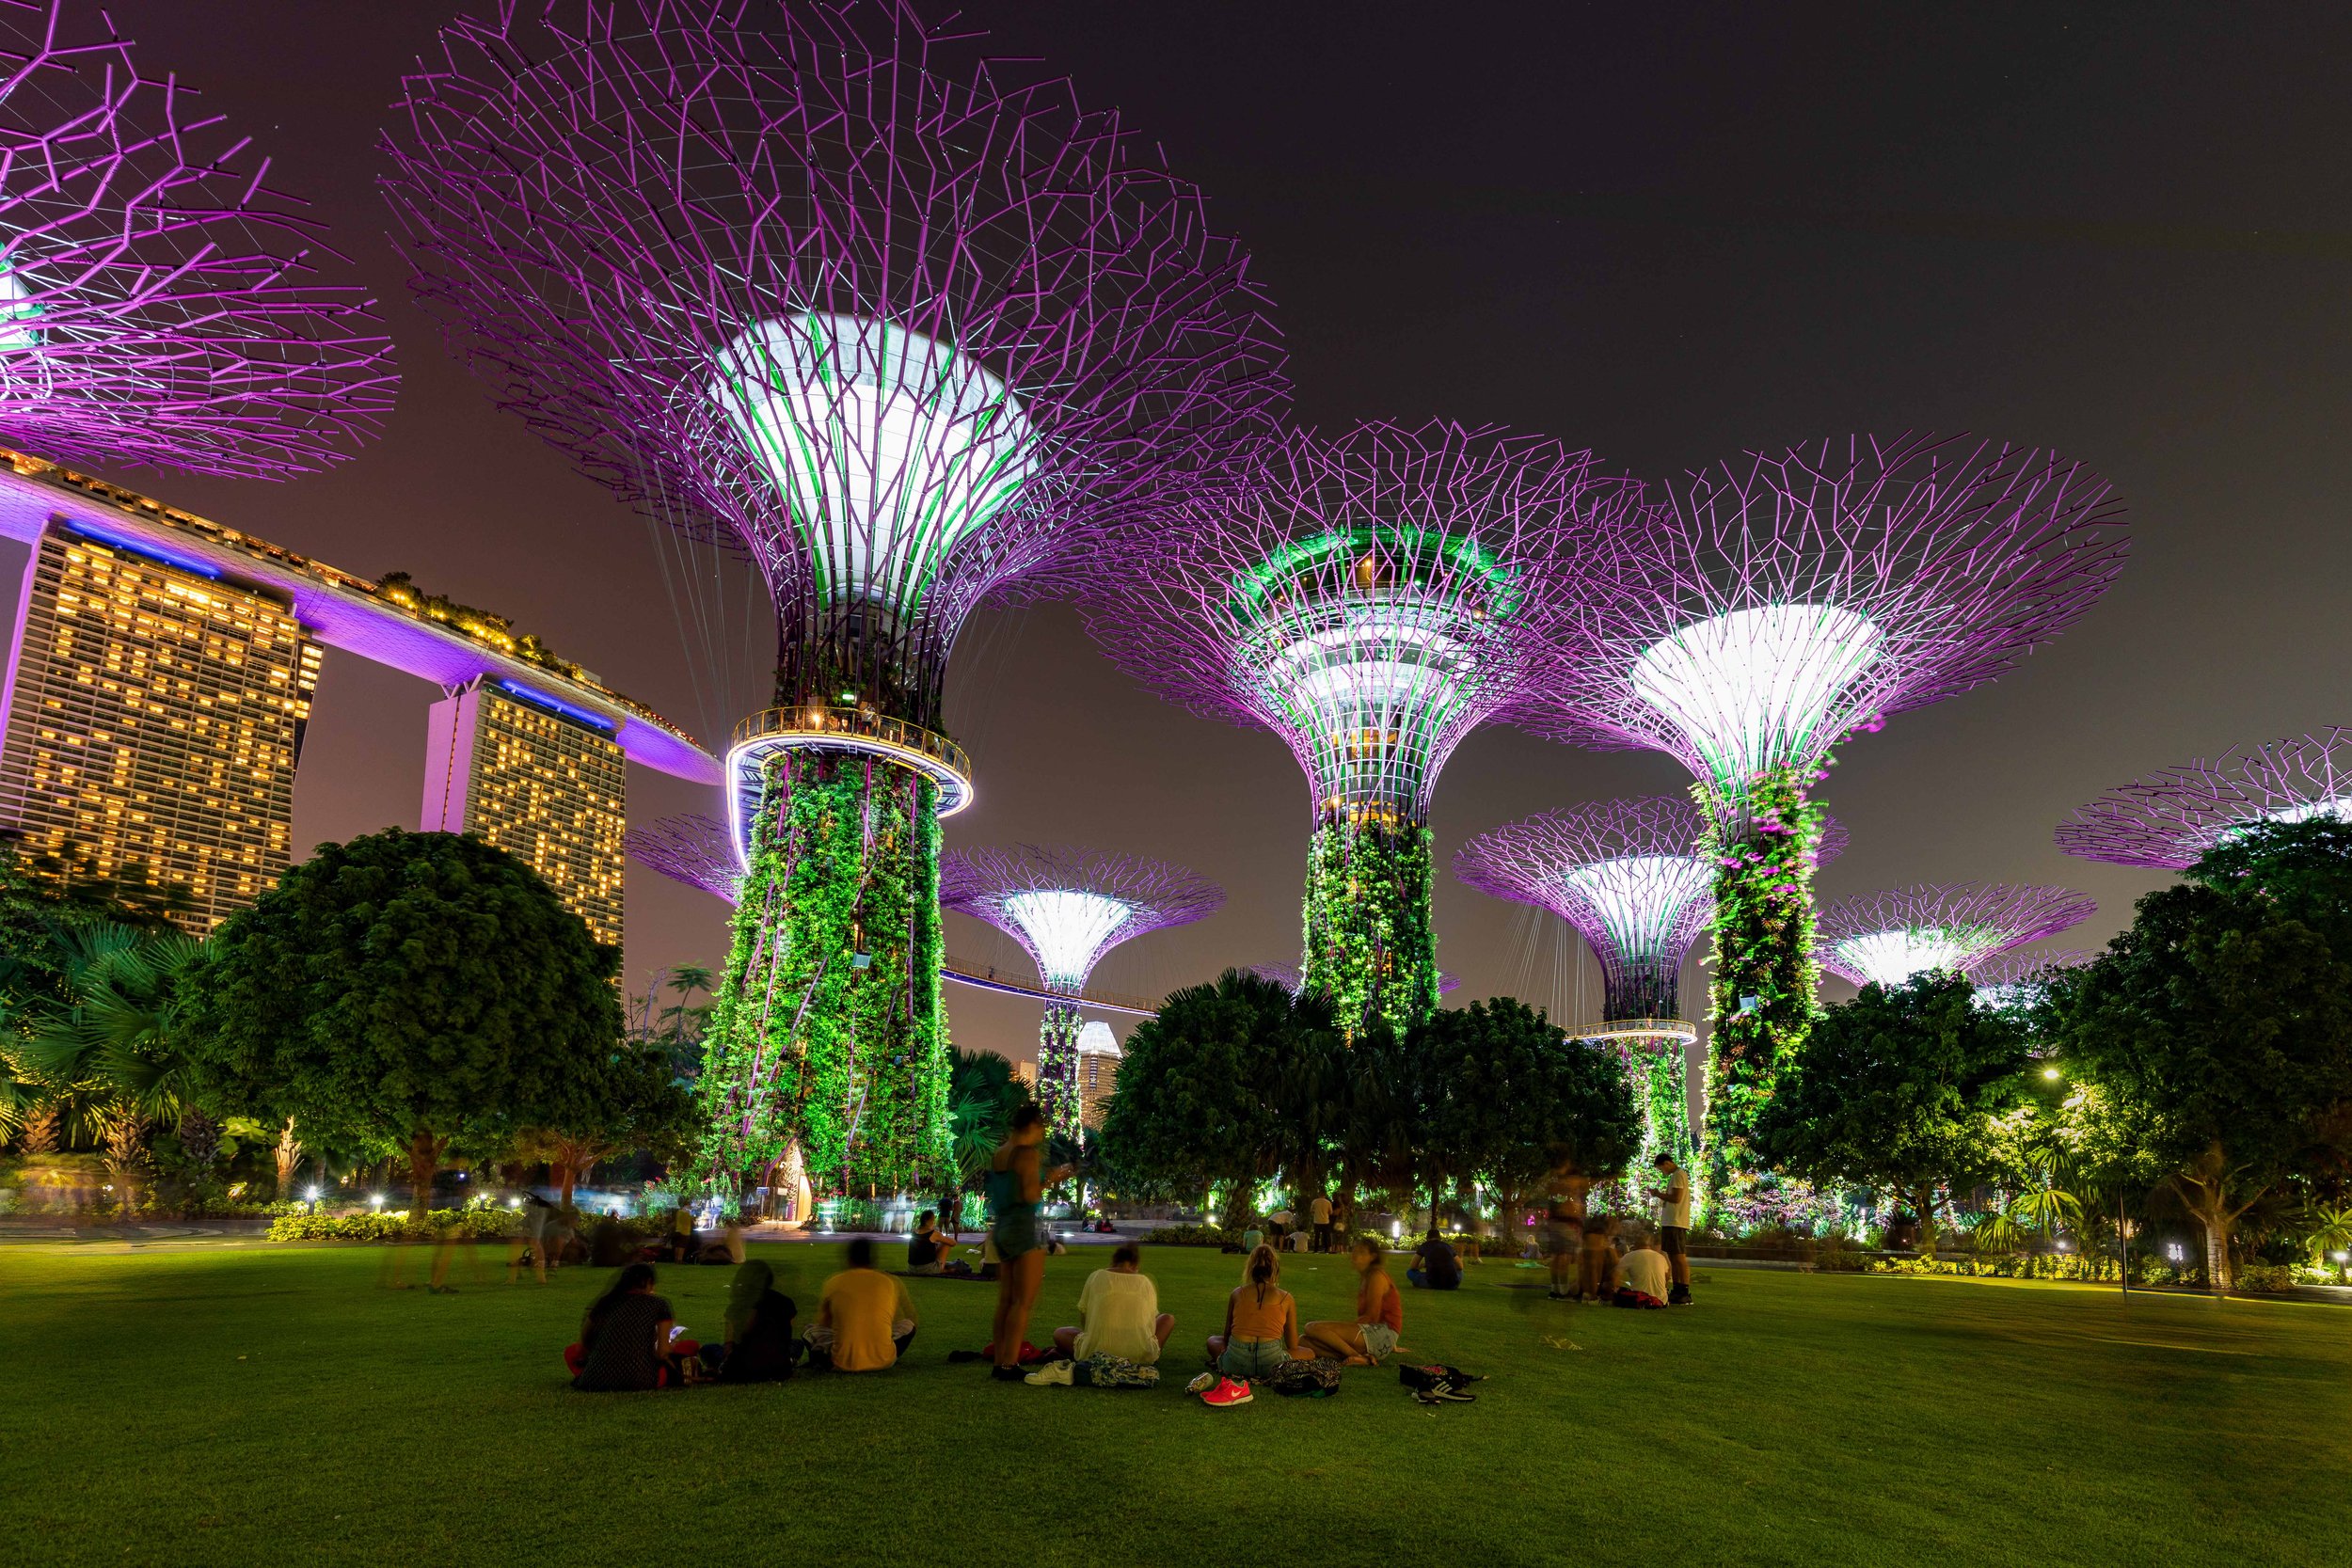
GARDENS BY THE BAY – SUPERTREE GROVE
The Supertrees are one of those locations where photographs never fully prepare you for the reality of standing there. Twelve vertical garden structures, some rising to nearly fifty meters, are grouped together in a way that feels simultaneously natural and completely alien. The grove sits right on the Marina Bay waterfront, which means you can shoot the Supertrees with the city skyline as a backdrop.
The nightly Garden Rhapsody light and sound show transforms the grove entirely. The trees pulse with color and light, and the water reflecting in the bay below adds another layer of depth. This is one of the best long-exposure opportunities in the city.

📷 Pro Tip: Arrive at least 30 minutes before the Garden Rhapsody show (7:45 pm and 8:45 pm nightly) to set up your composition. Position yourself at the southern end of the grove looking north, with the Marina Bay Sands towers visible in the background. A wide-angle between 16mm and 24mm works best here. Use a tripod and shoot in bulb mode during the light show to capture the full color cycle. For daytime shots, sunrise produces beautiful side-lighting across the tree structures before the crowds arrive. The OCBC Skyway walkway, elevated above the grove, gives you a bird's-eye perspective worth paying for.
Best time: Sunset to blue hour for the light show. Sunrise for golden light and solitude. Access: Supertree Grove is free. OCBC Skyway and Cloud Forest dome are paid. Bayfront MRT, then a five-minute walk.

We were lucky to be able to watch a concert one night by the Supergroves.
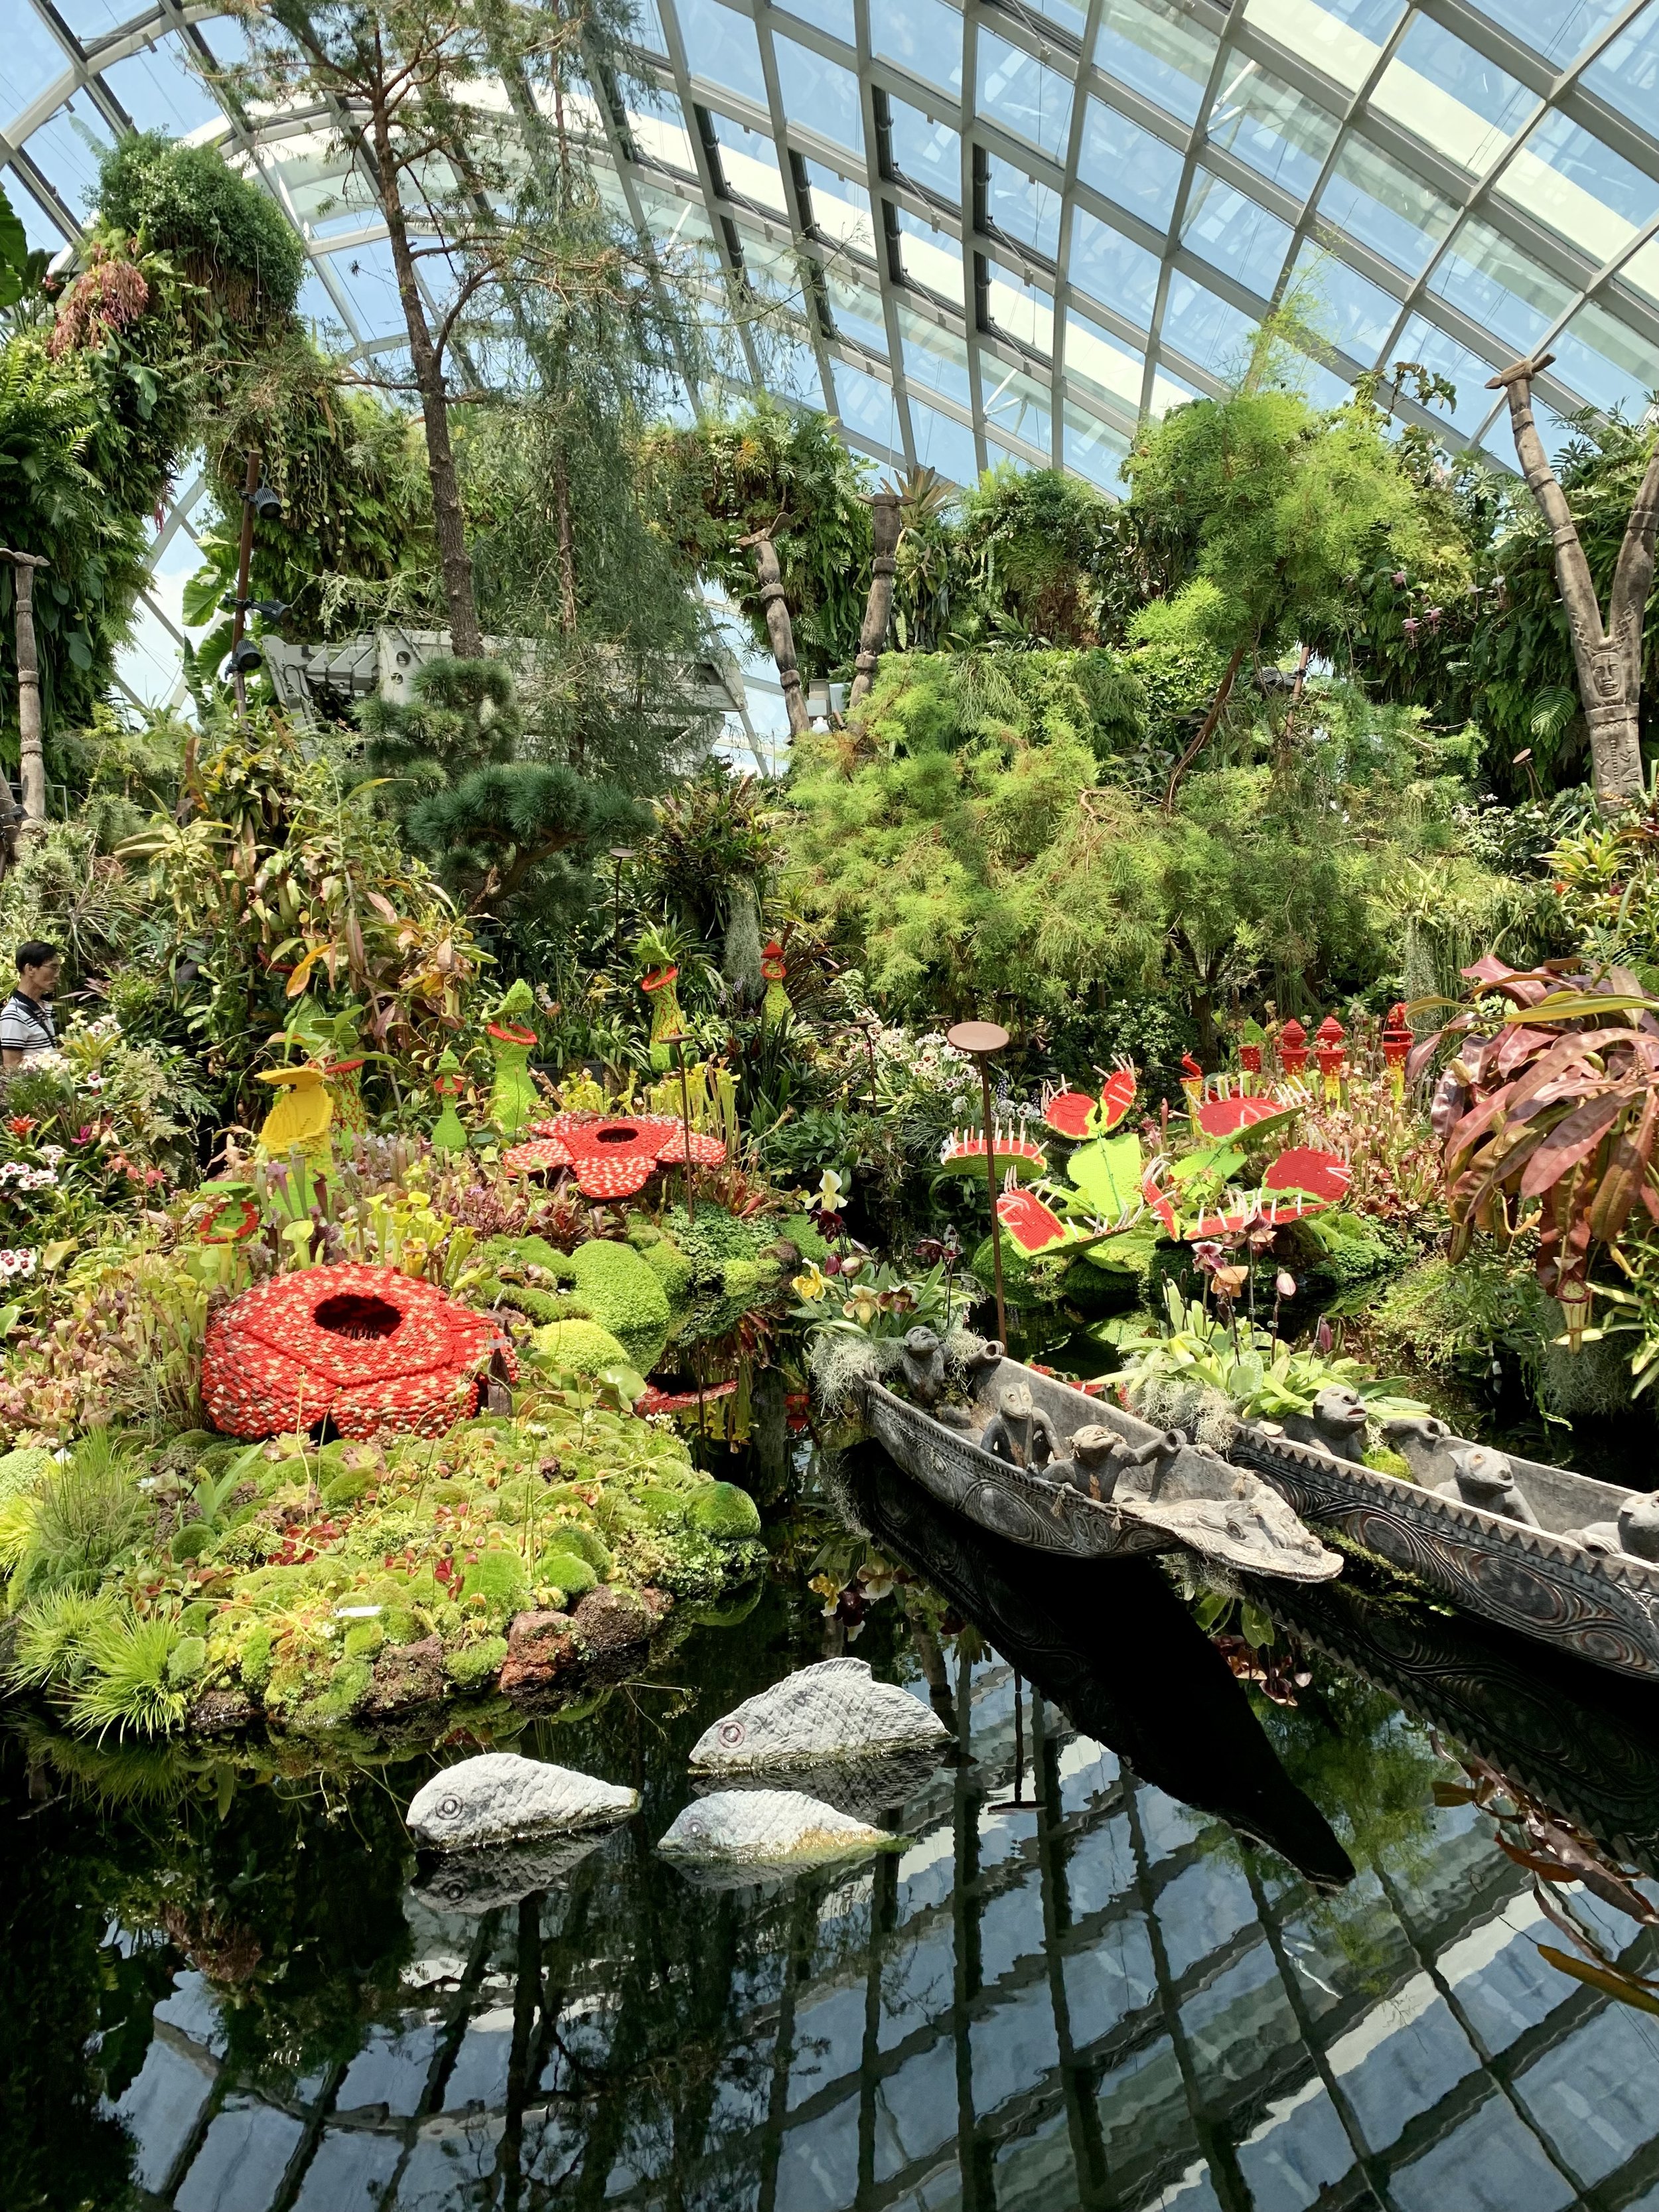
Cloud Forest at Gardens by the Bay
The Cloud Forest is one of the most extraordinary indoor environments I have ever photographed. A thirty-five-meter indoor mountain covered entirely in tropical plants, surrounded by mist and aerial walkways, with a thirty-five-meter waterfall cascading down the interior face. It is lush, layered, and unlike anything else in Southeast Asia.
We visit every time we come to Singapore. Every time it feels like the first visit. The light inside is diffused and cool, which is a genuine relief from the heat outside, and it creates a soft, even quality that is excellent for close-up botanical shots.
📷 Pro Tip: Work your way up the aerial walkways and shoot back down toward the waterfall and the canopy below. A wide-angle gives you scale; a standard zoom at around 50mm isolates specific plant textures or the mist cloud formations. The light is consistent throughout the day since it is indoors, so timing is flexible. In the early morning when the dome opens, you will have the walkways largely to yourself. Use a polarizing filter to cut through the moisture in the air and bring out the green saturation. No flash is needed and none will help.
Best time: Opening time for smaller crowds. Access: Paid entry. Bayfront MRT, shared entrance with Flower Dome and Gardens by the Bay complex.

Walking through the Cloud Forest is like walking in a modern version of the Garden of Eden. There are so many different types of flowers and plants.
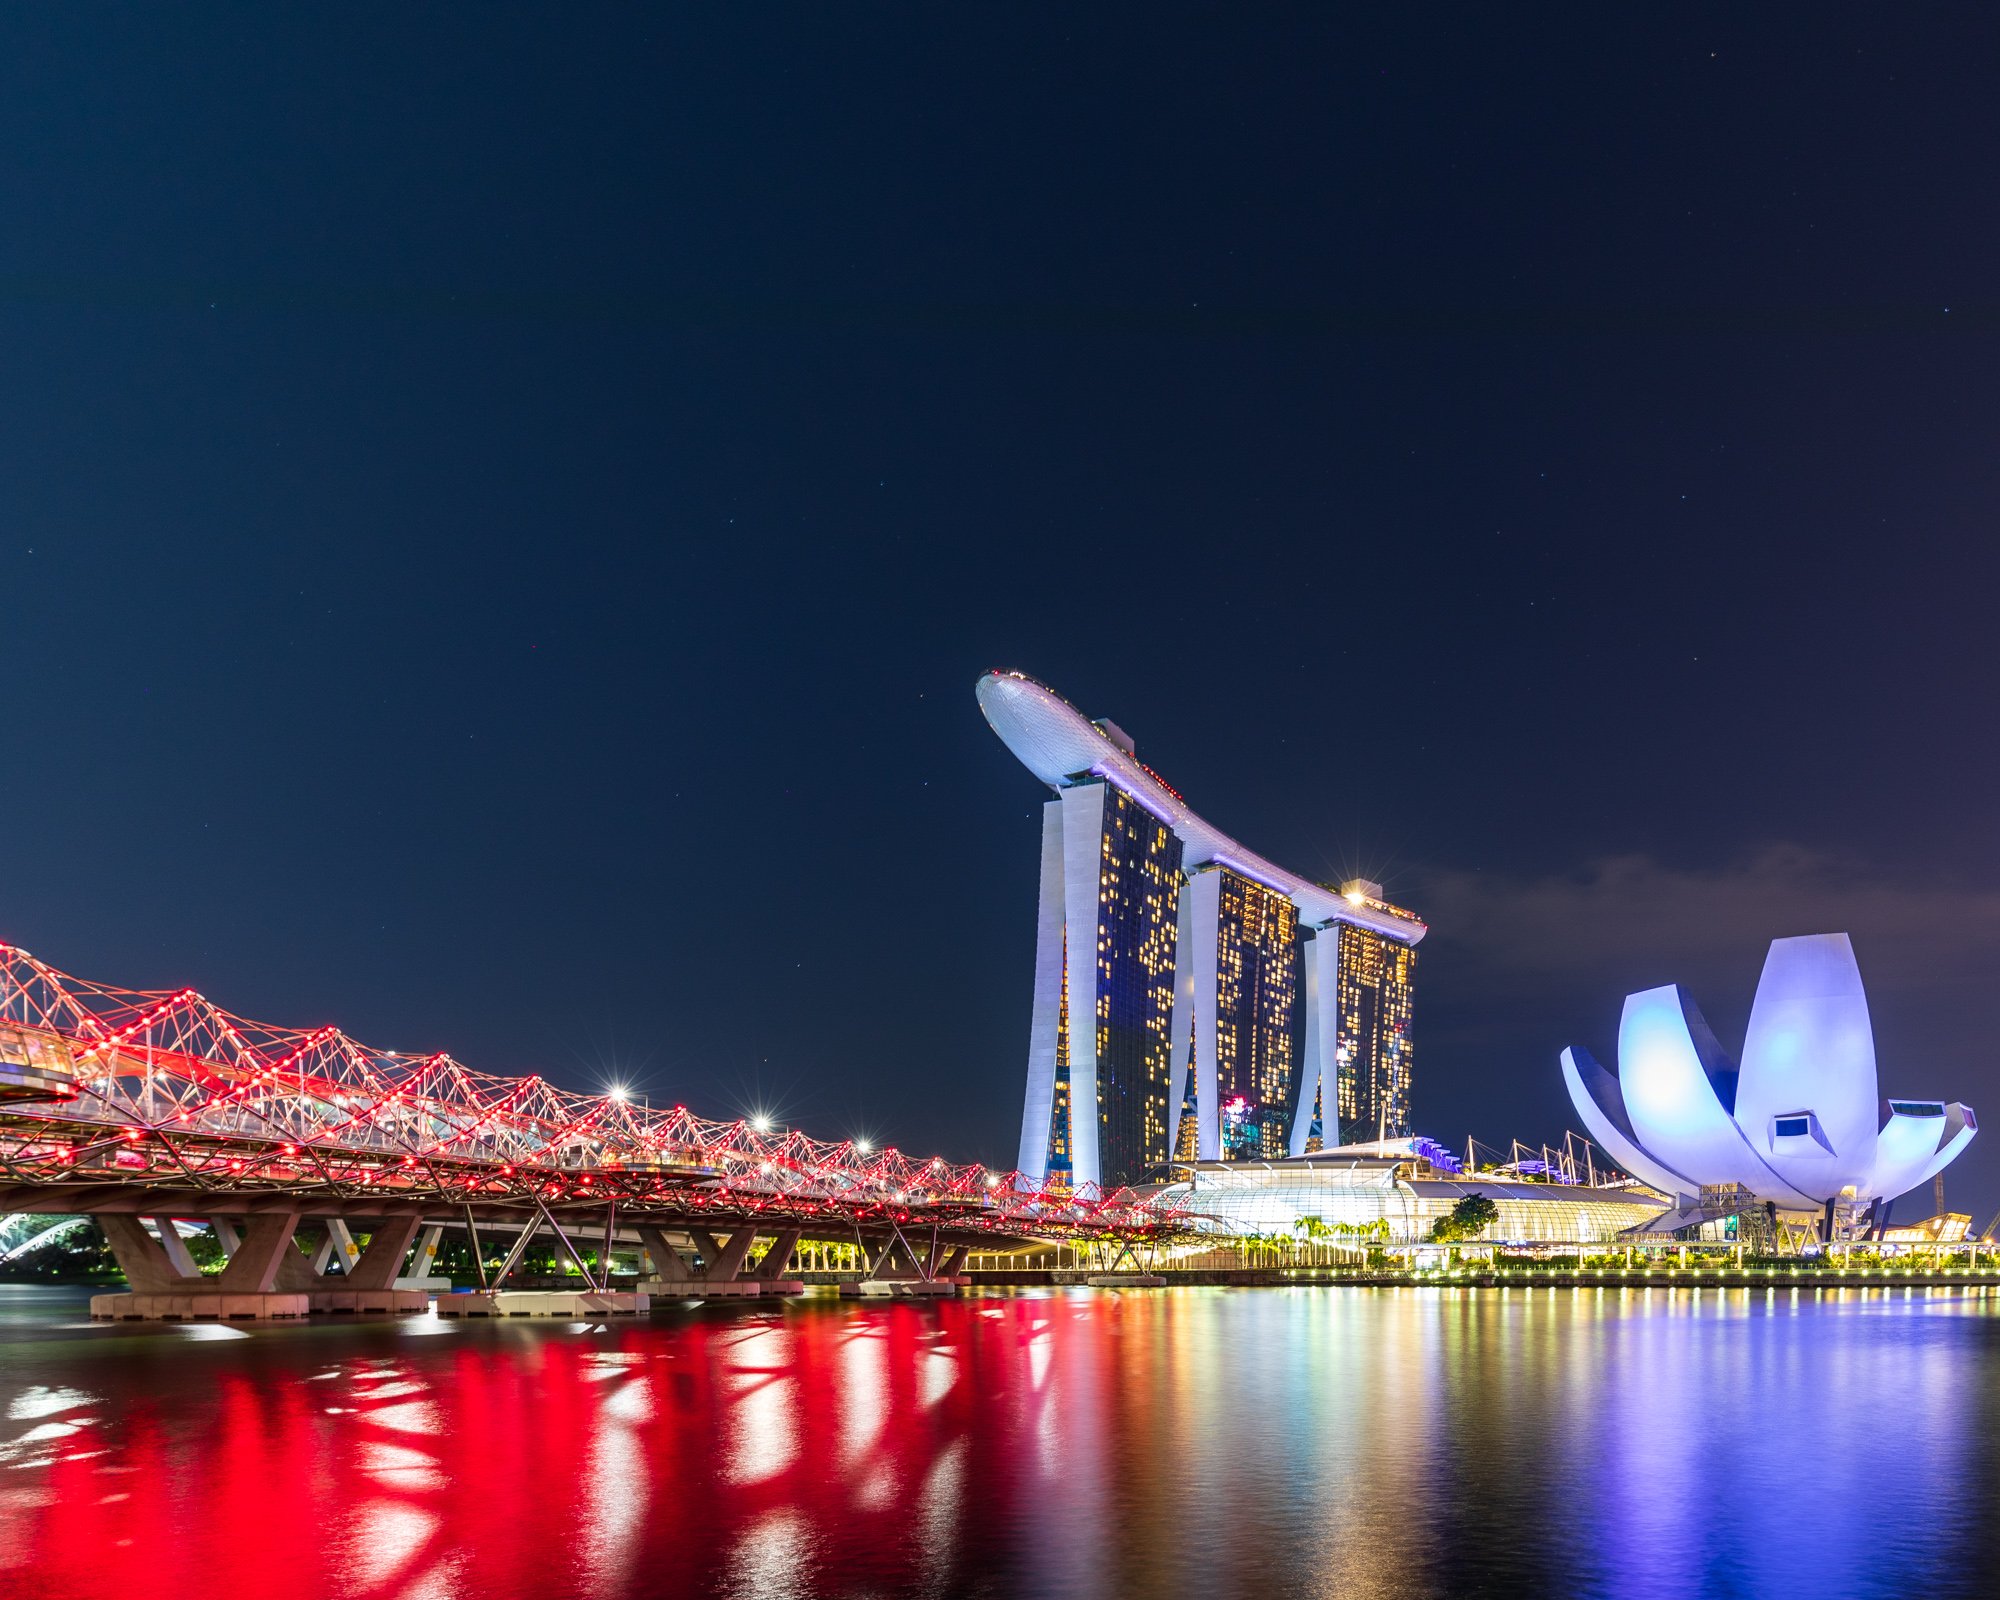
Marina Bay: Helix Bridge and Jubilee Bridge
Marina Bay Sands changed the Singapore skyline. The three 55-story towers at the Bayfront are home to a luxury hotel, a shopping mall, a theatre, and a massive casino. At the top, they’re connected by a 340-meter-long platform, the Sands Skypark.
📷 Pro Tip: Shoot the Helix Bridge at blue hour, after the sky has faded from orange to deep blue but before it goes fully black. This is the window where the LED lights on the bridge register against the sky without blowing out, and where the city buildings behind still retain color detail. Position yourself at mid-bridge looking back toward Marina Bay Sands and use a 16 to 24mm focal length with a 30-second exposure at ISO 400. For Jubilee Bridge, arrive thirty minutes before sunrise and shoot east toward the Fullerton Hotel. The soft pre-dawn light on the colonial facade framed by the bridge geometry is one of Singapore's most underused compositions.
Best time: Blue hour (30 minutes after sunset) for the Helix Bridge. Pre-dawn for Jubilee Bridge. Access: Free. Bayfront or Raffles Place MRT.

It is worth visiting Marina Bay to see the incredible views from the Sands Skypark observation deck. You can take photos of the city or the Gardens by the Bay as a background. The rooftop infinity pool is one of the most photographed in the world, available exclusively to hotel guests. Non-hotel visitors can access the SkyPark Observation Deck for panoramic views over the city and Gardens by the Bay. Book observation deck tickets in advance online.
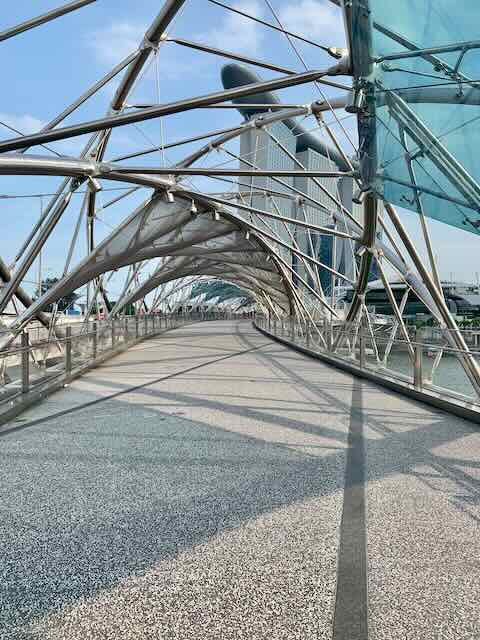
The Helix Bridge
The Helix Bridge is one of the most photographed structures in Singapore for good reason. The double-helix DNA structure is lit at night with colored LEDs, and the geometry from below or along the walkway creates compositions that feel graphic and architectural at the same time. The viewing platforms along the bridge give you clean sightlines to the Marina Bay Sands towers on one side and the ArtScience Museum on the other.
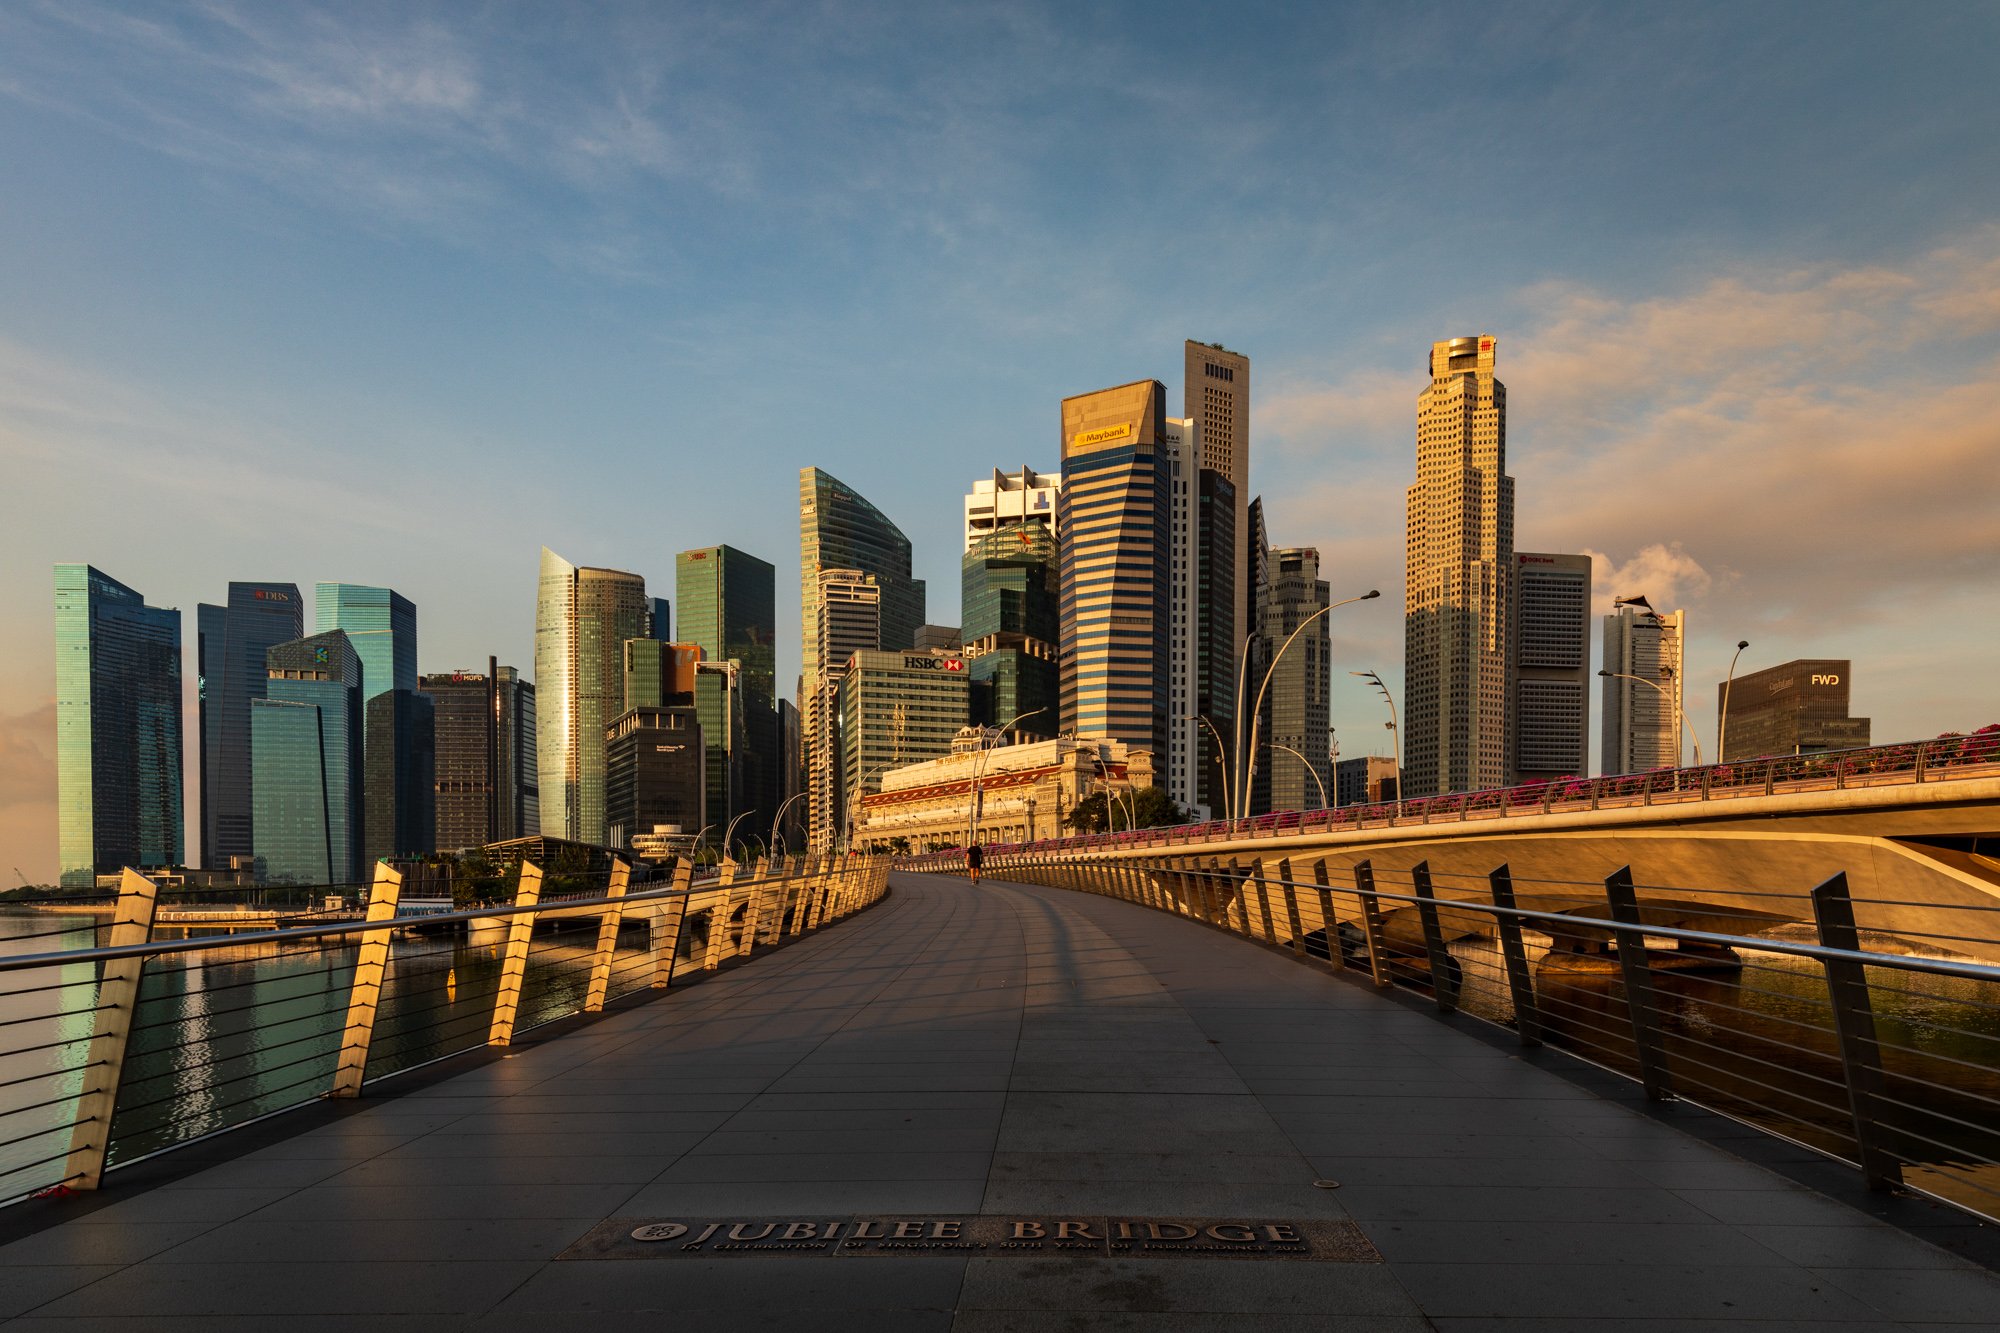
JUBILEE BRIDGE
Jubilee Bridge, nearby, is quieter and less visited. Early mornings here, before the city fully wakes up, give you some of the most peaceful waterfront shooting in Singapore.
ArtScience Museum
The ArtScience Museum is one of the most distinctive buildings in Singapore. Shaped like a lotus flower and positioned right next to Marina Bay Sands, its white petals open toward the sky in a form that is immediately photogenic from every angle. The building houses a mix of art, science, culture, and technology exhibitions that change throughout the year. At night, the exterior becomes a projection surface for light shows that reflect off the surrounding water. Shoot from the waterfront promenade with a wide-angle lens to capture the full shape against the skyline.
ArtScience Museum
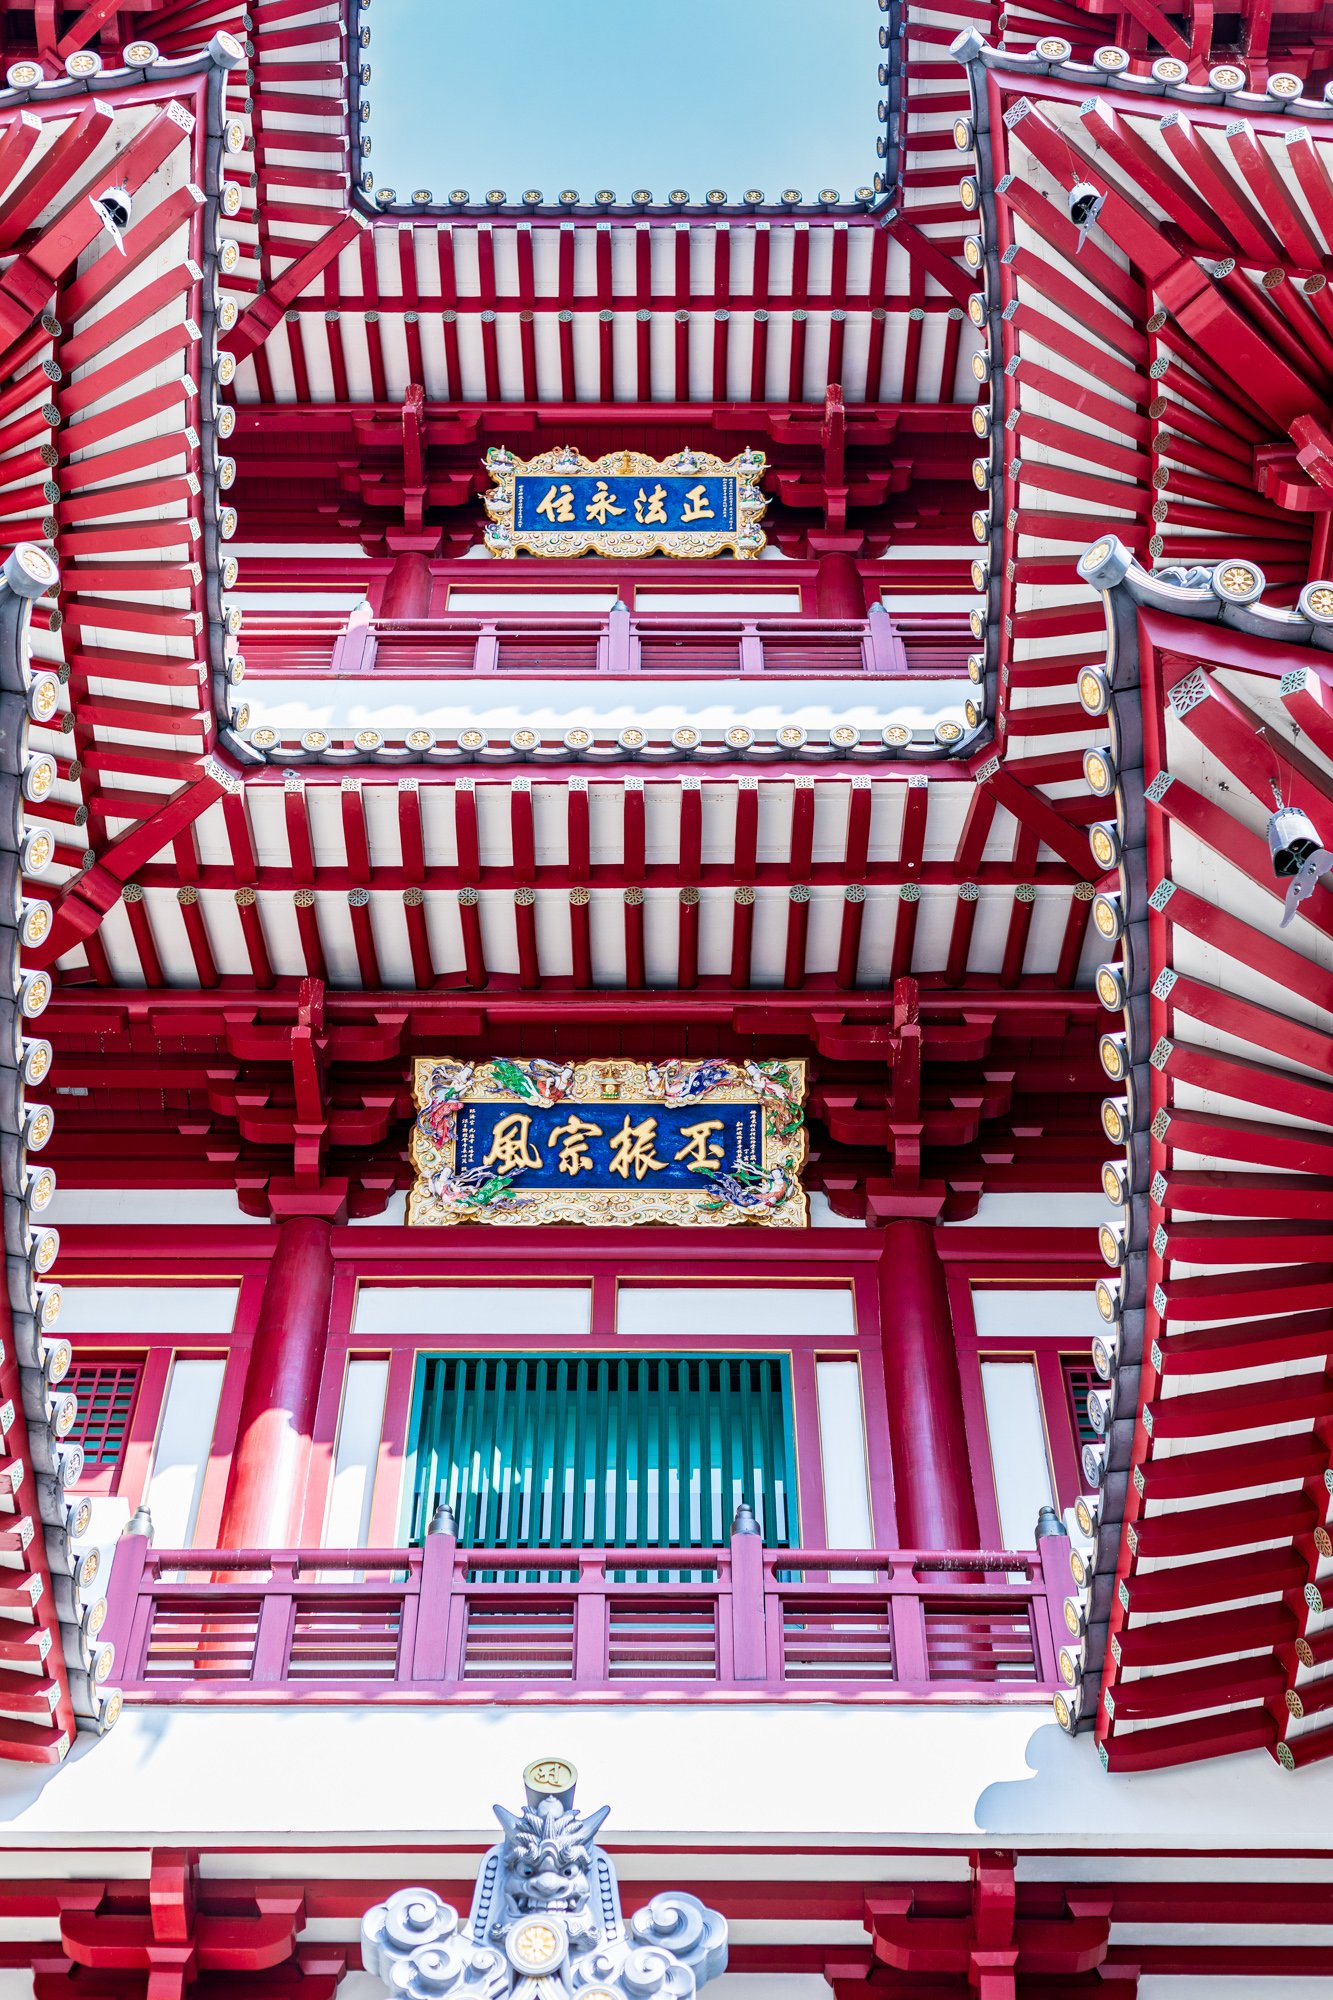
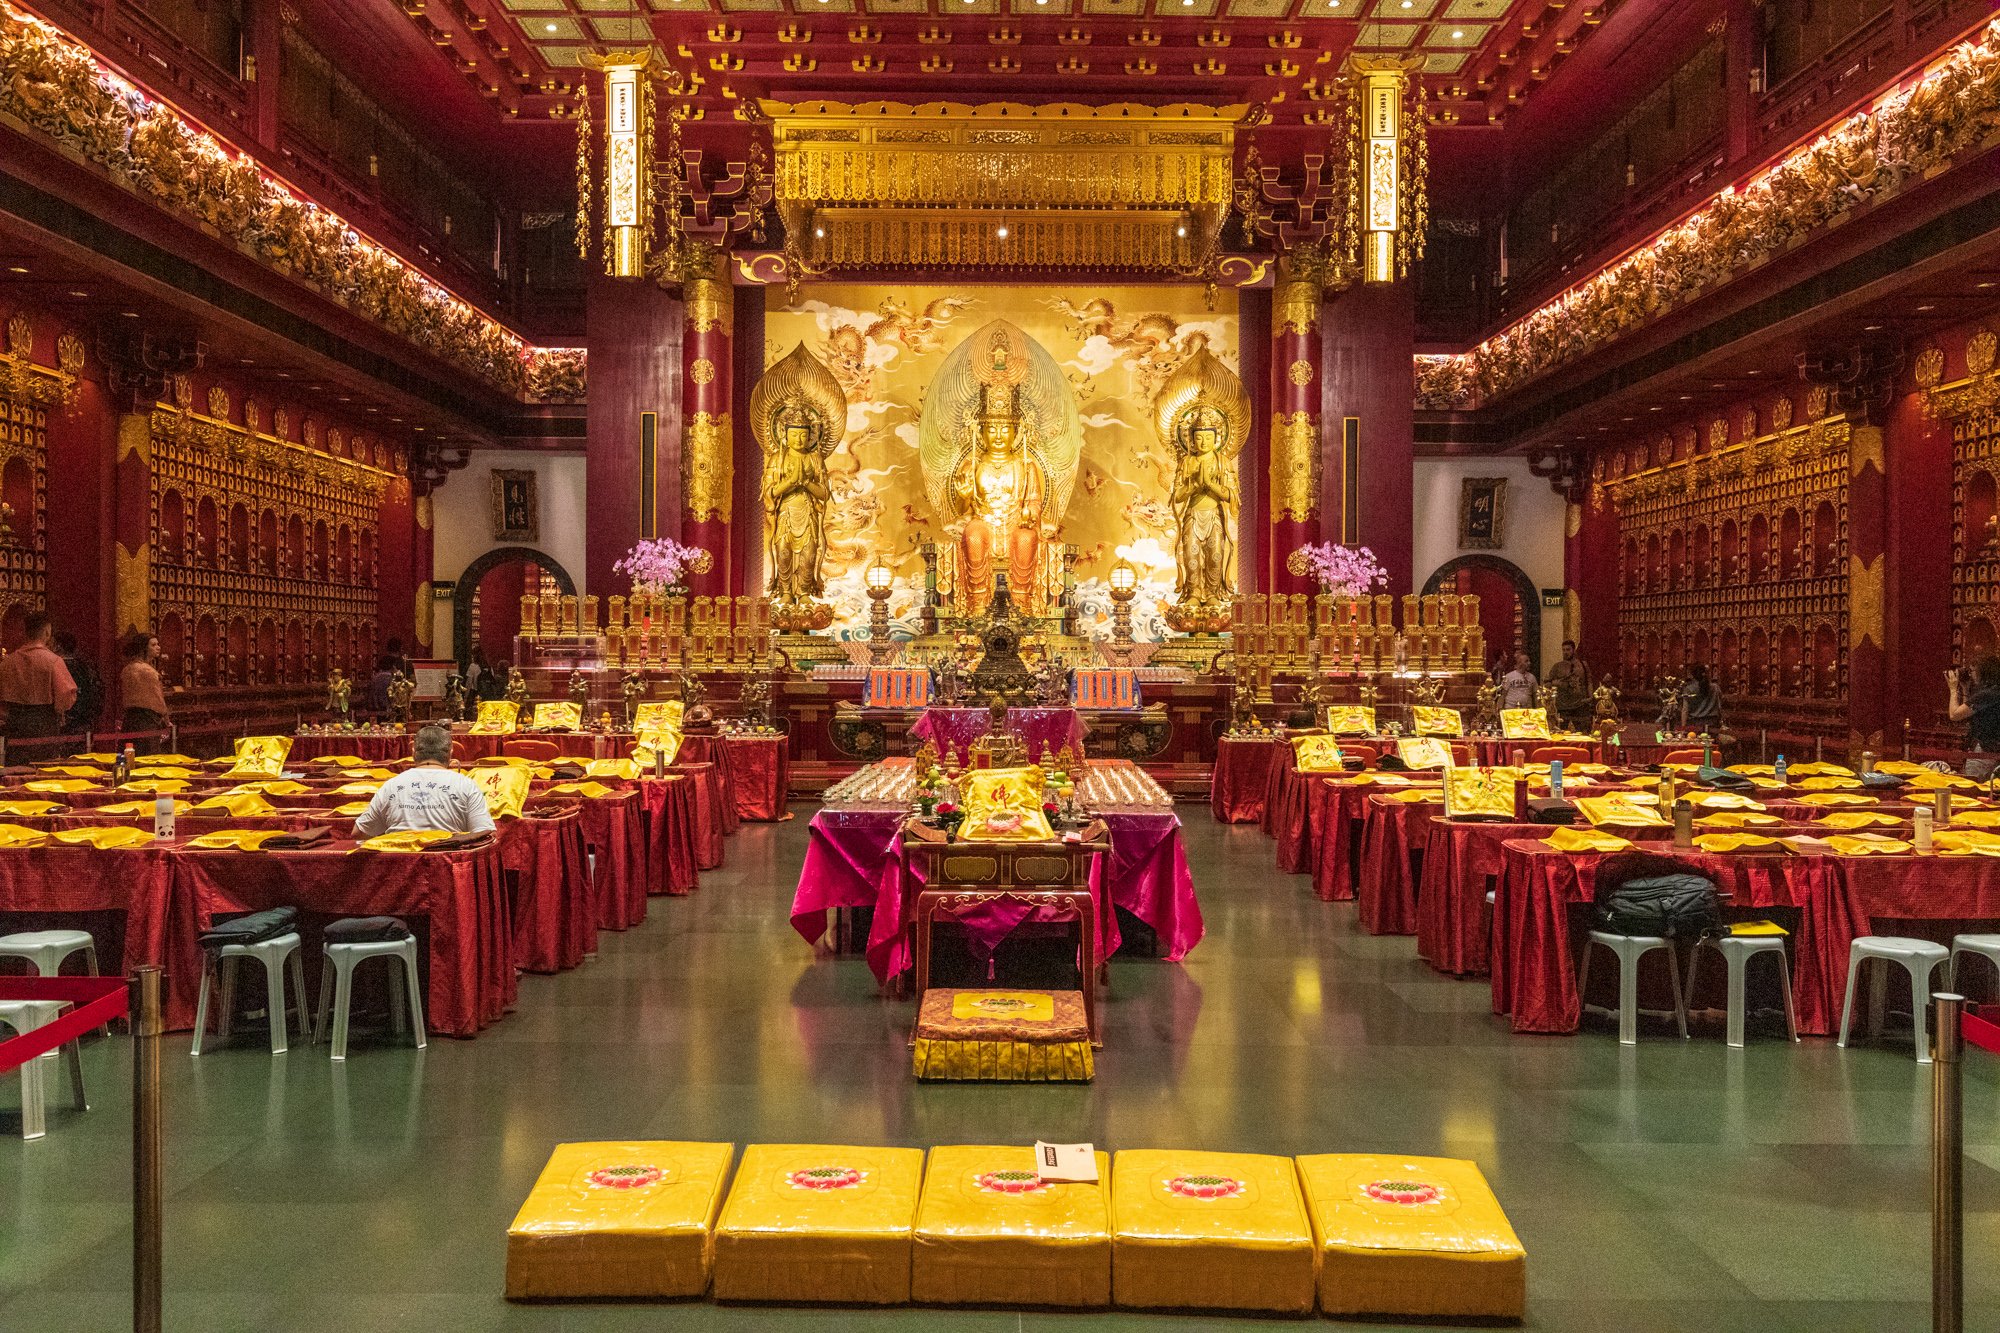
Buddha Tooth Relic Temple
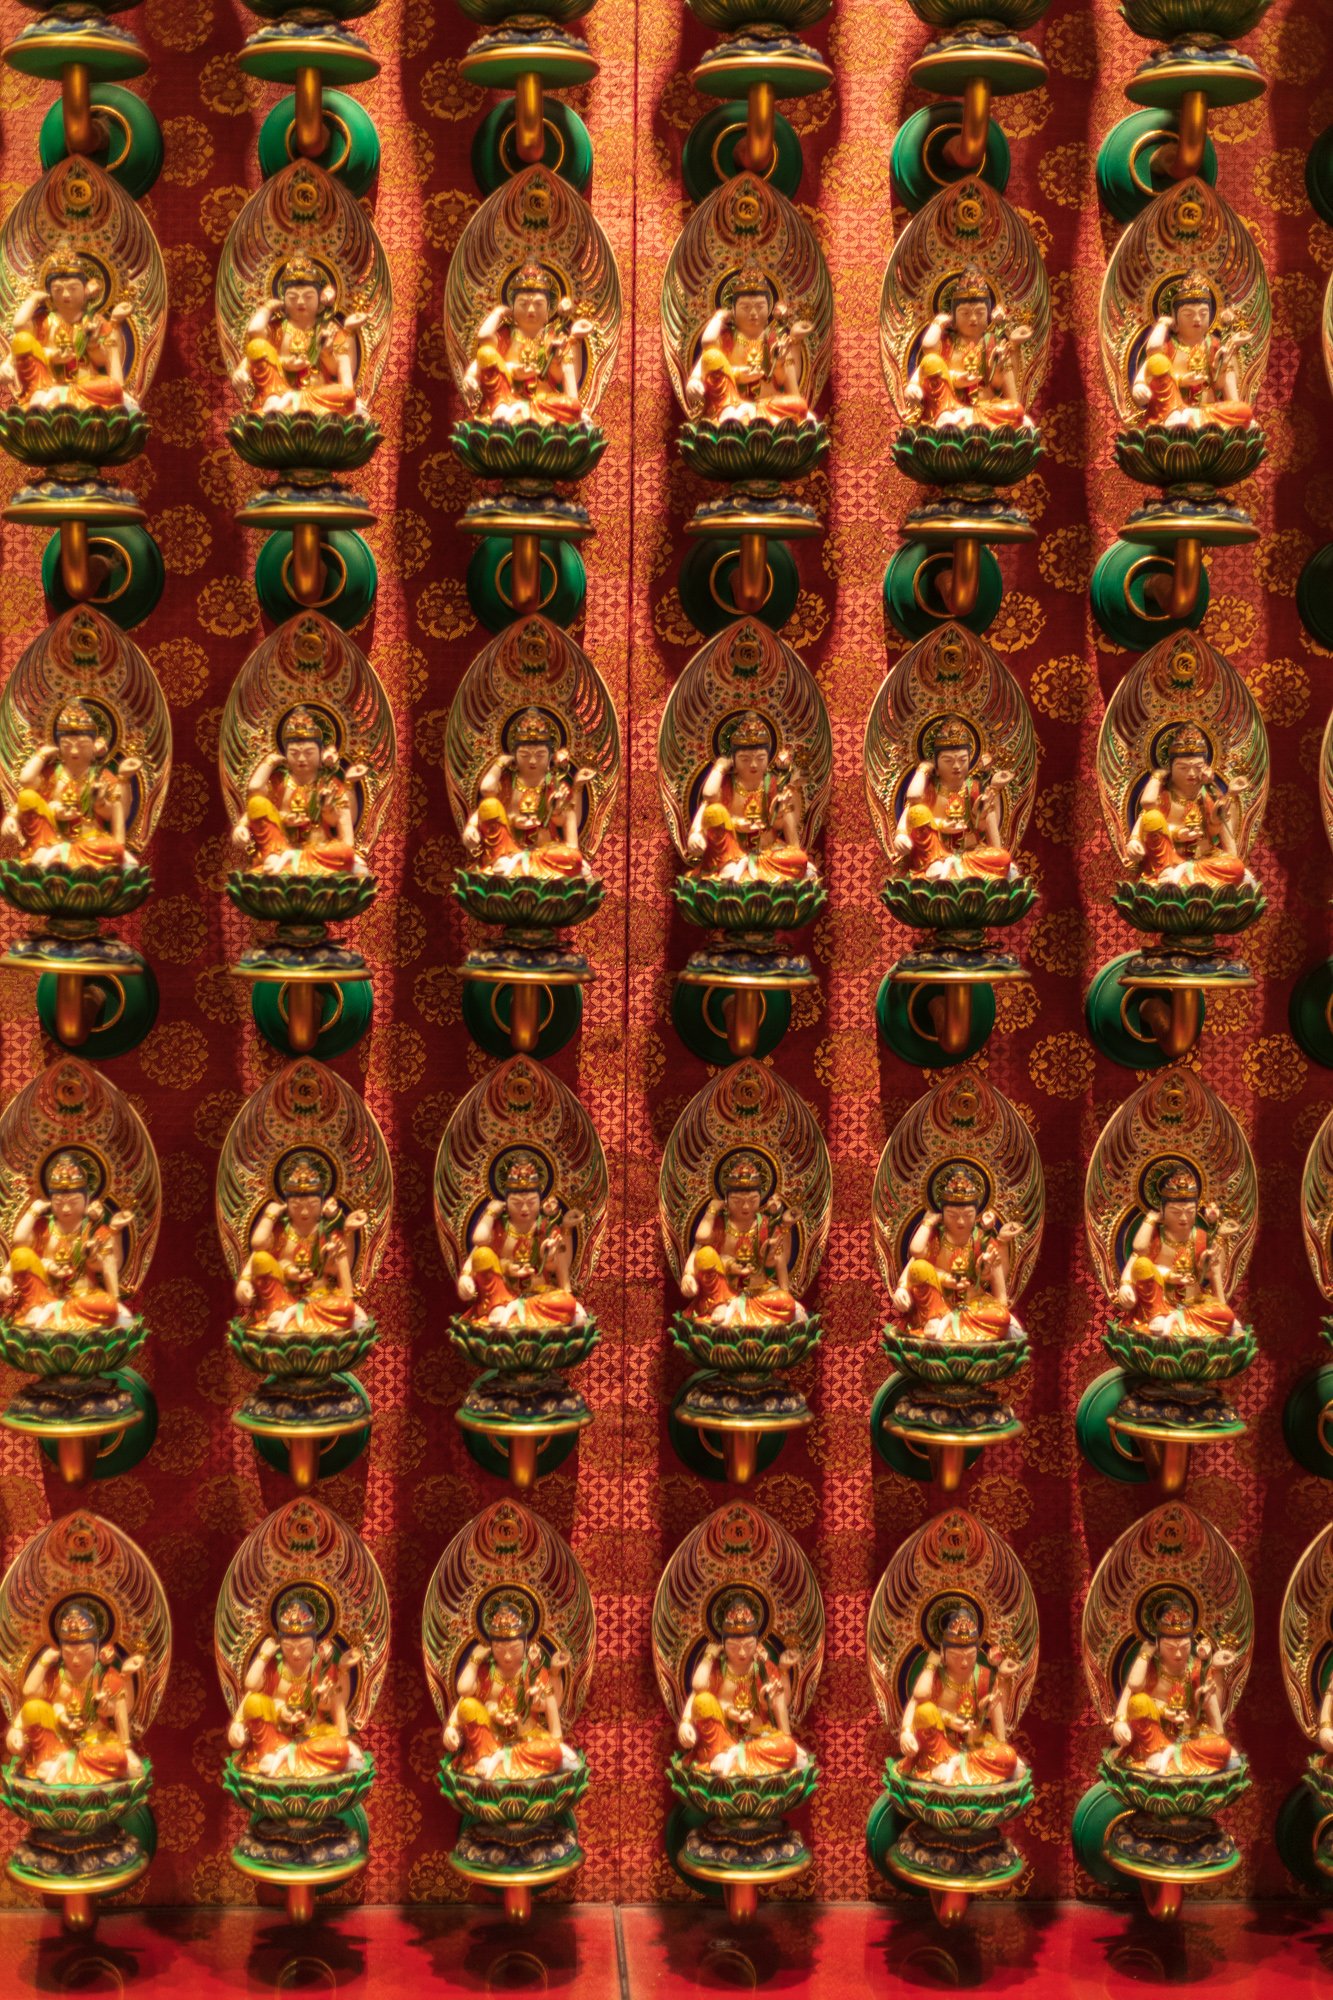
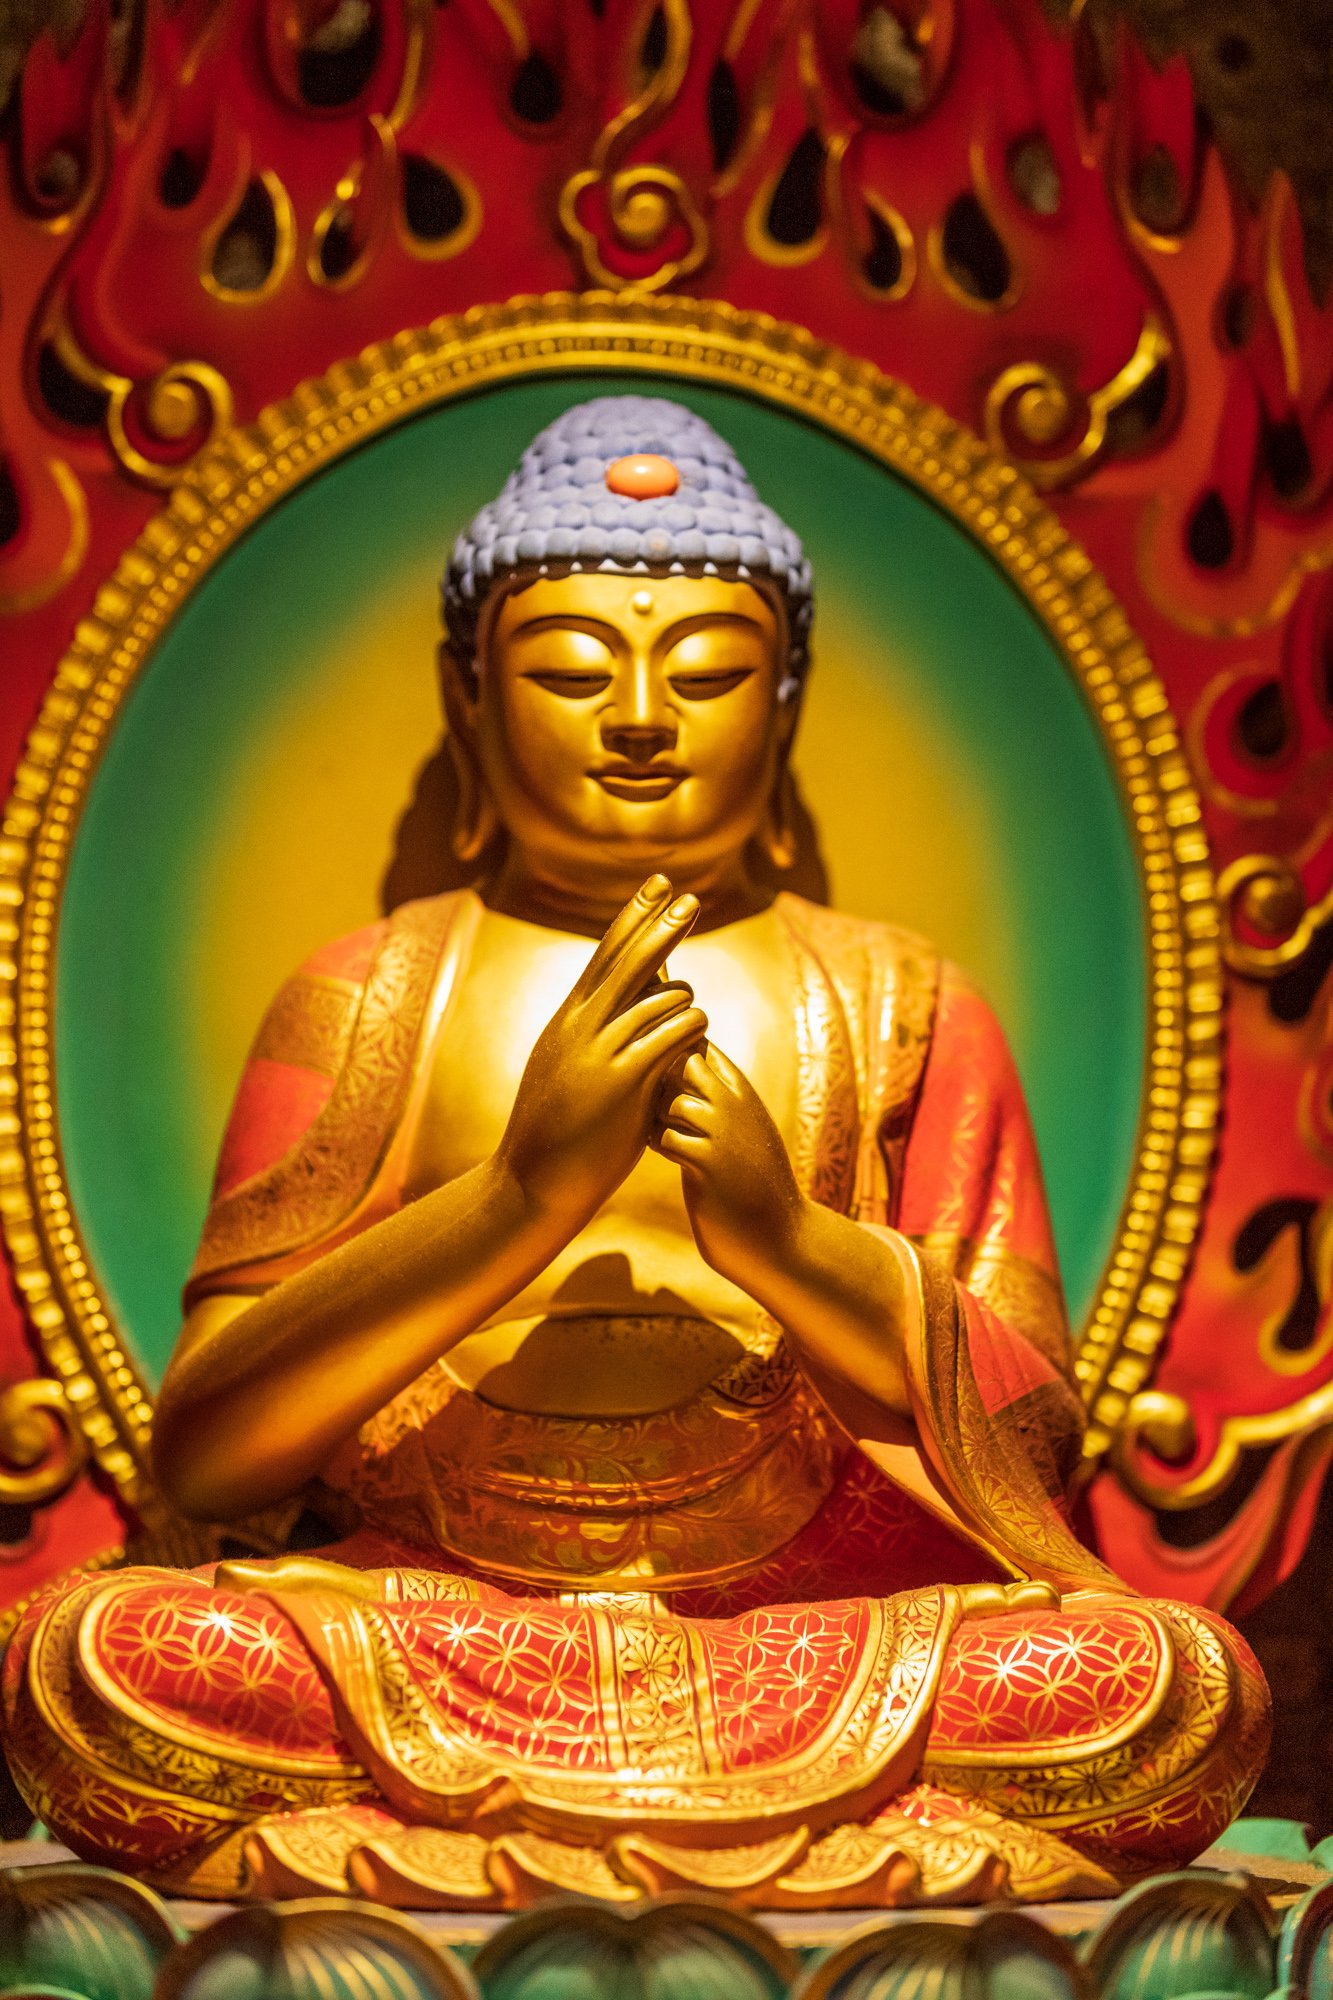
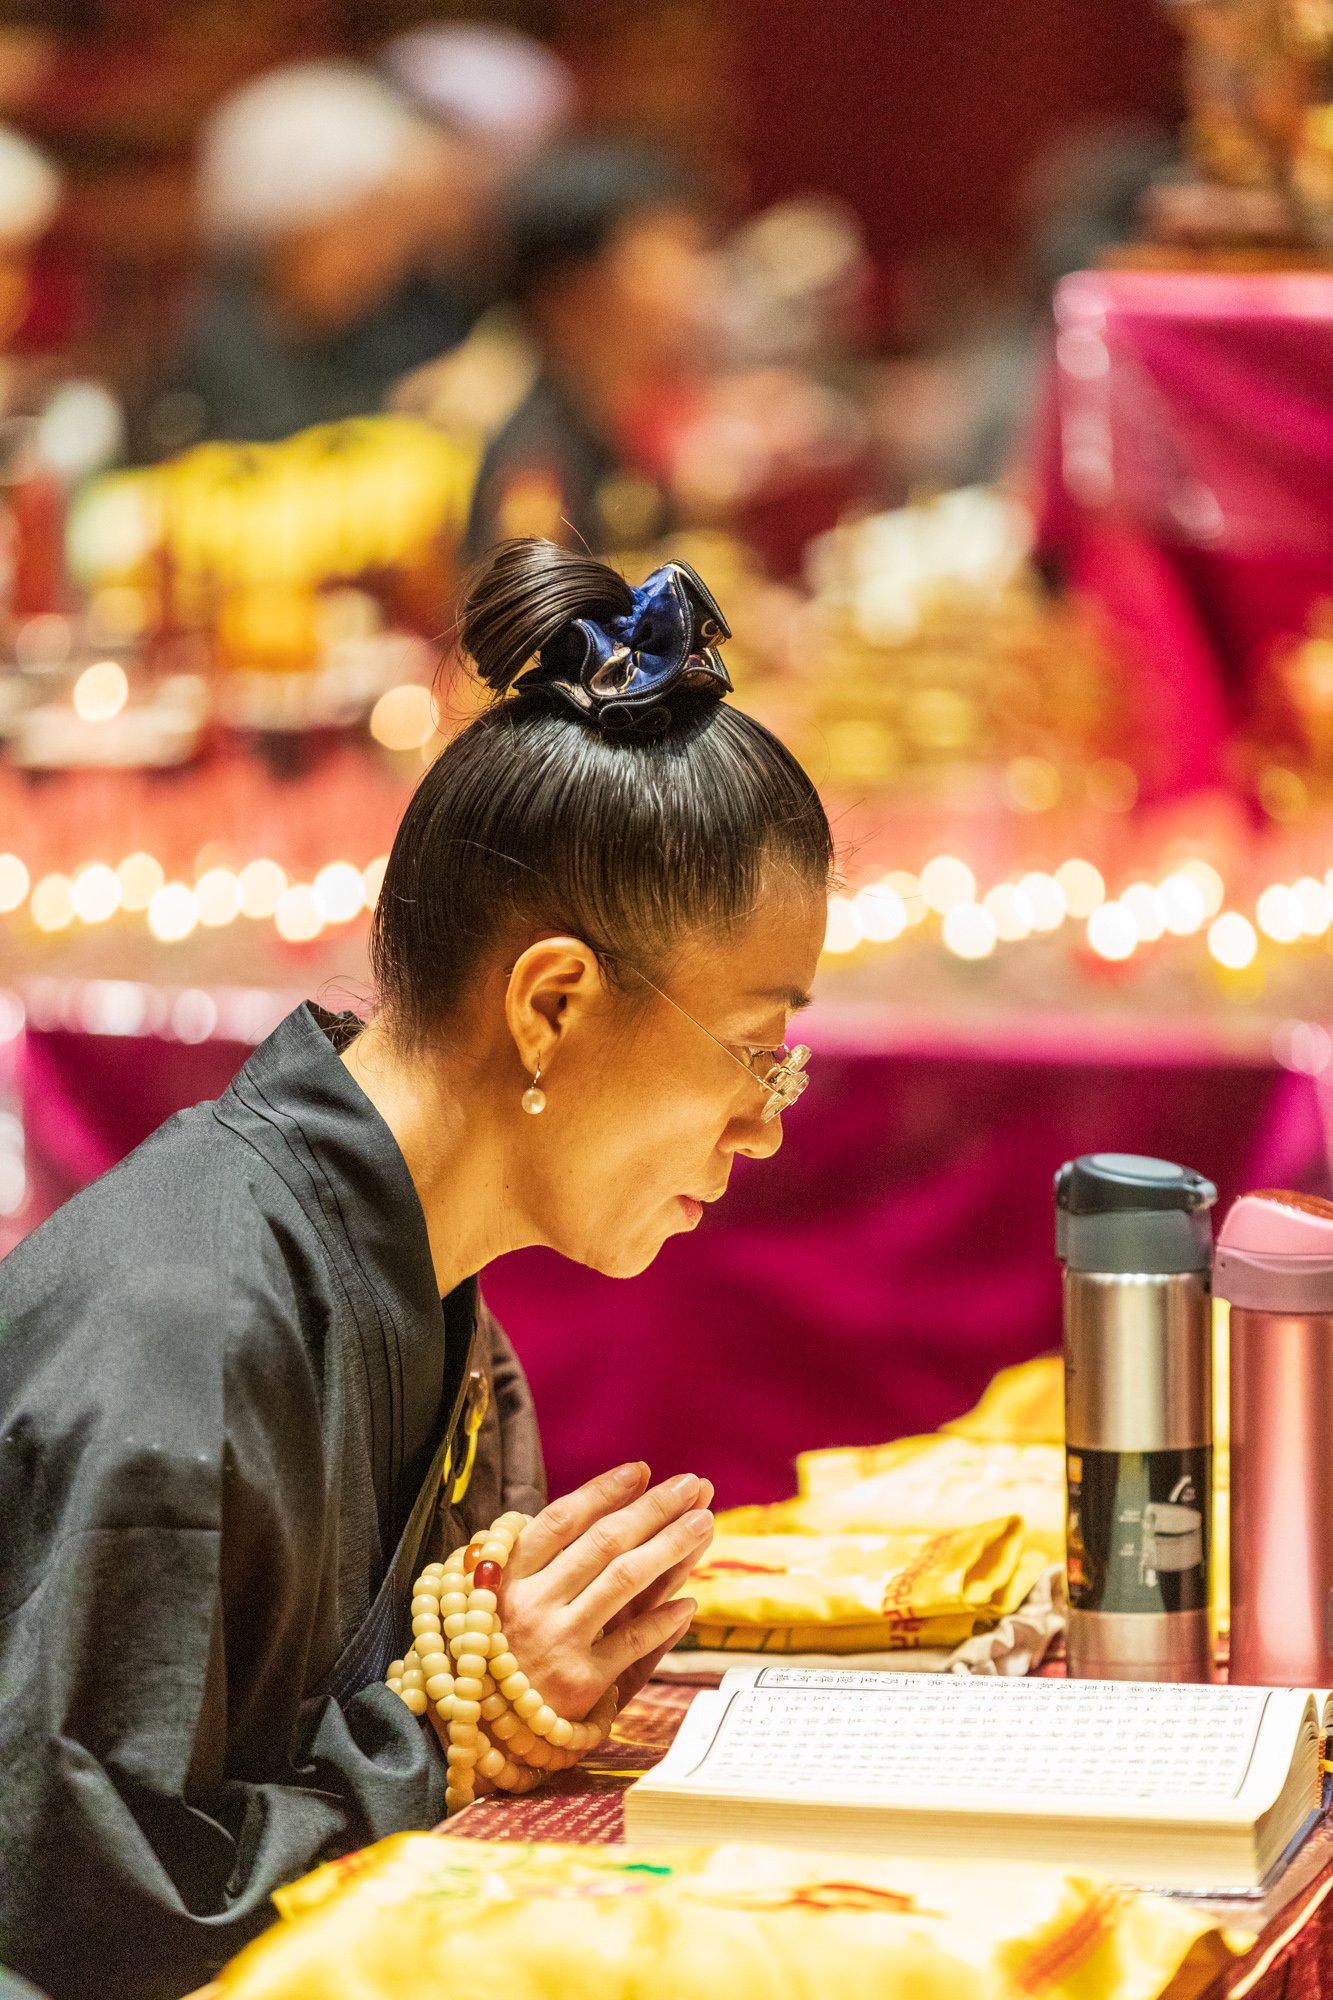
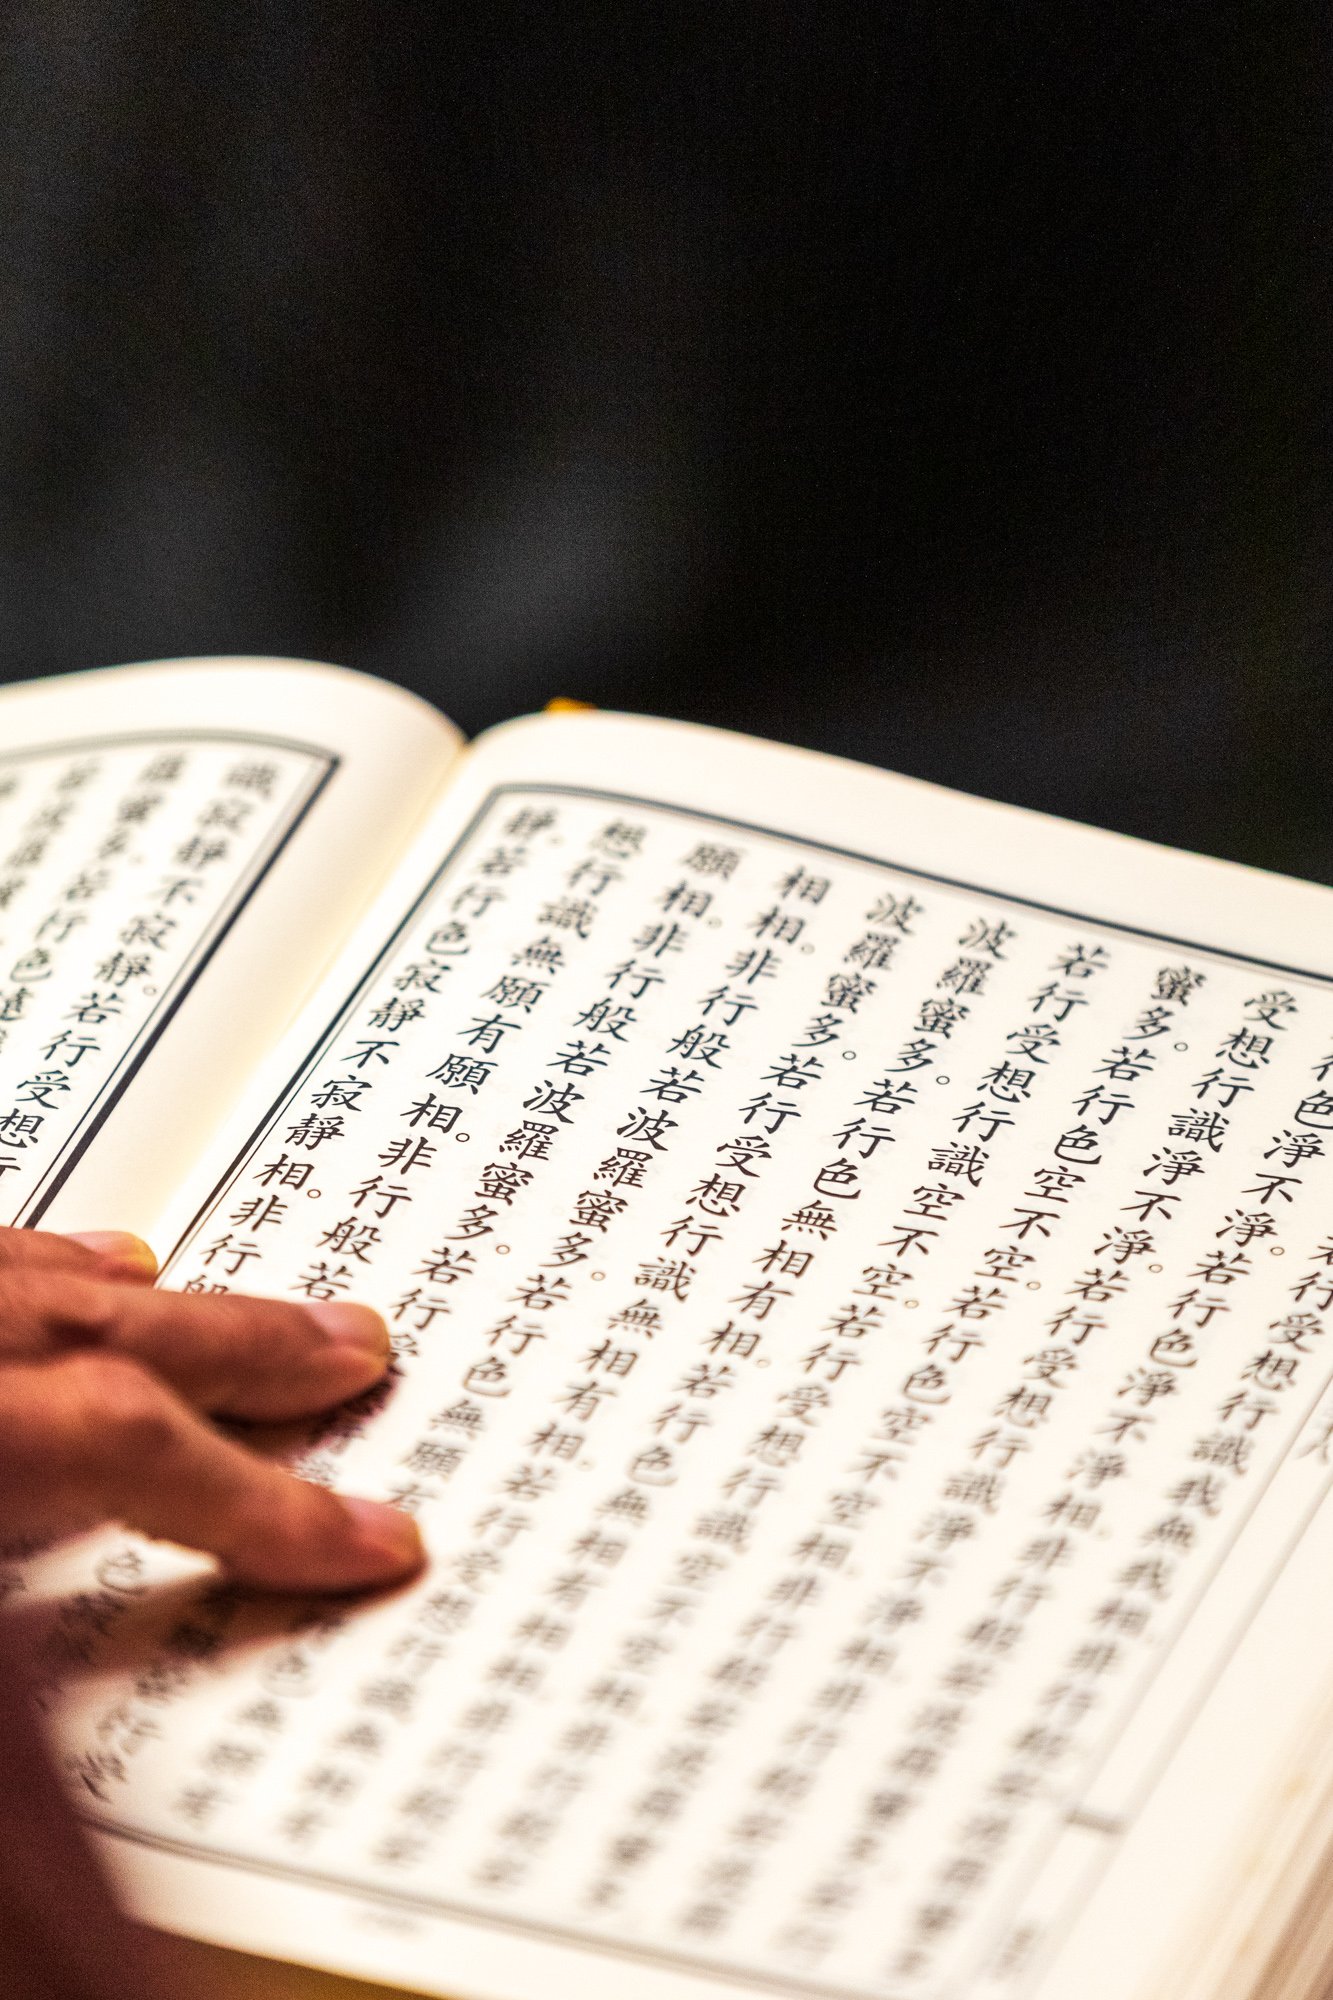
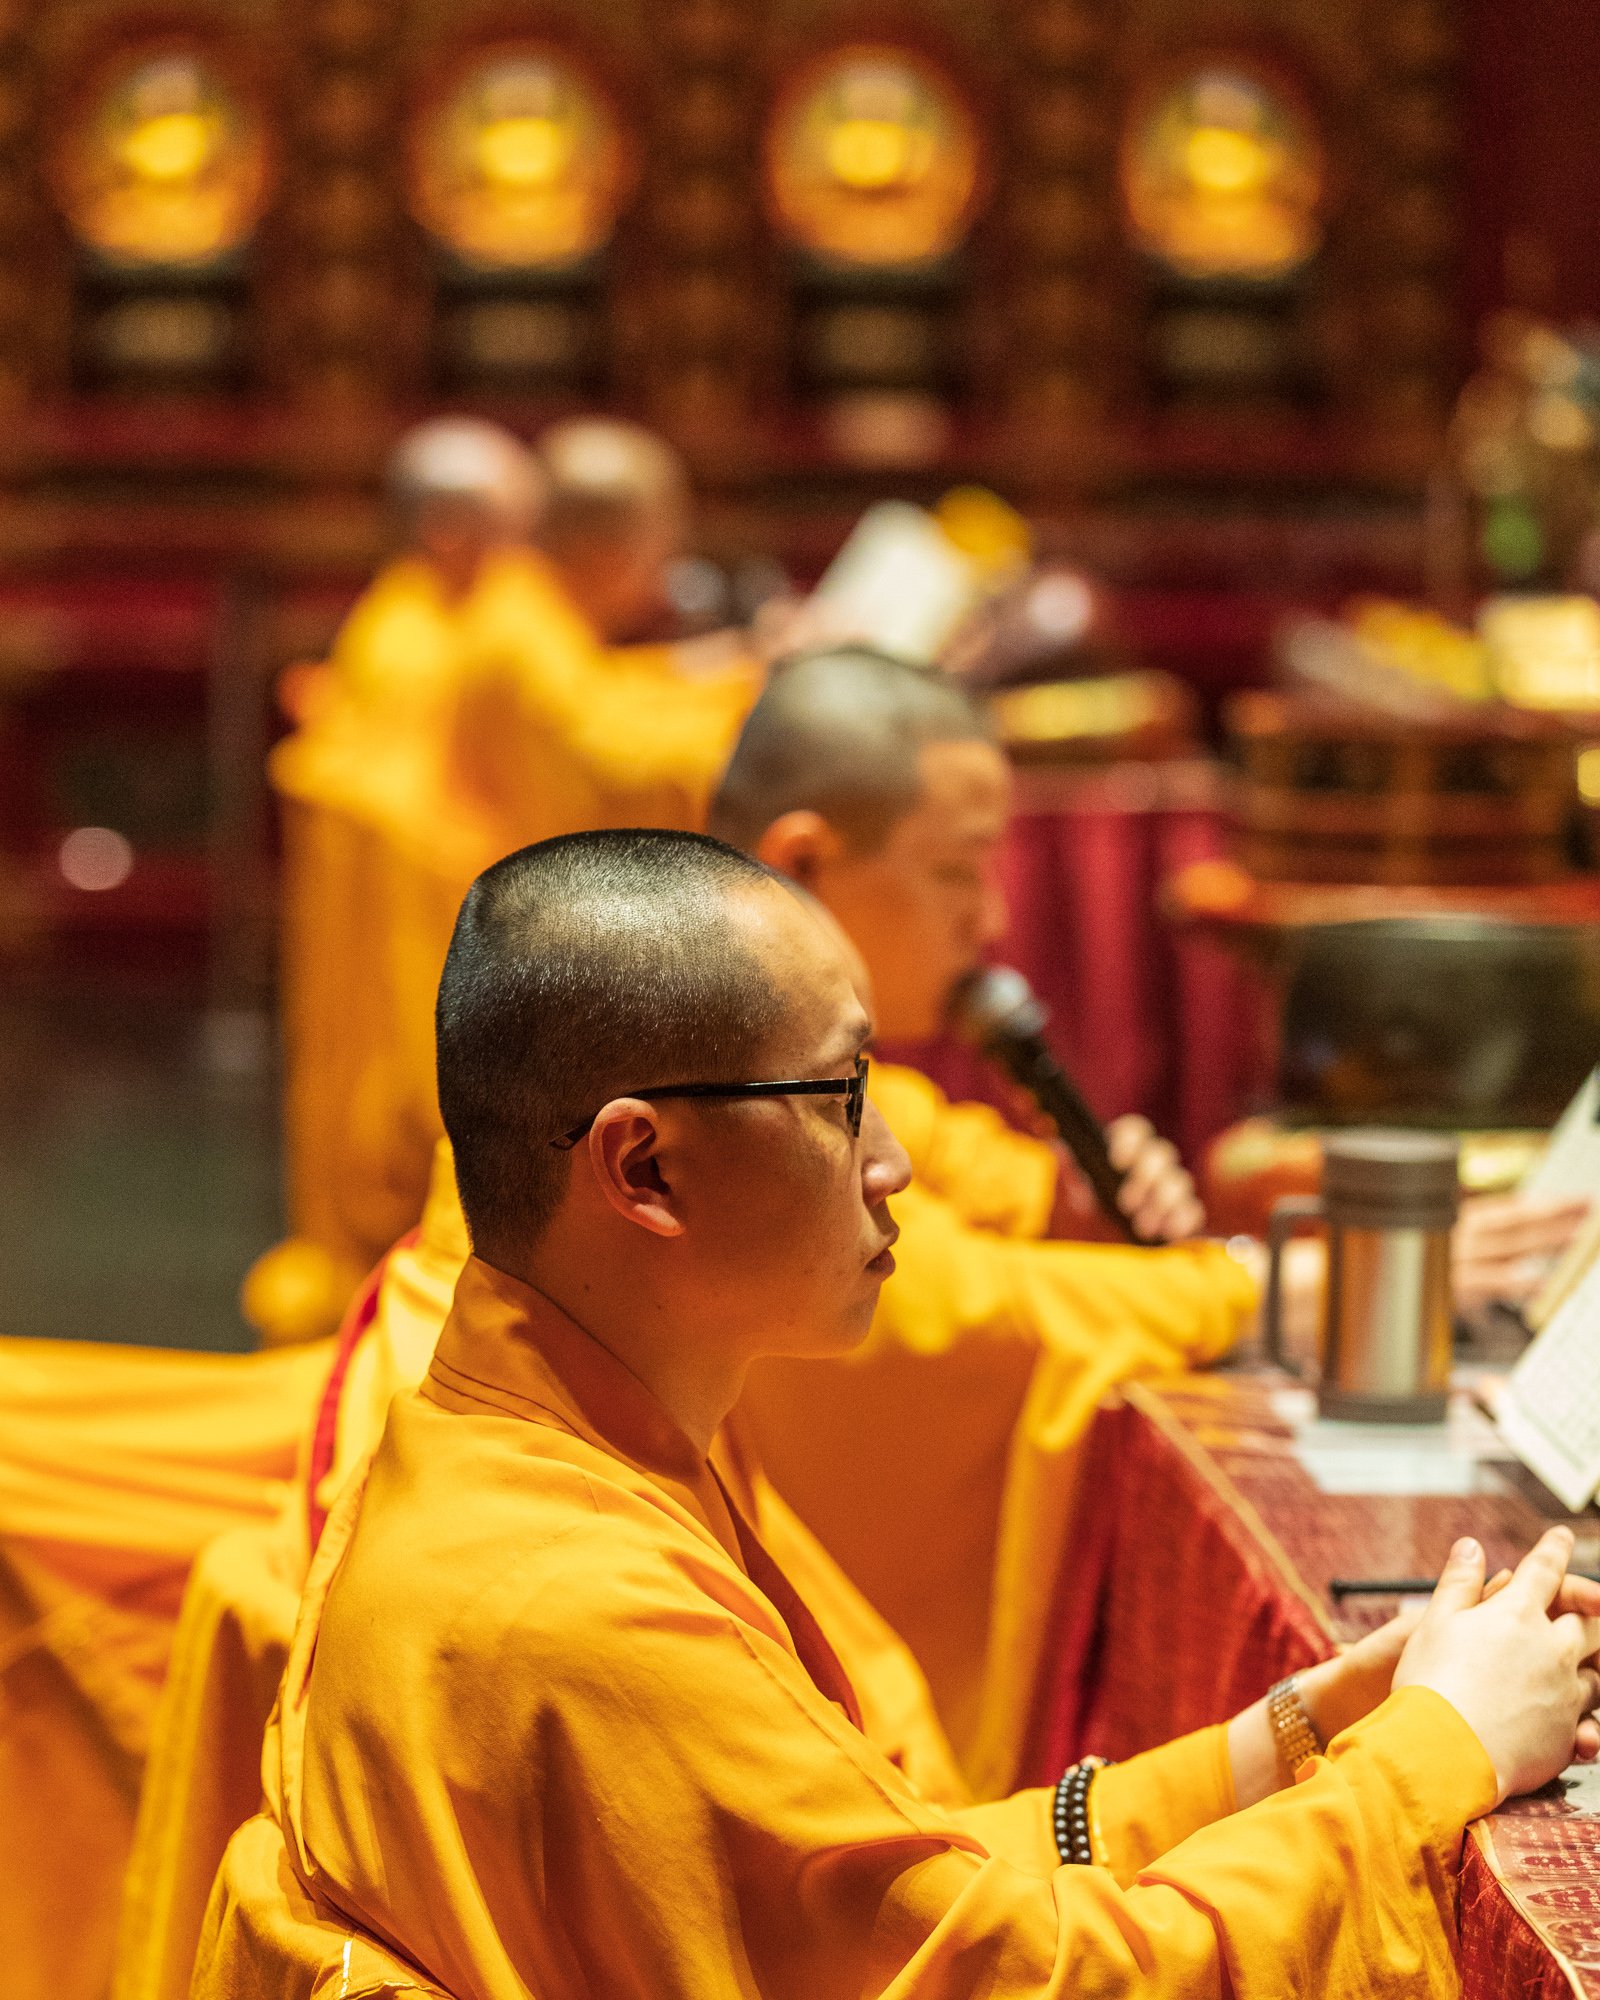
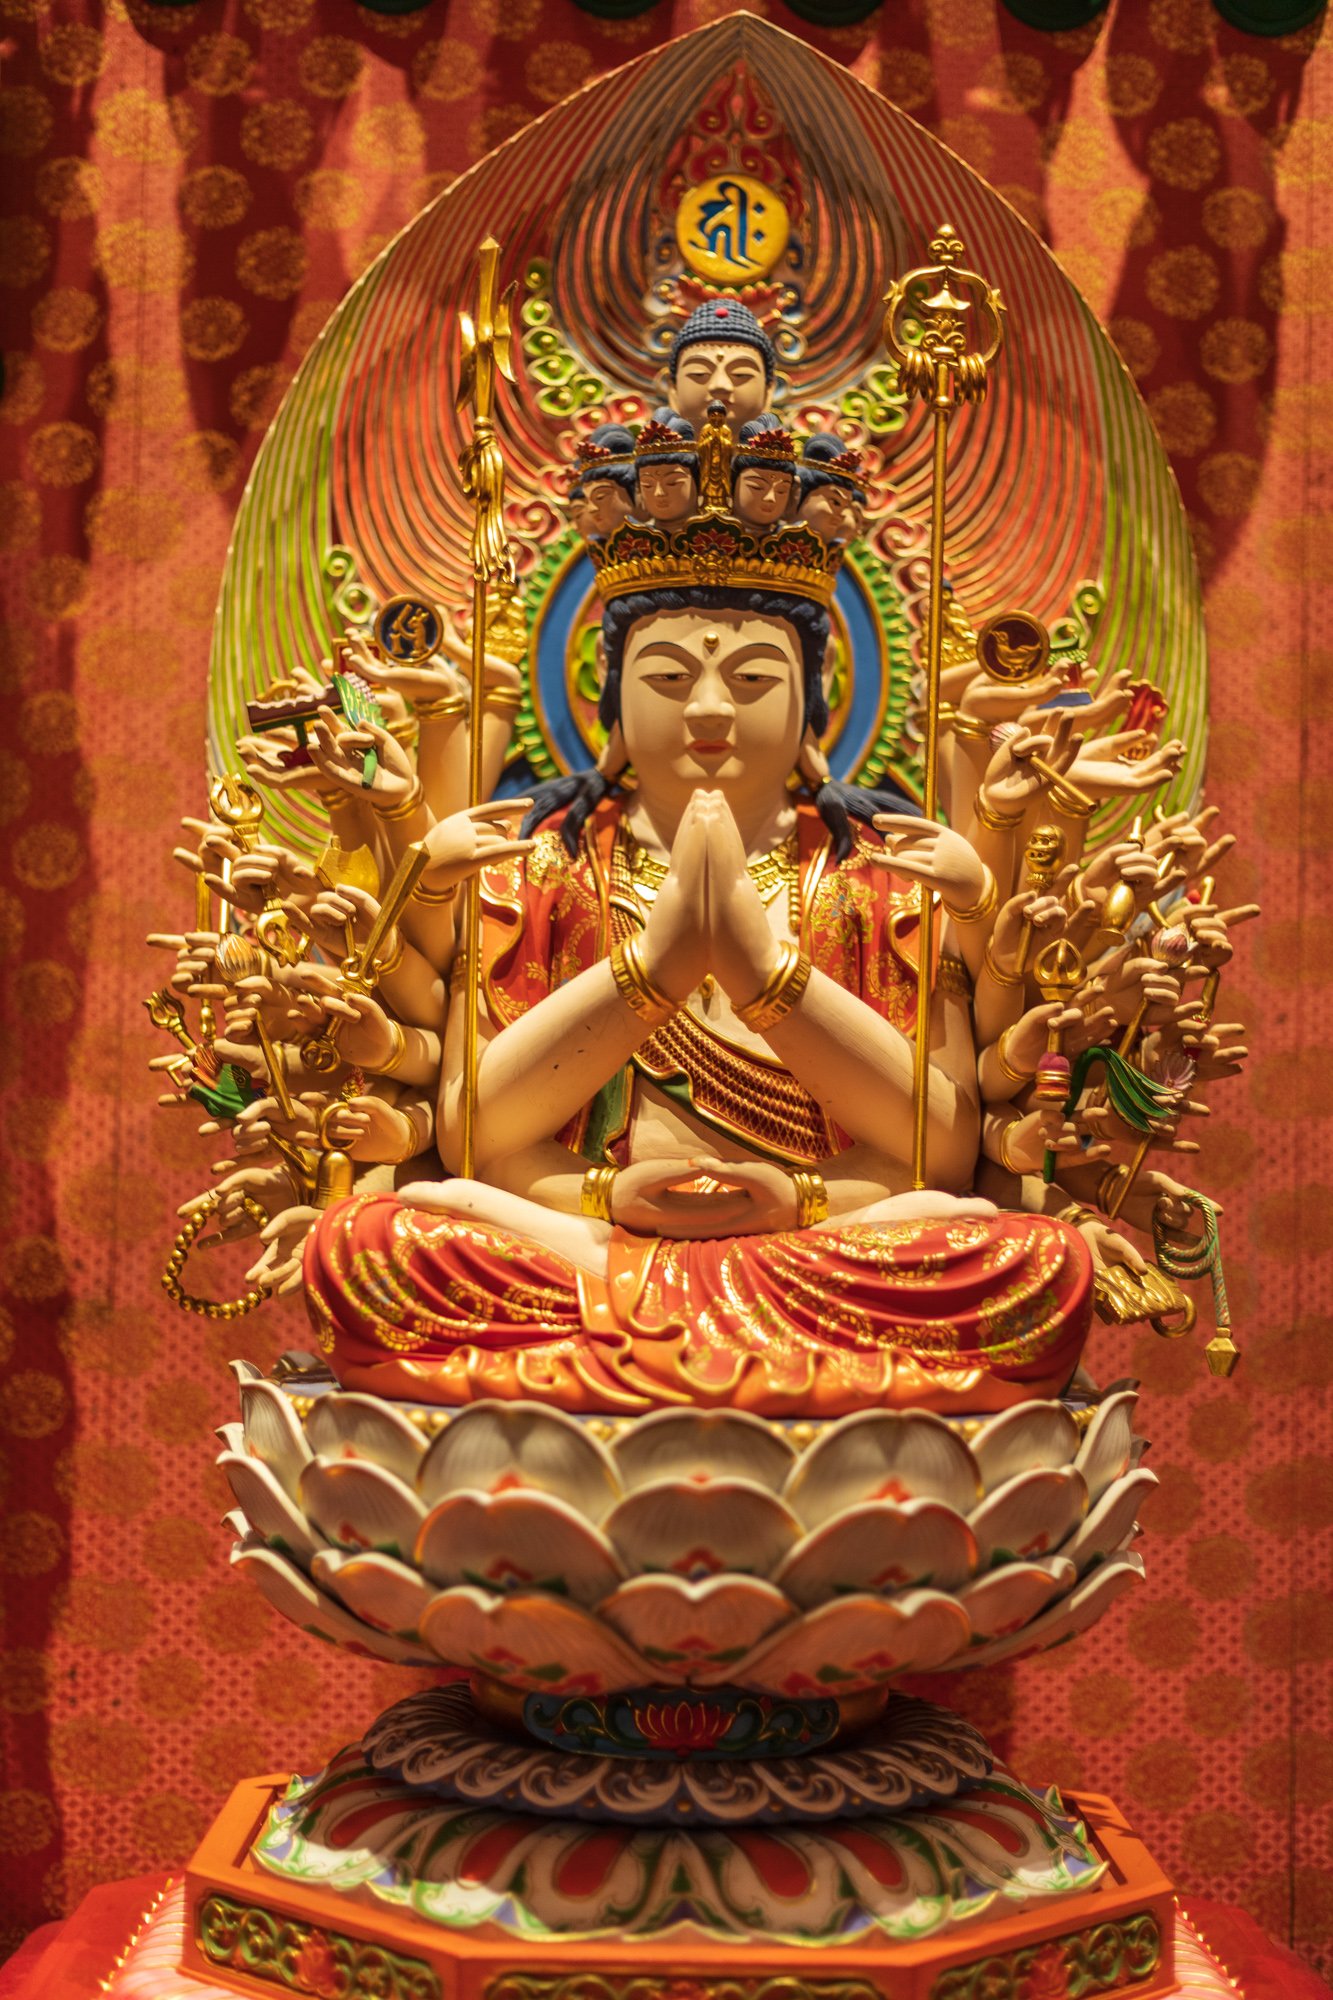
Located in the heart of Chinatown, the Buddha Tooth Relic Temple was completed in 2007 and built entirely without nails. The exterior in burgundy and green, topped with Tibetan prayer flags, is one of the most visually distinctive buildings in Singapore. Inside, the decorative detail is extraordinary: gilded altars, intricate Buddhist iconography, and the quiet movement of worshippers creating natural, respectful street photography opportunities.
📷 Pro Tip: The exterior photographs best in the late afternoon when the warm light hits the burgundy facade directly. Use a 35 to 50mm focal length from directly across South Bridge Road and include the street-level activity in the foreground for context and scale. For interior shots, switch to a wide lens at f/2.8 and boost ISO to 2000 to 4000; flash is inappropriate and will not improve the quality of the image anyway. The most visually compelling interior compositions are from the ground floor looking up toward the ornate ceiling. Dress conservatively and remove shoes before entering. Arrive on public holidays if you want to photograph incense processions and devotees, but give subjects space and photograph with respect.
Best time: Late afternoon for the exterior. Access: Free. Chinatown MRT, two-minute walk.
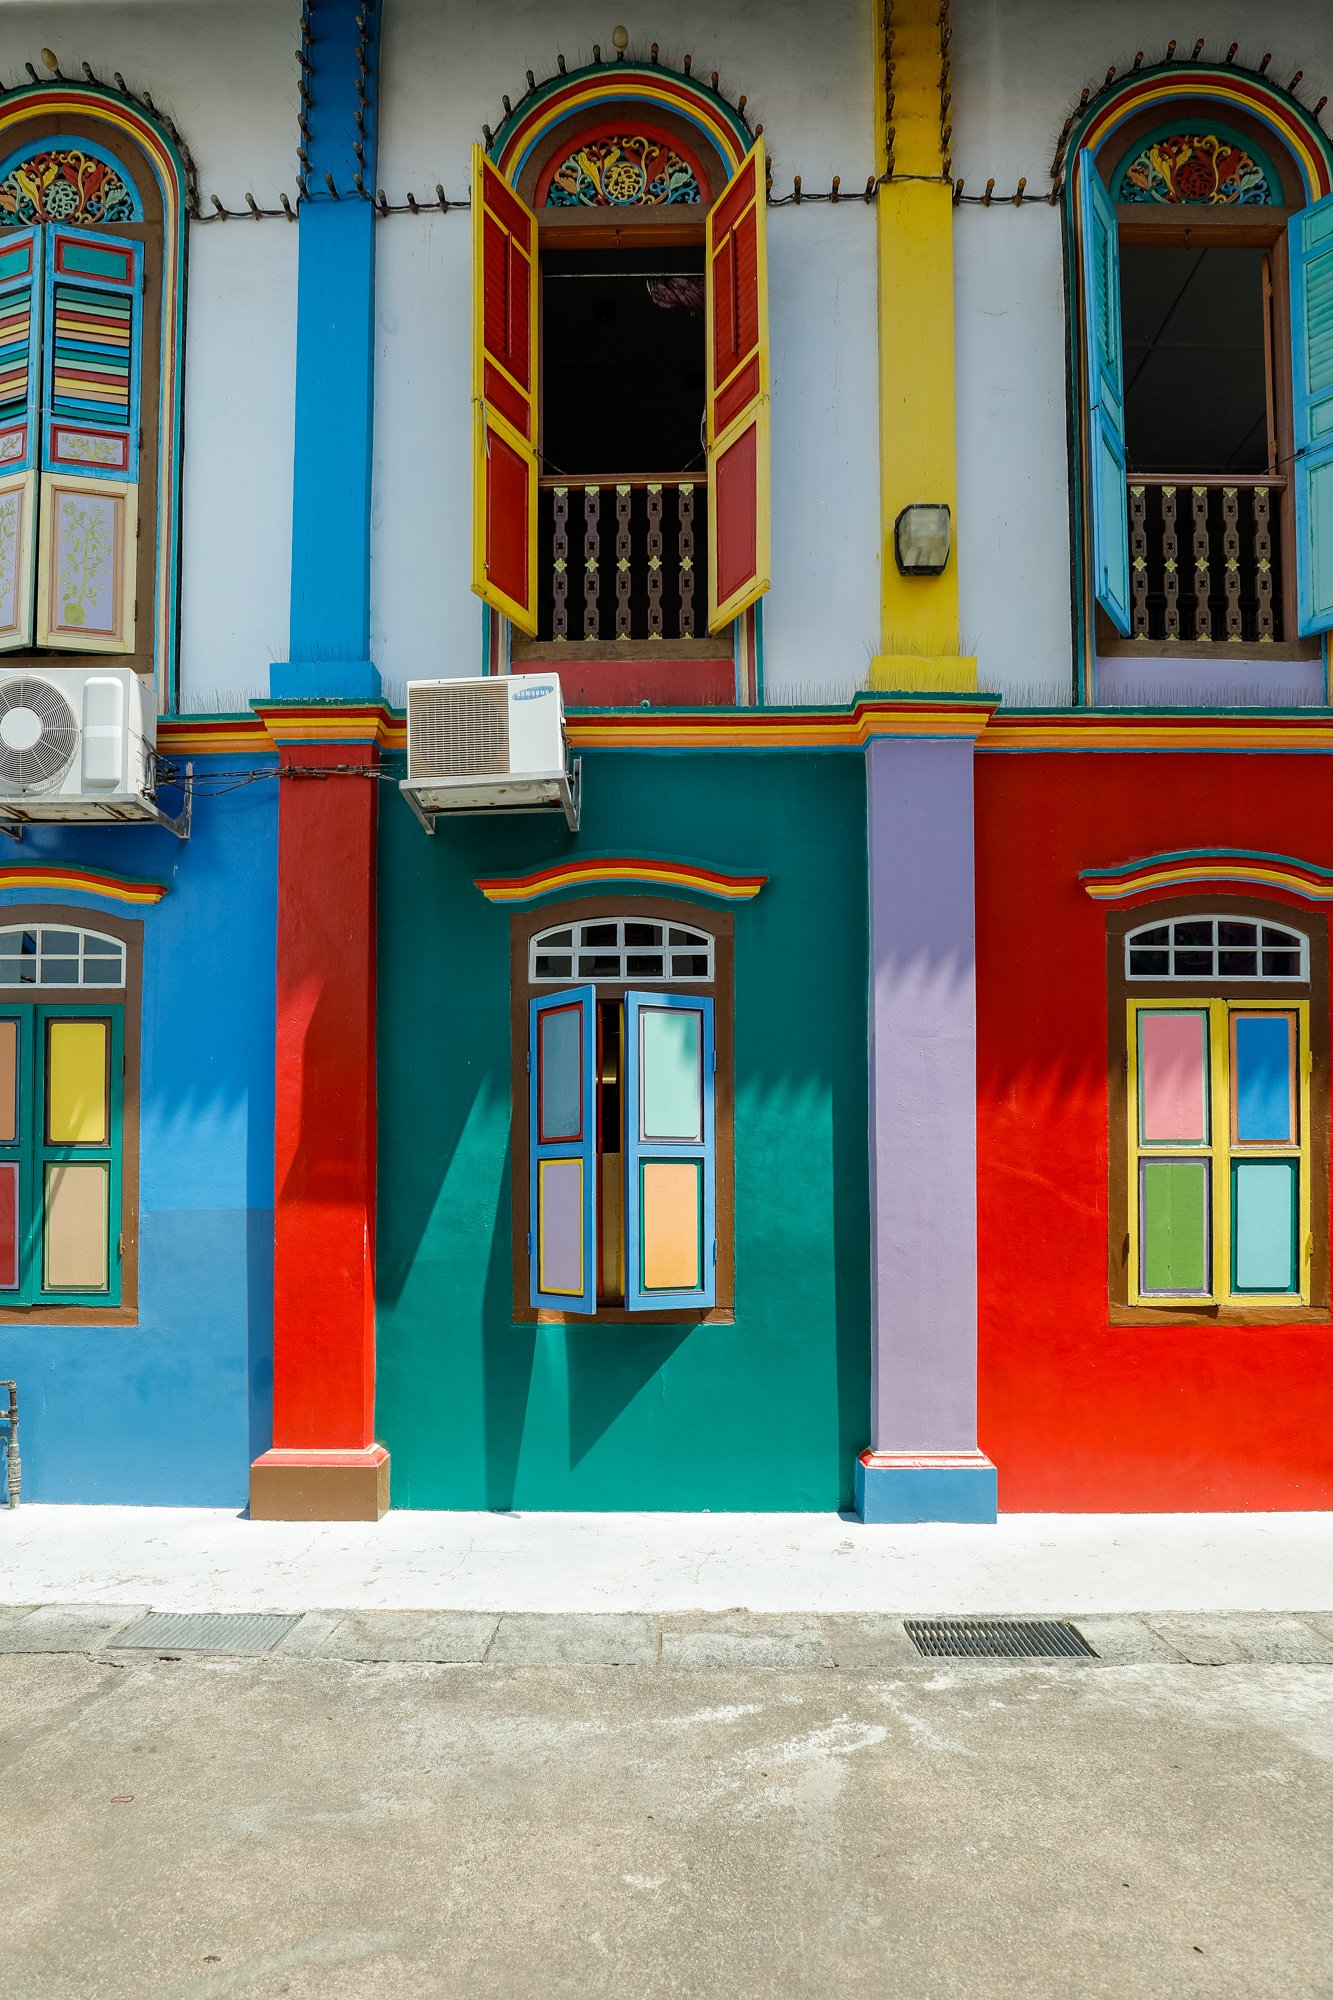
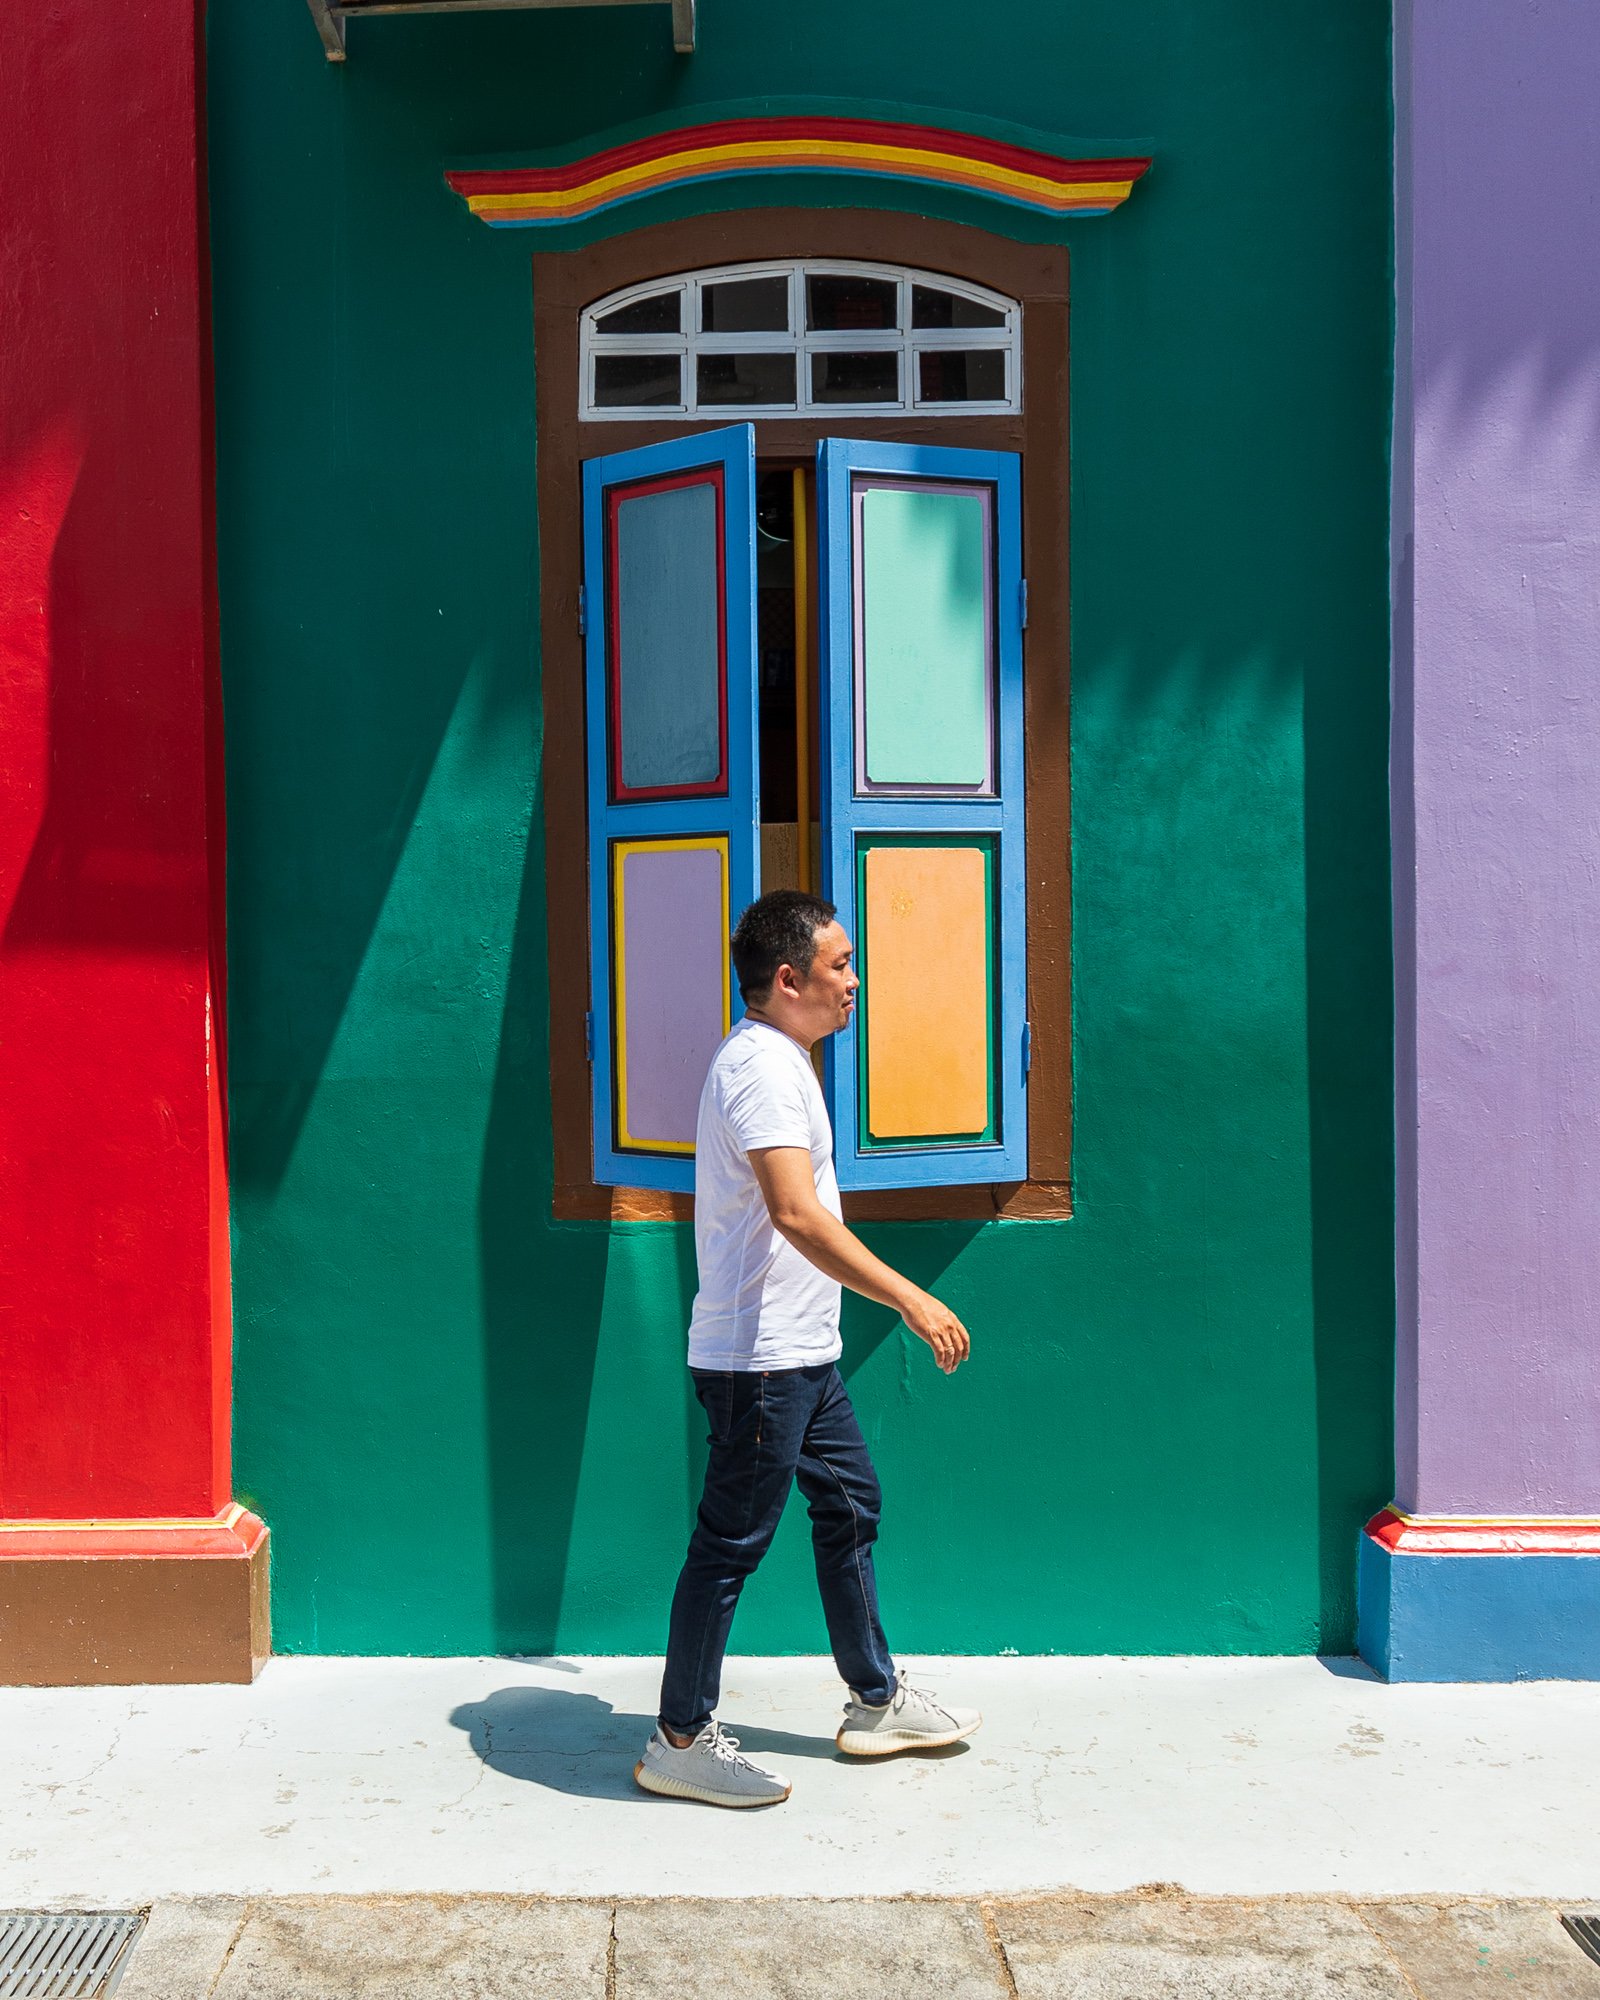
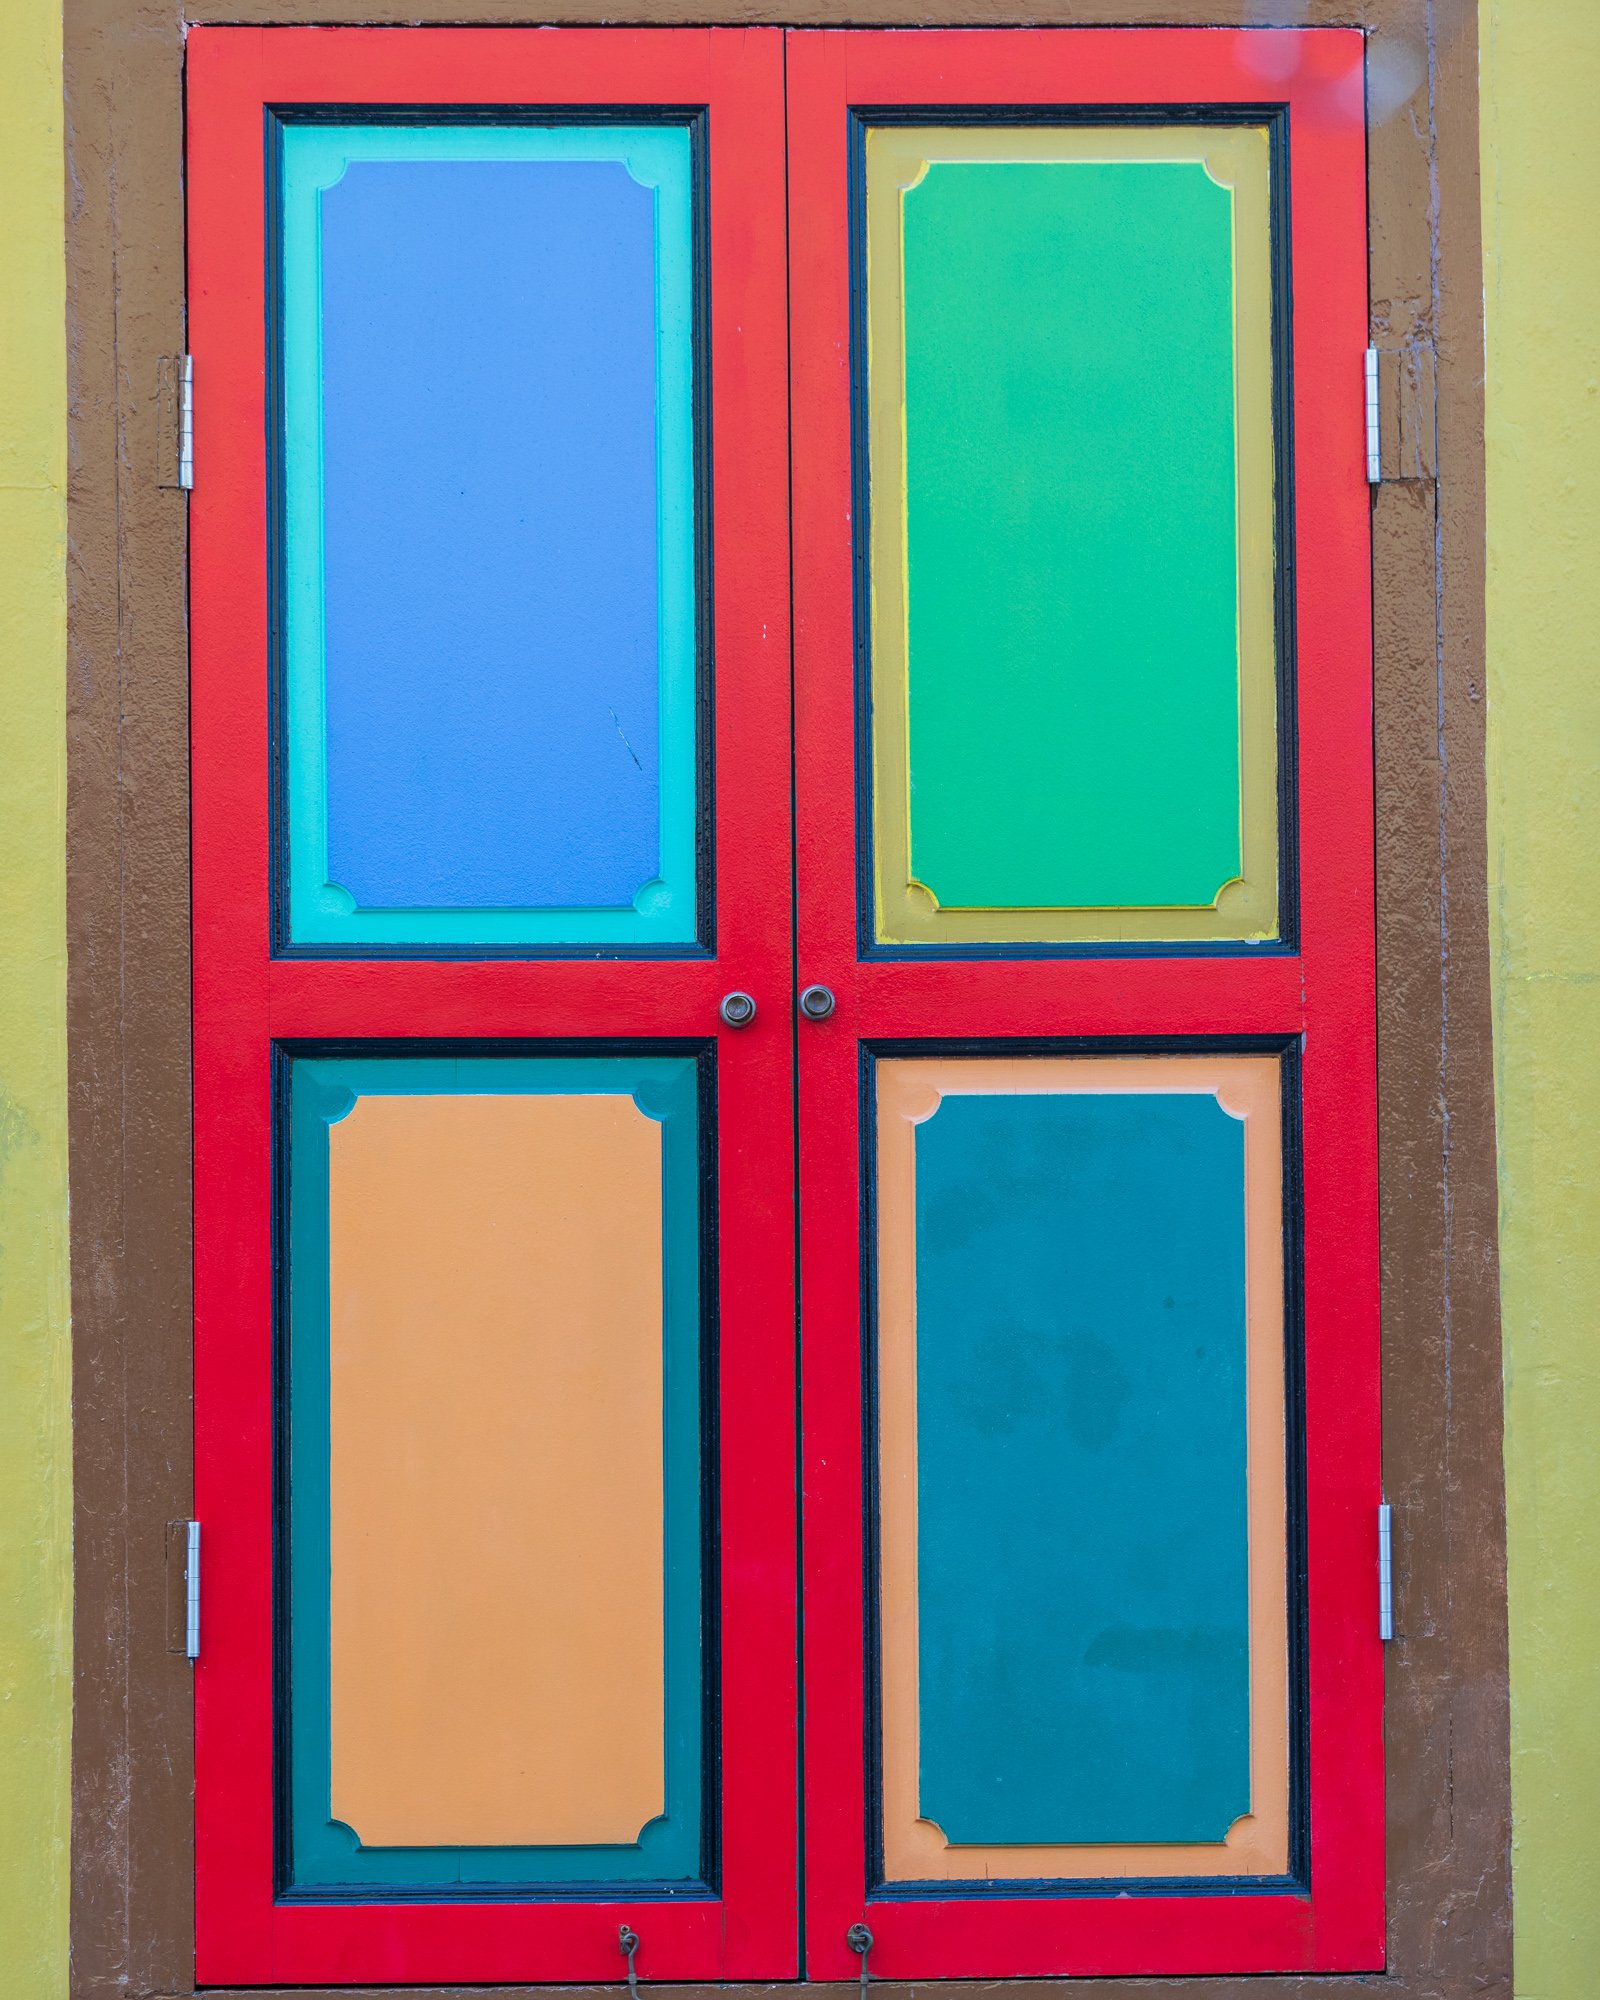
House of Tan Teng Niah
In Little India, you will find the colorful House of Tan Teng Niah. It was built in the 1900s by a local entrepreneur who gave it its name. The house is preserved as a national landmark and one of the best places to take photos in Singapore.
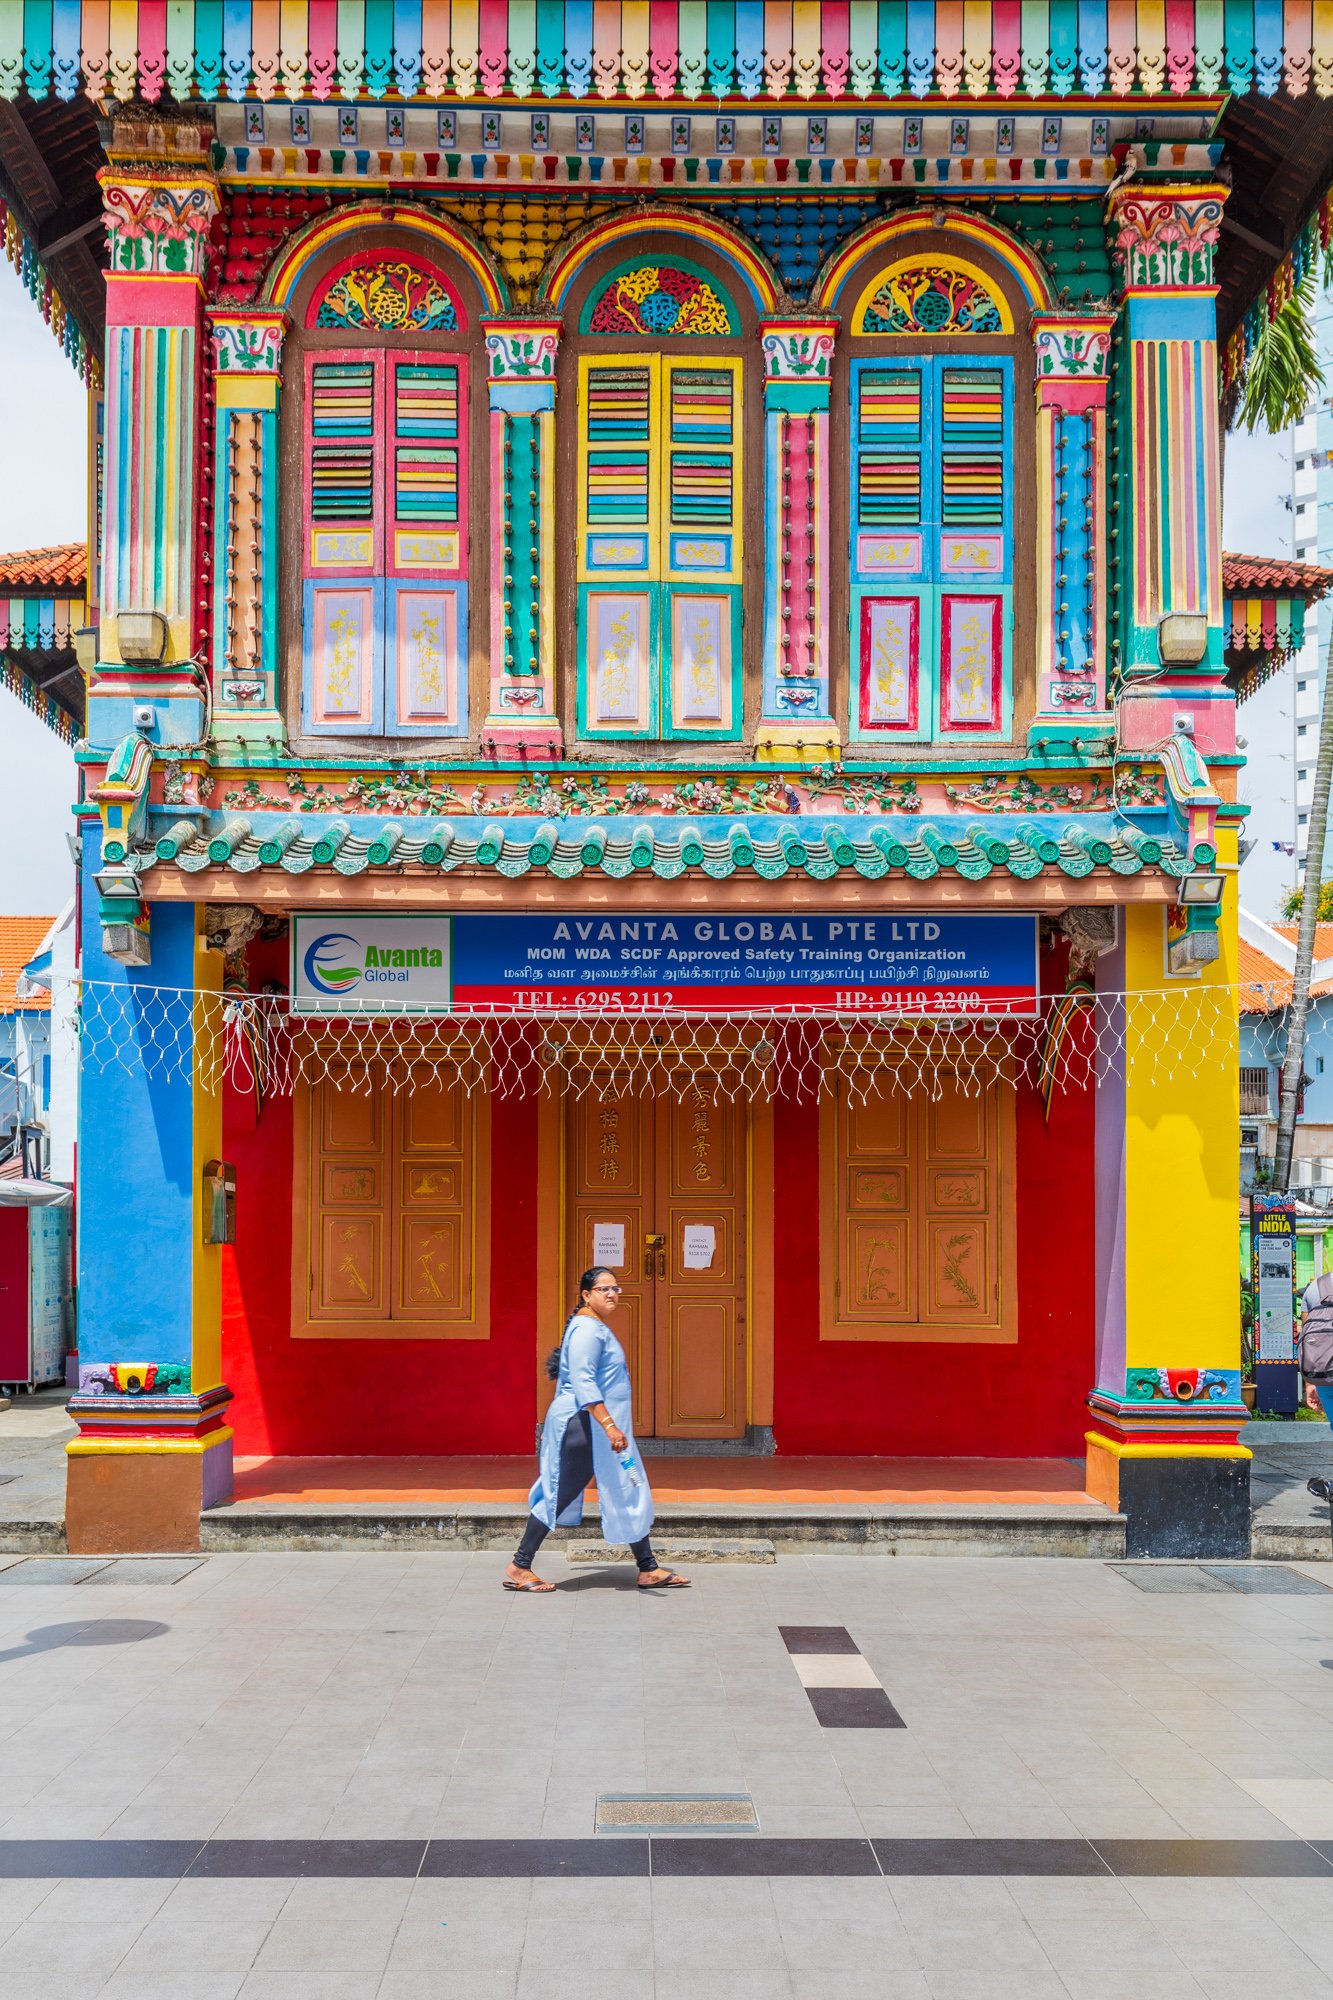
In Little India
The Singapore Flyer
The Singapore Flyer is one of the world’s largest observation wheels and offers some of the best views across Singapore.

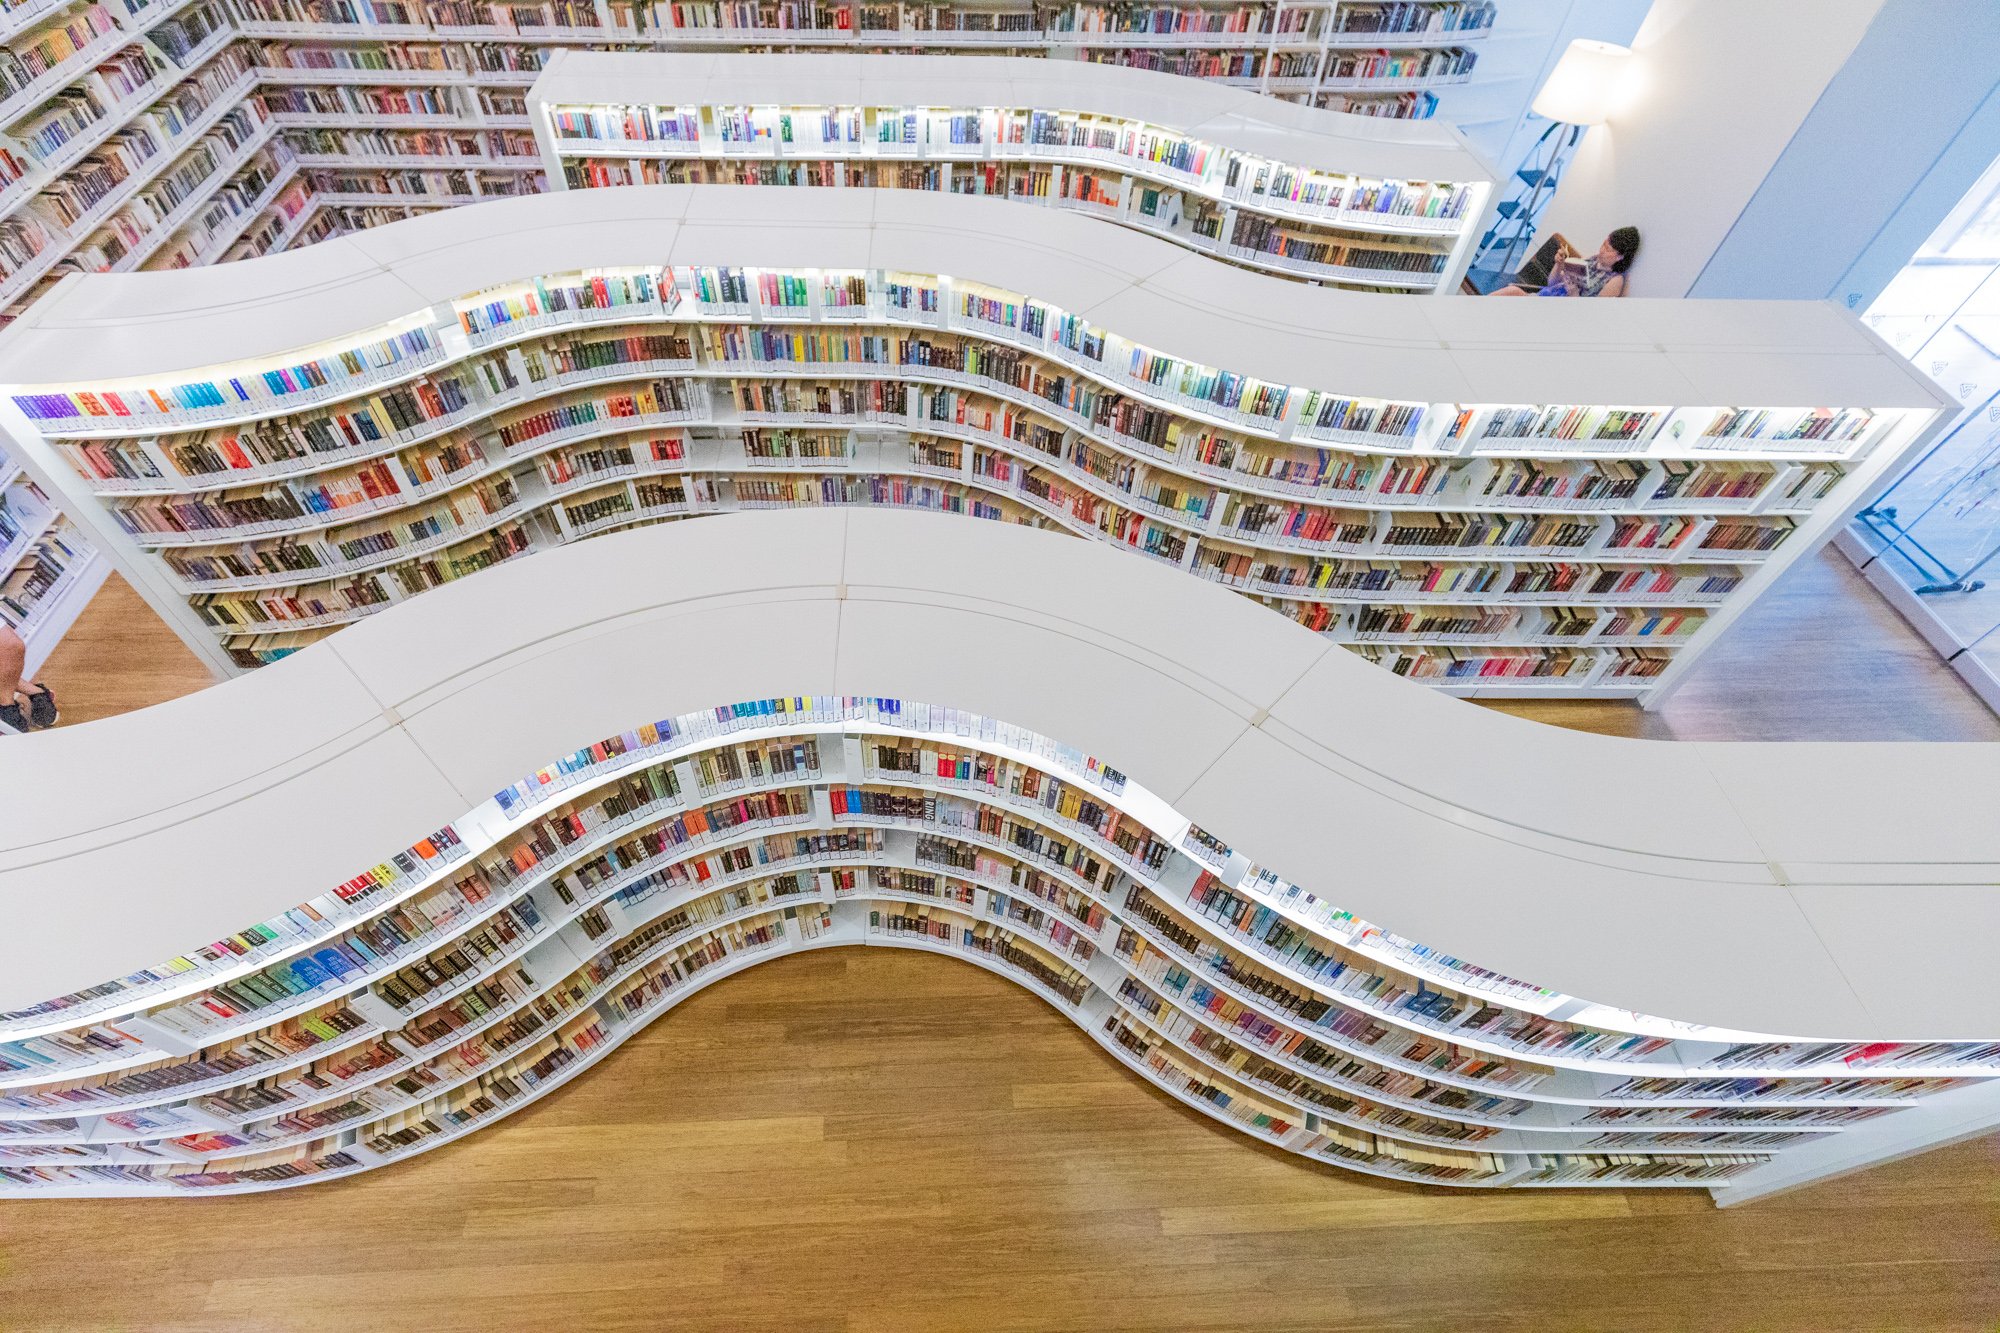
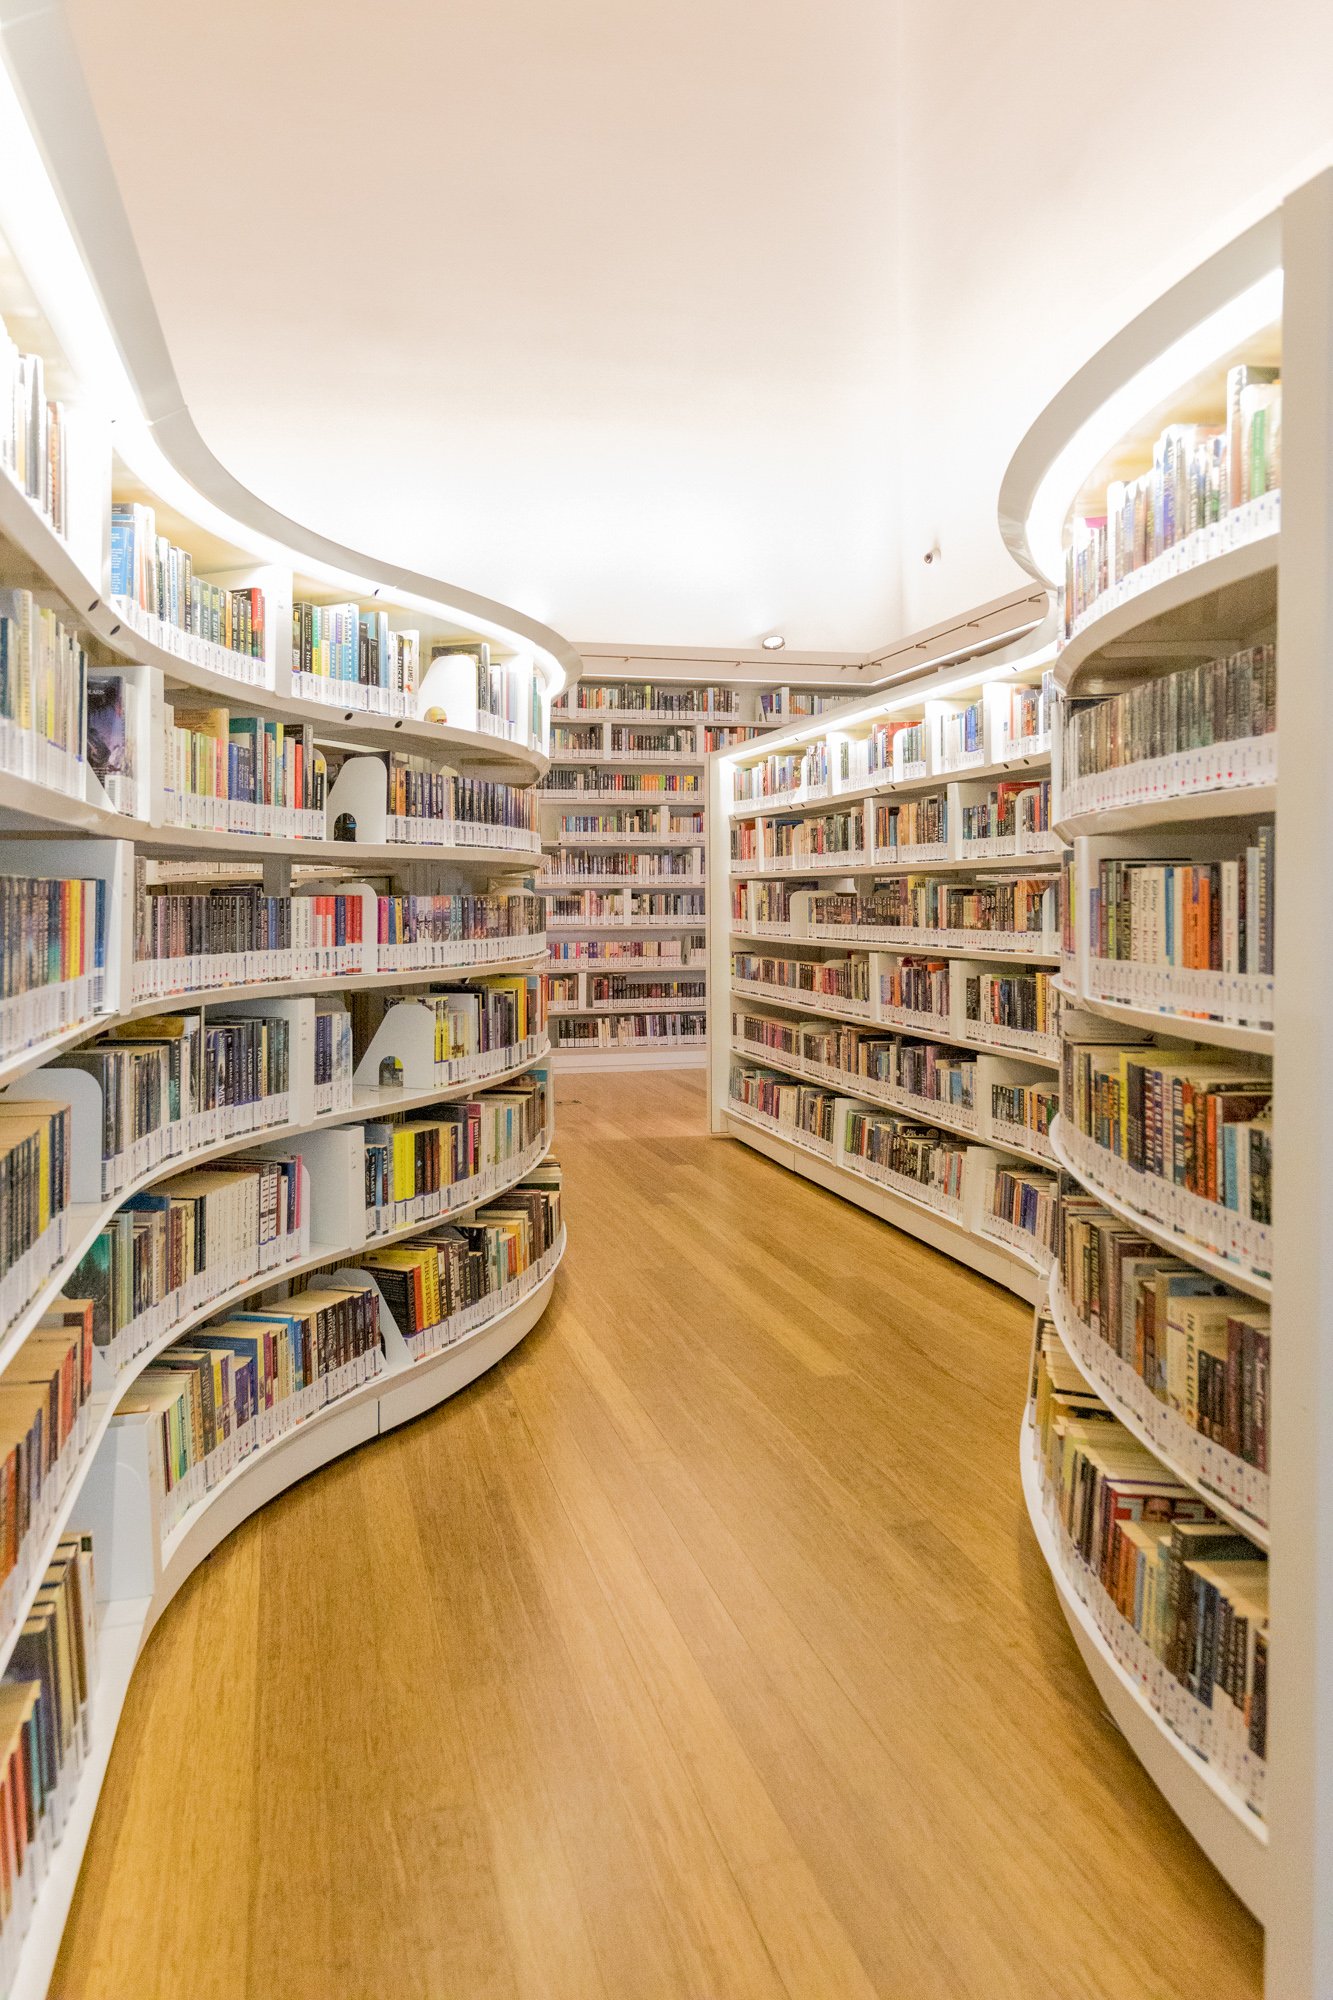
library@orchard — Orchard Gateway
This is one of those spots that’s Instagram-famous. Yet, it is a beautiful library to photograph.
One of the most photographed interiors in Singapore, library@orchard is a public library inside the Orchard Gateway mall on Orchard Road, near Somerset MRT station. Its winding white bookshelves, spiral staircases, and rolling library ladders create a distinctive architectural space that has become a staple of Singapore photography. Shoot from the upper level, looking down at the staircase for the most popular composition.
Important note for visitors: As of October 2024, library@orchard is temporarily closed for renovation in stages and is expected to reopen in 2026. Check the National Library Board website at nlb.gov.sg before planning a visit.
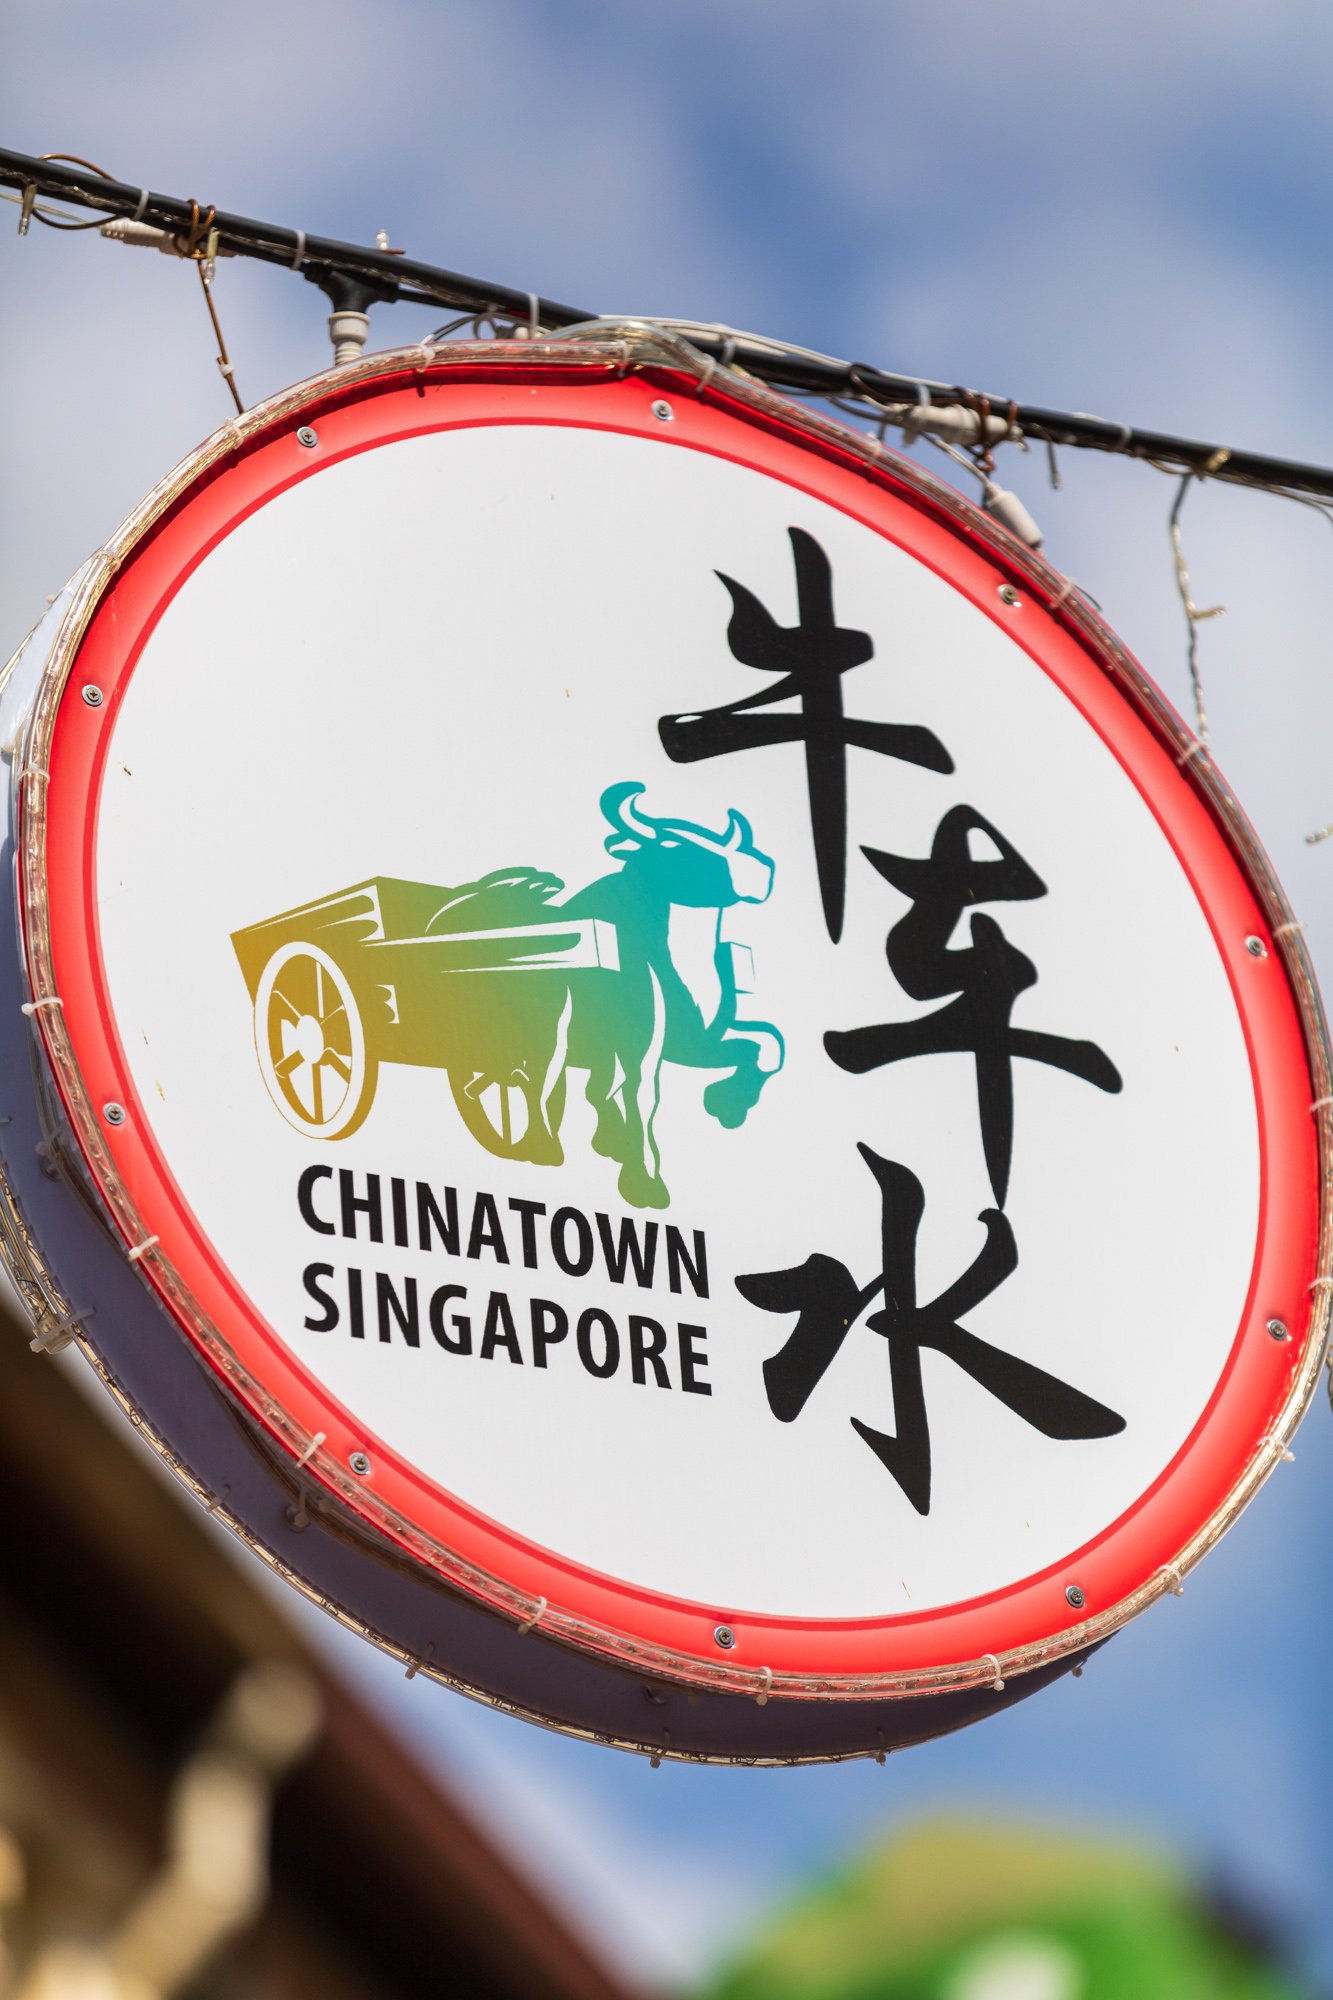
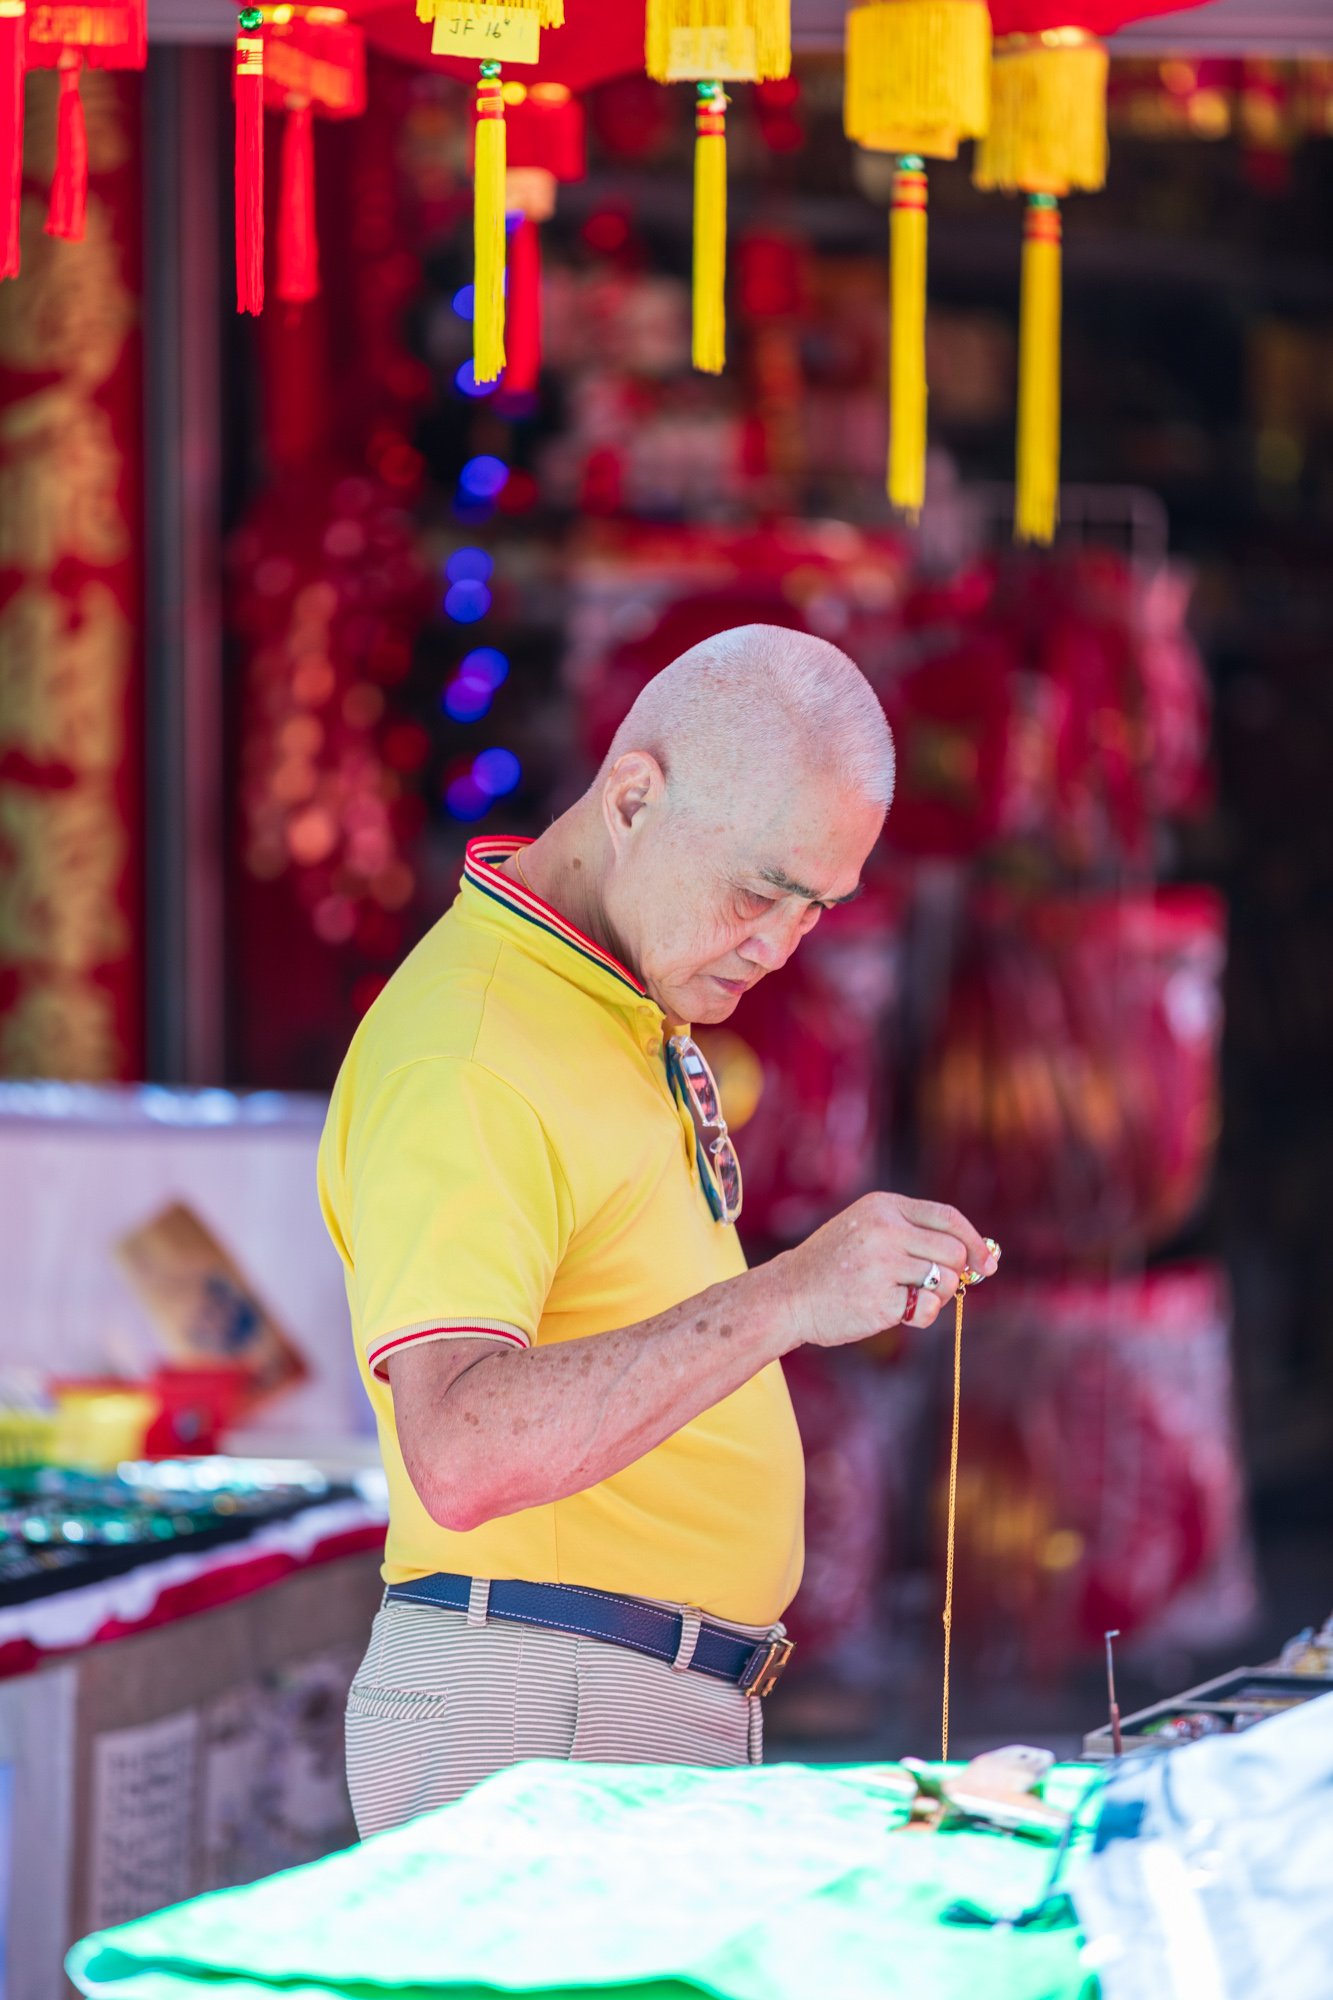
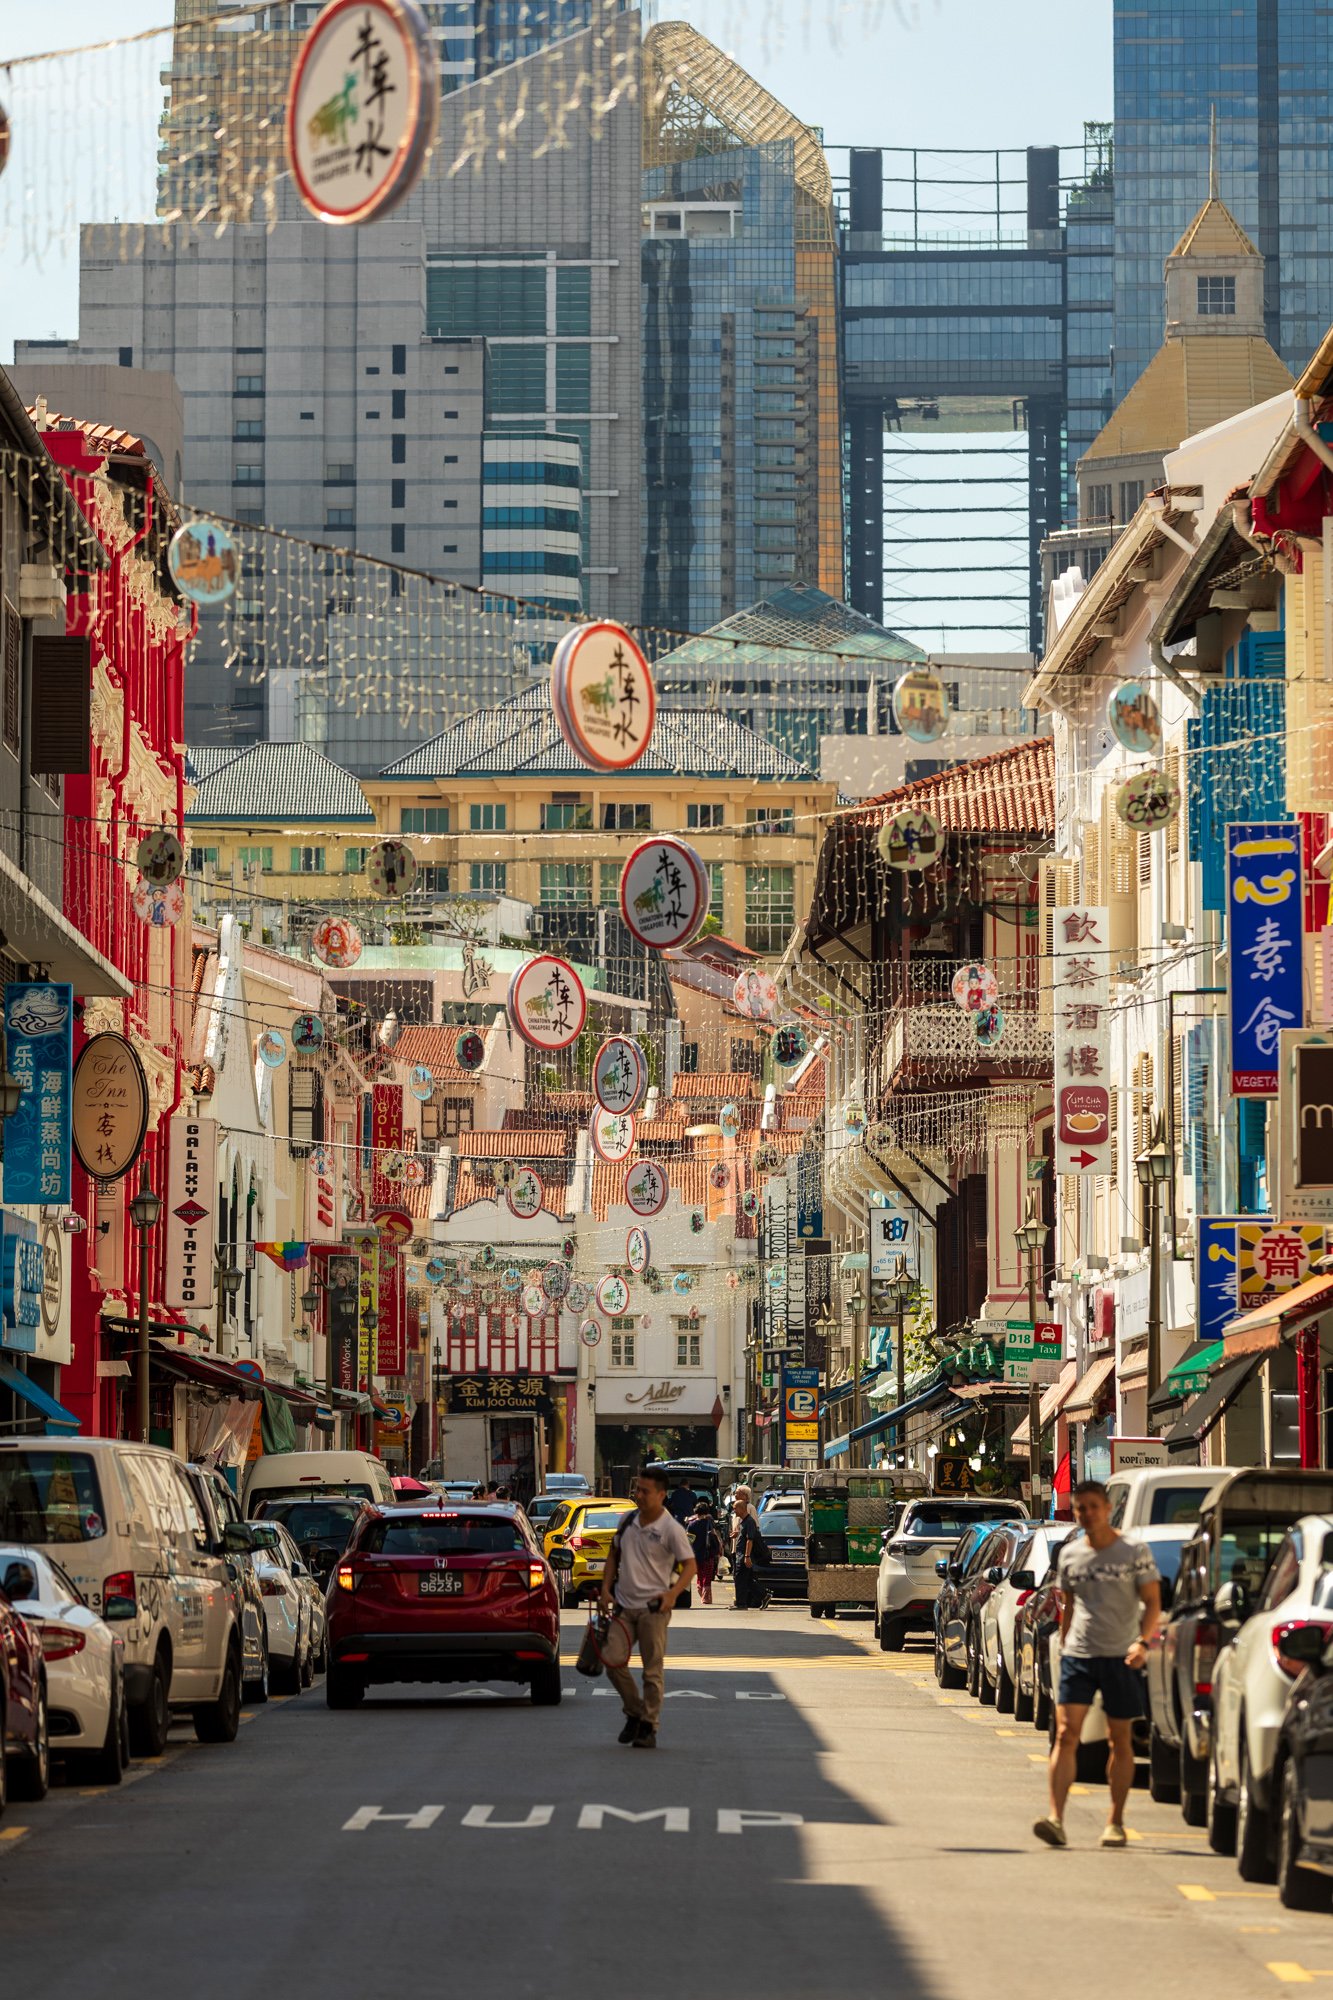
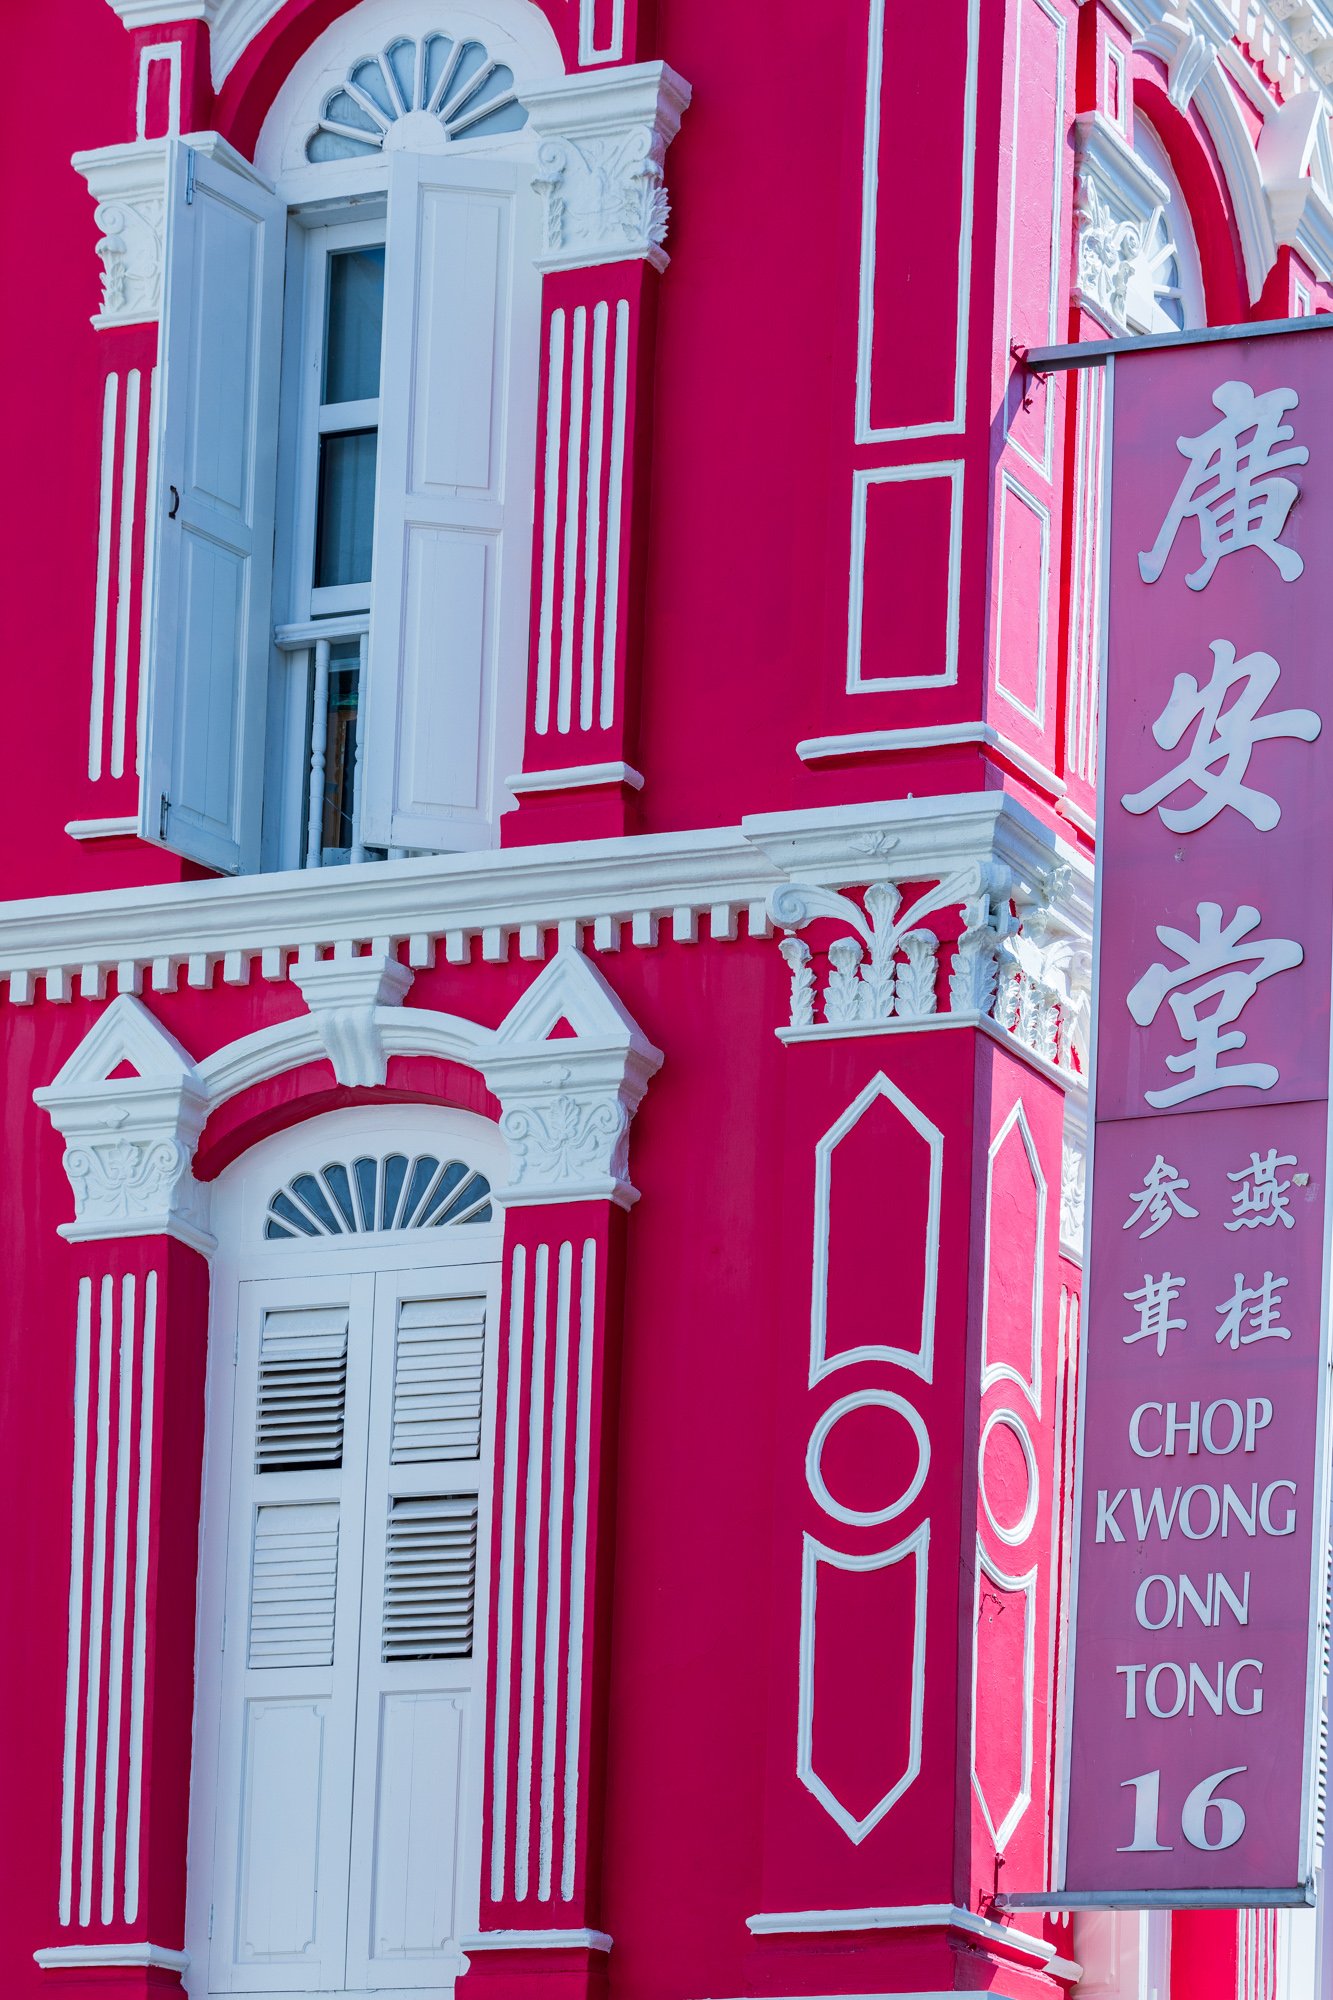
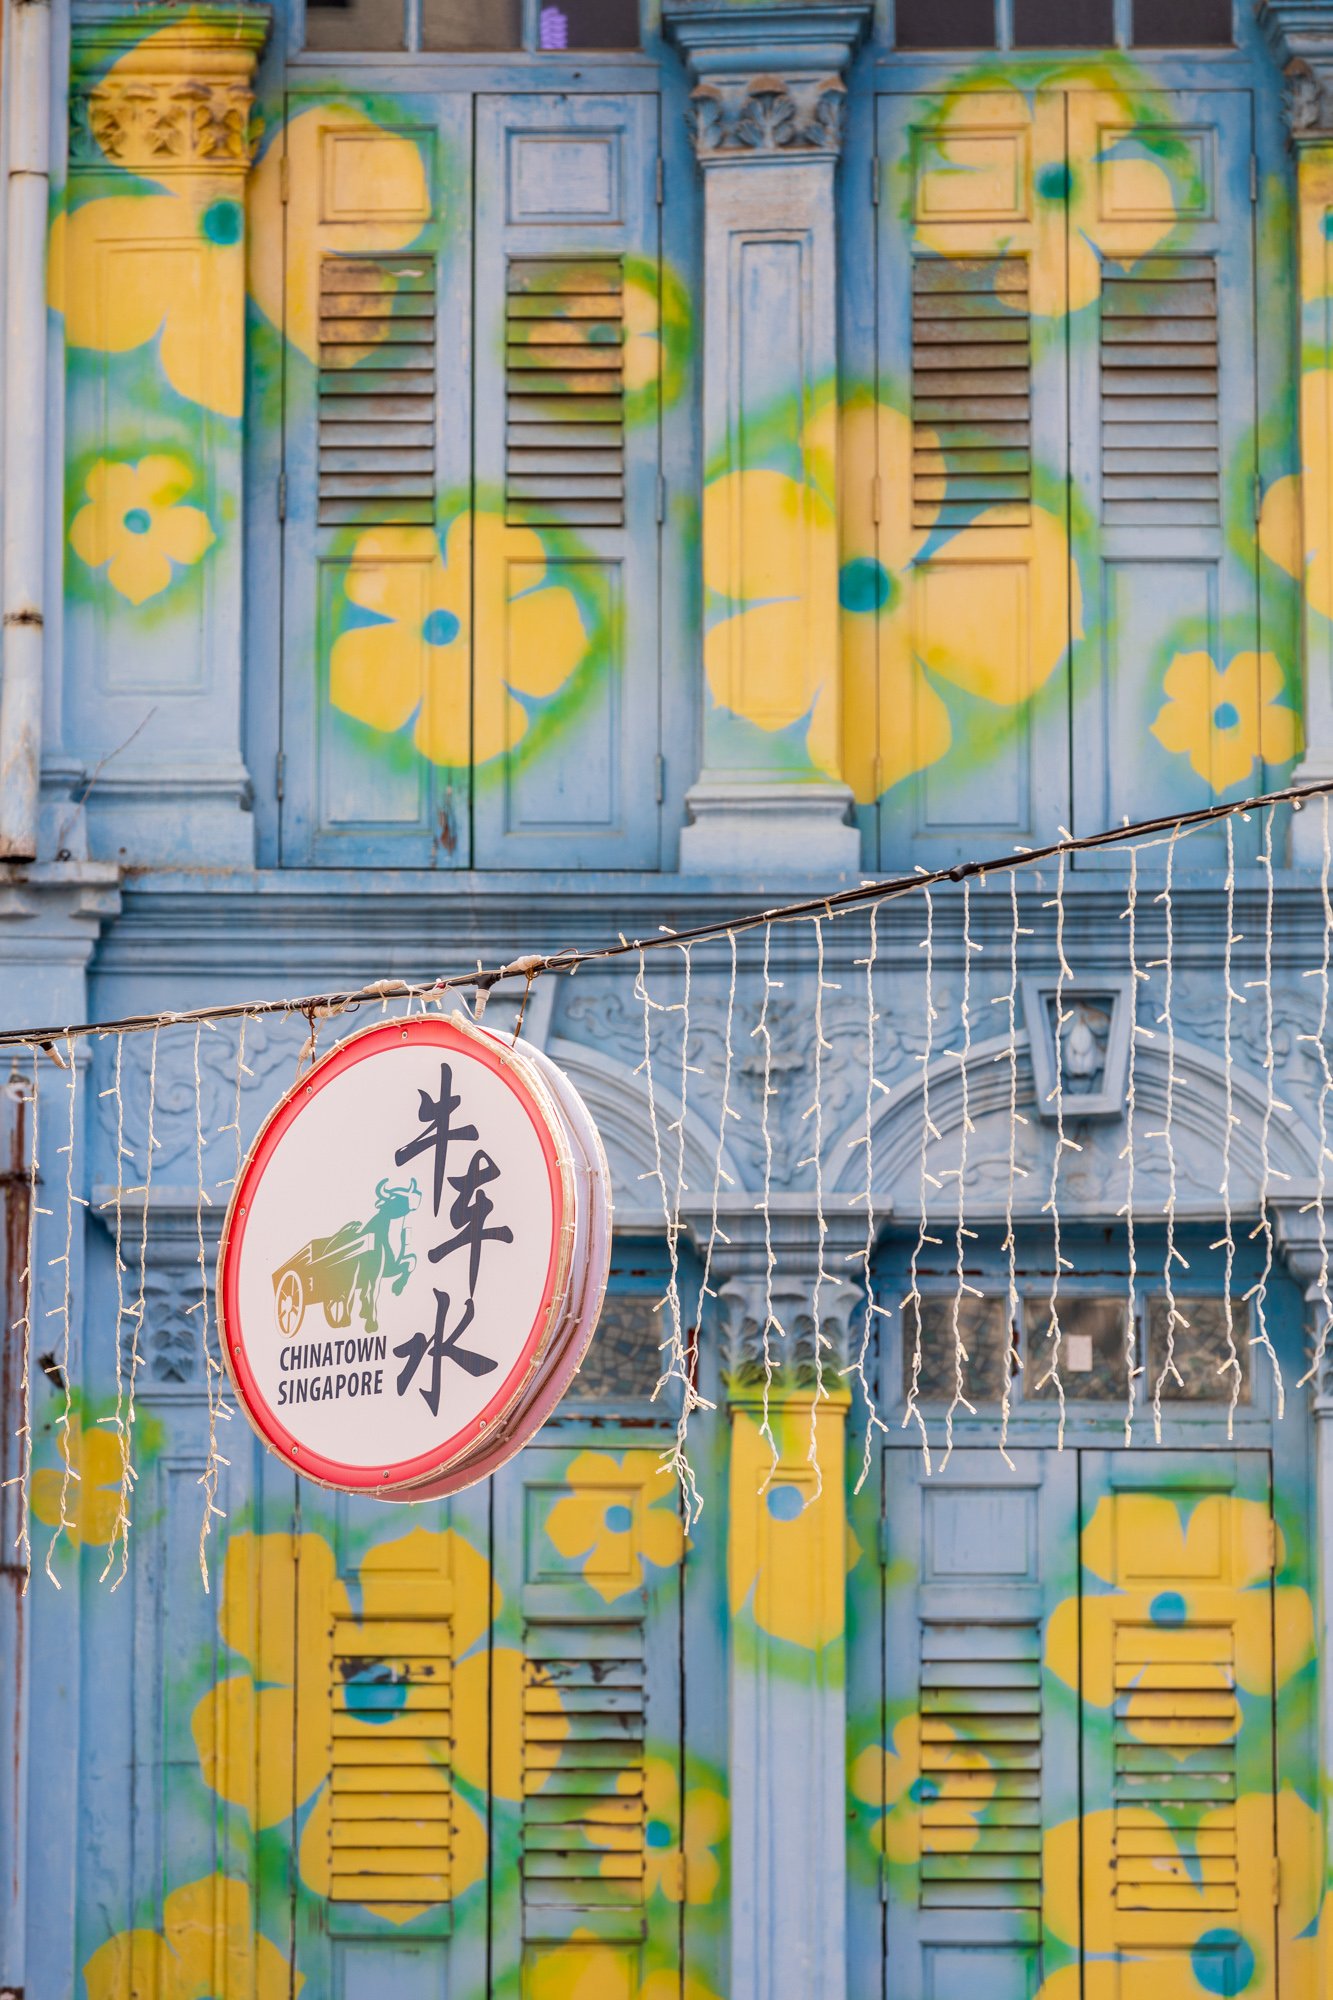
Chinatown
Every large city has a Chinese community, and Singapore is no exception. You will find some great photo spots in Chinatown, especially if you love architecture, street art, and street photography.
Little India
Little India is one of the most sensory-rich neighborhoods in Singapore. Spice shops, sari stores, flower garland vendors, and Indian street food stalls create a visual and olfactory environment completely unlike anything else in the city. The House of Tan Teng Niah, built in the early 1900s, is a multi-colored heritage house preserved as a national landmark and one of the most photographed single buildings in Singapore.
The Sri Veeramakaliamman Temple, dedicated to the goddess Kali, is covered in elaborate Hindu iconography and is actively used by the community. It is one of the oldest temples in Singapore and one of the most photographically powerful.
📷 Pro Tip: For the House of Tan Teng Niah, shoot in the morning before the street traffic picks up, using a 35mm focal length from the sidewalk directly opposite. The building faces a narrow lane, so you cannot get far back; this is a case where a slightly wider shot at 24mm includes more of the street context and actually improves the composition. For Sri Veeramakaliamman Temple, the gopuram tower above the entrance is richest in detail and color. Use a 70 to 100mm focal length to isolate sections of the carvings from the street. Be respectful: remove your shoes, ask before photographing worshippers, and keep your voice low inside the temple.
Best time: Morning. Access: Free for both. Little India MRT, five to ten-minute walk.
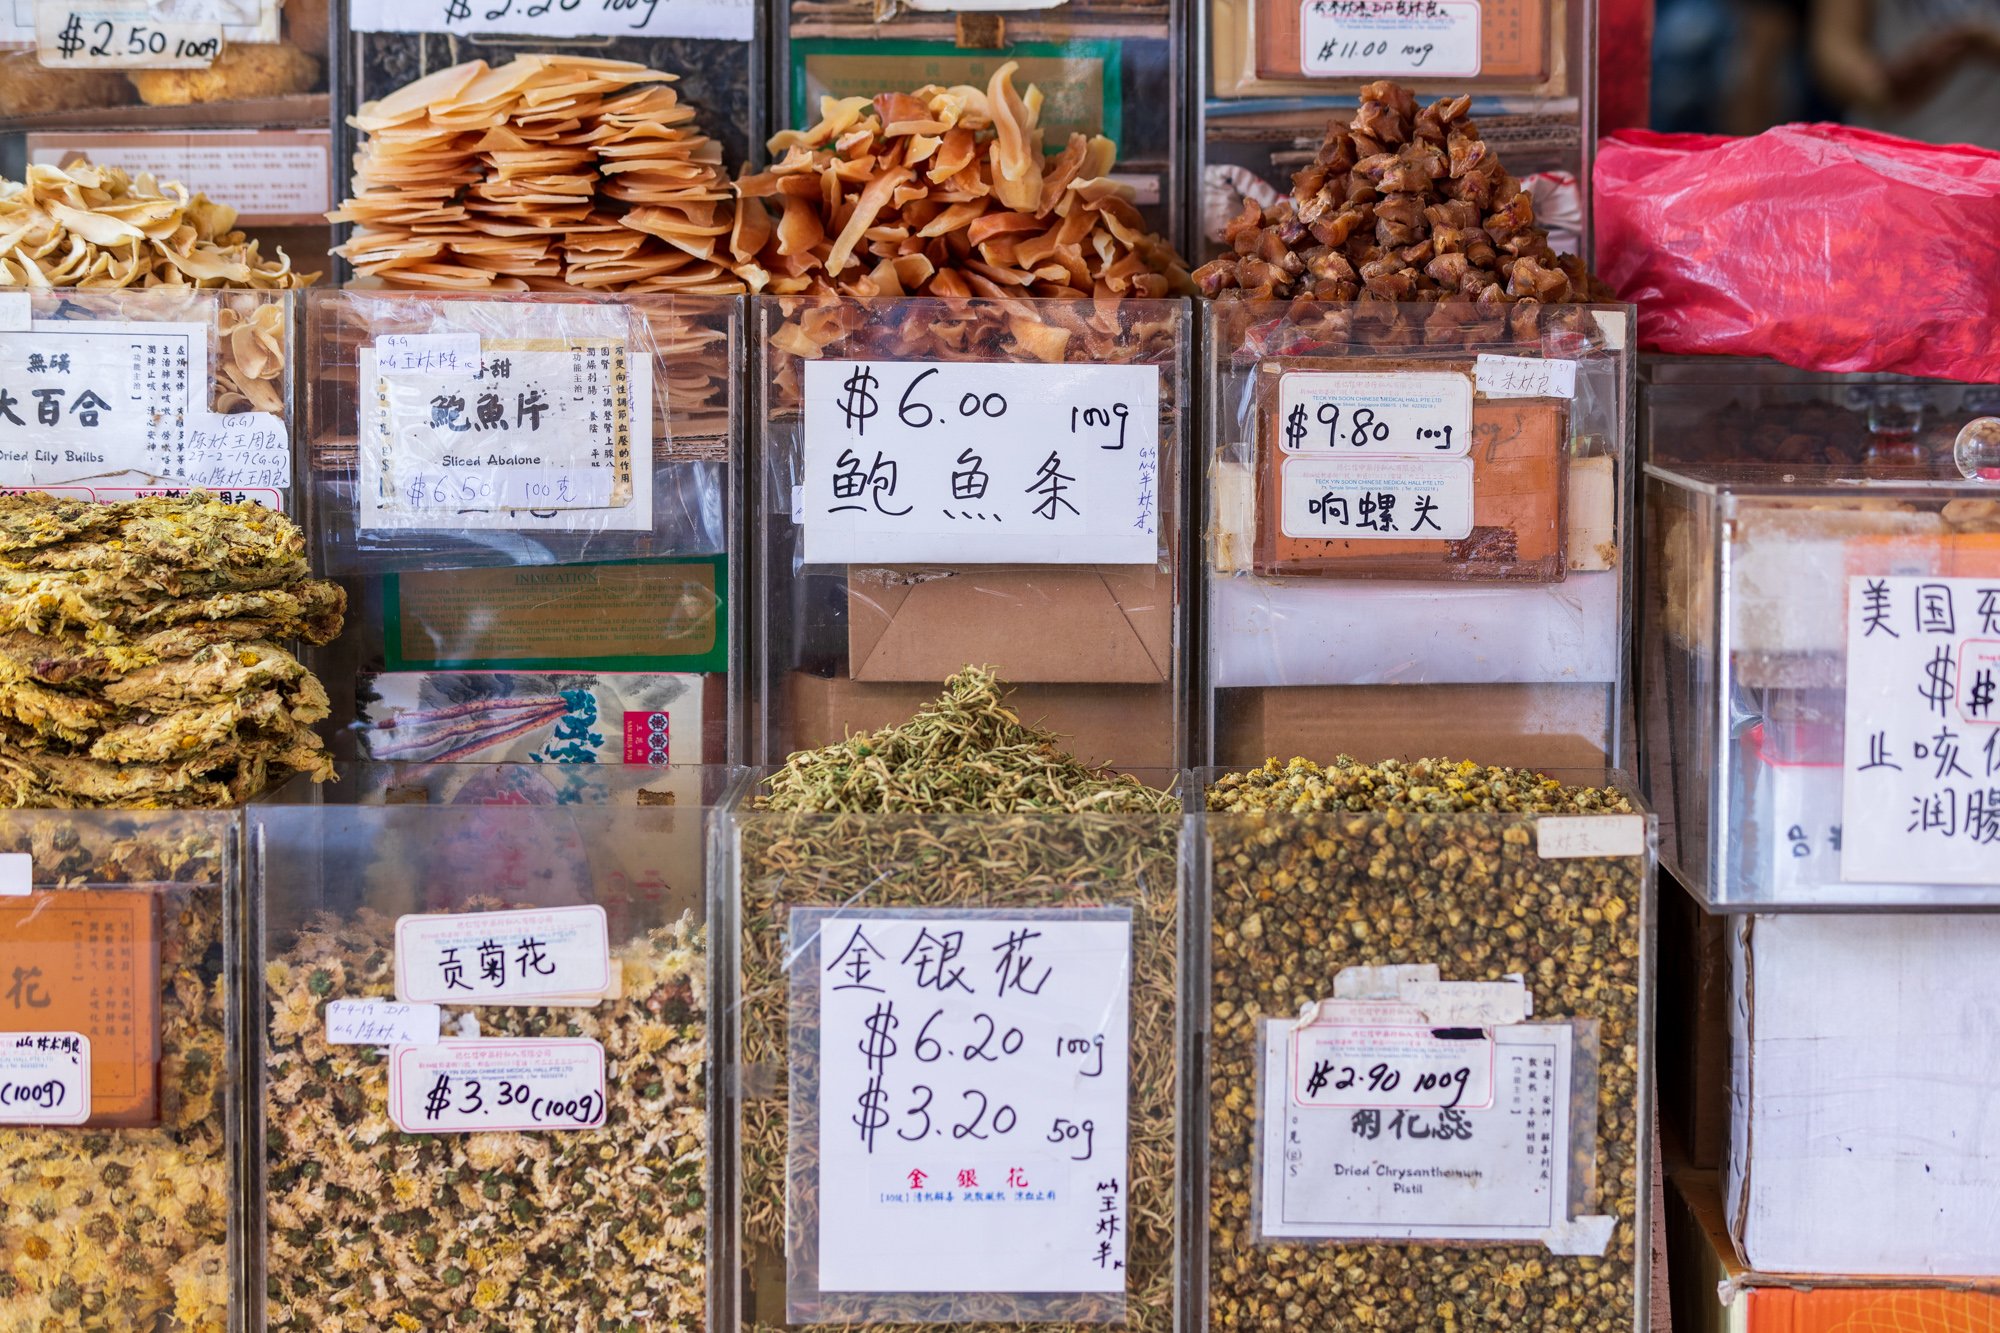
HAWKER MARKETS
Singaporeans regularly eat at a hawker market. The Hawker markets are super clean, and the food is simply delicious. Maxwell Food Center was my favorite of the ones we visited for photography opportunities; of course, you have to capture the food.

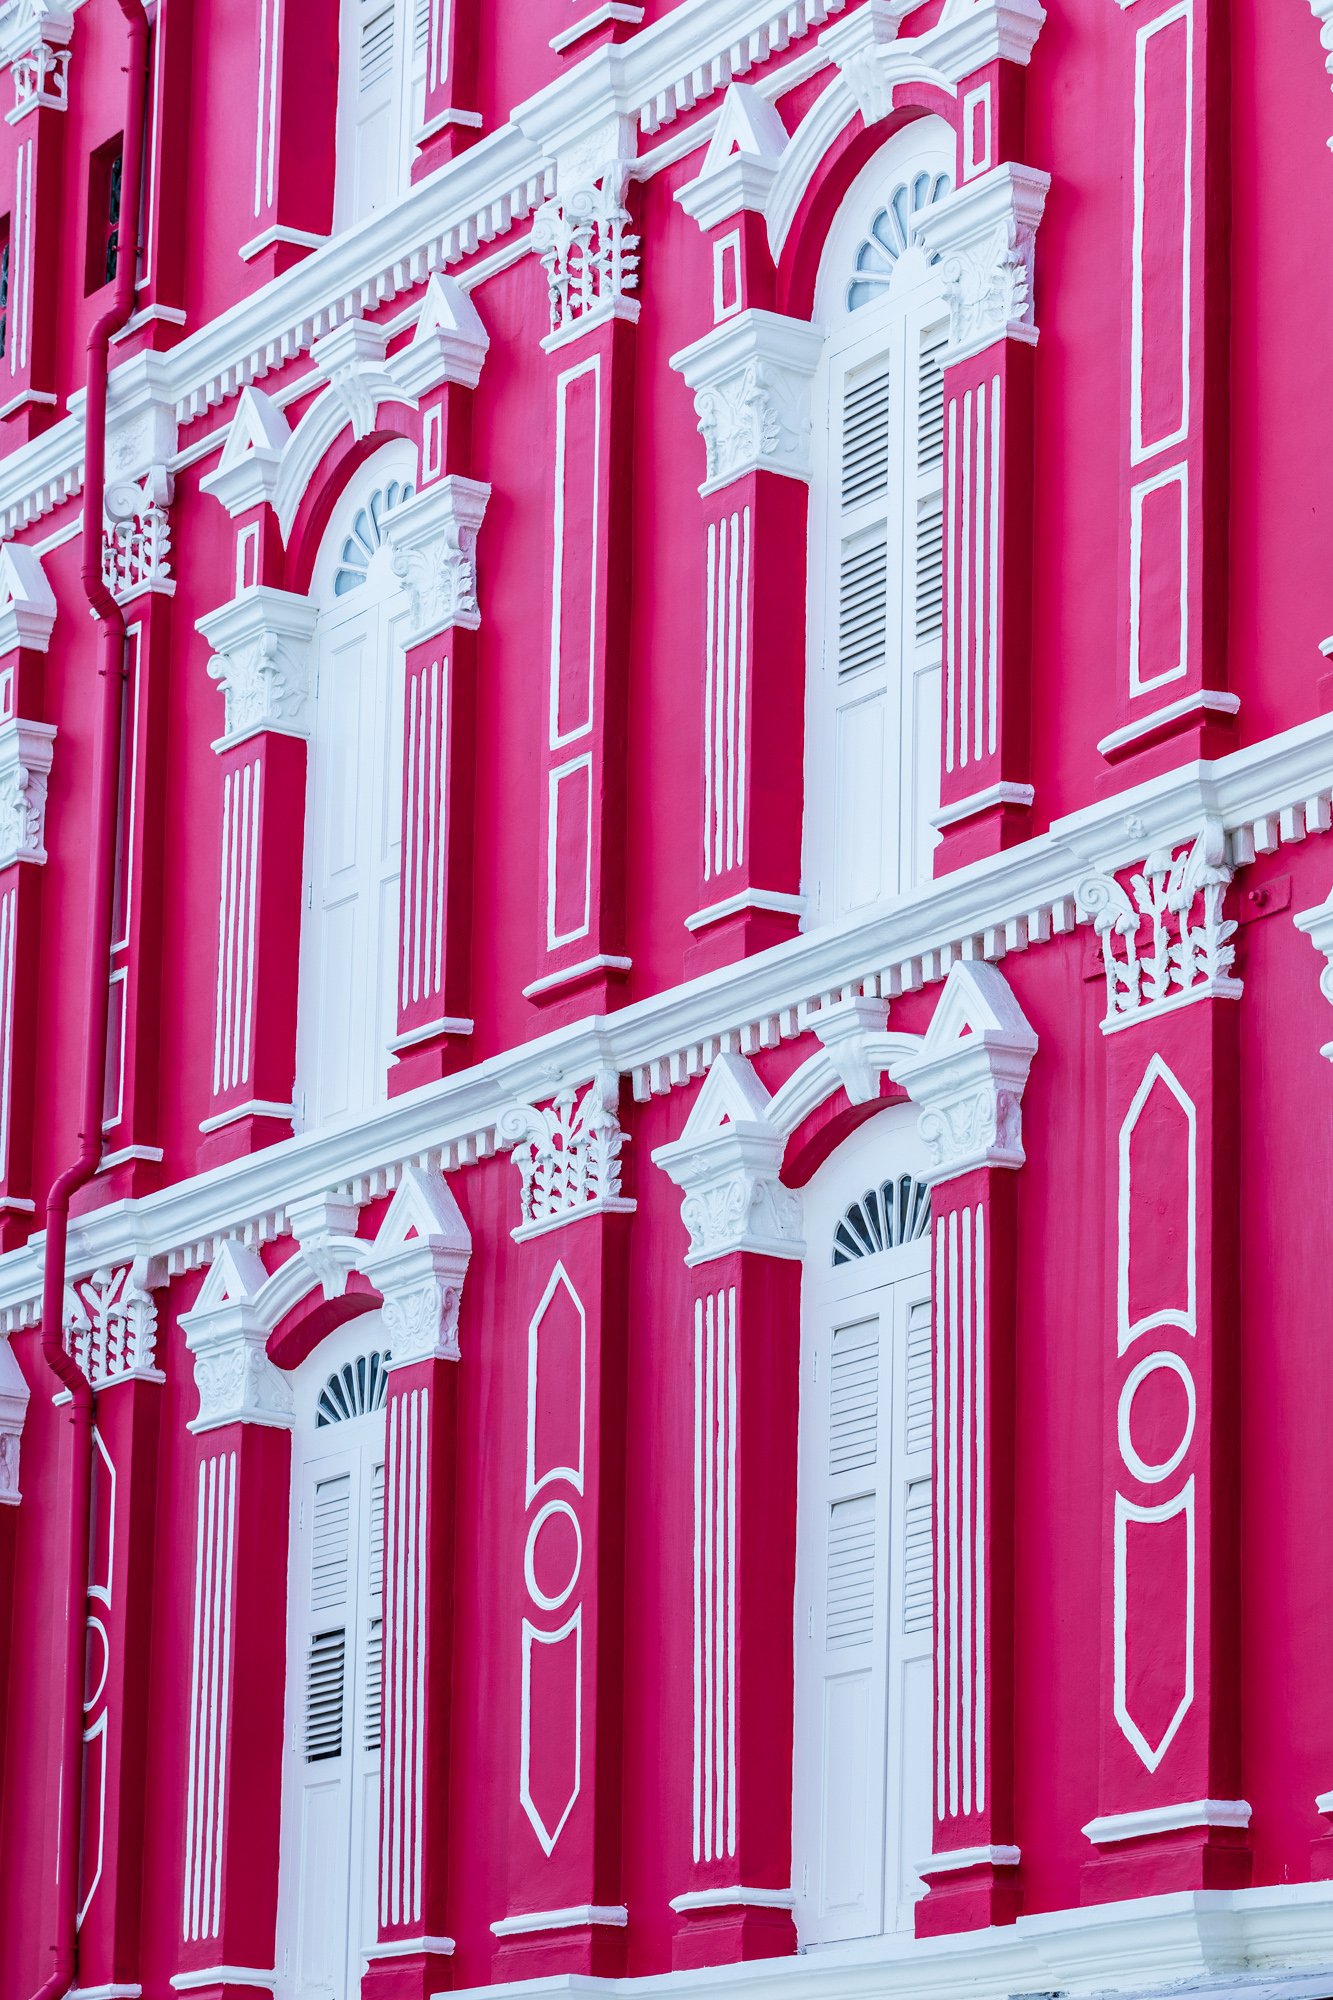
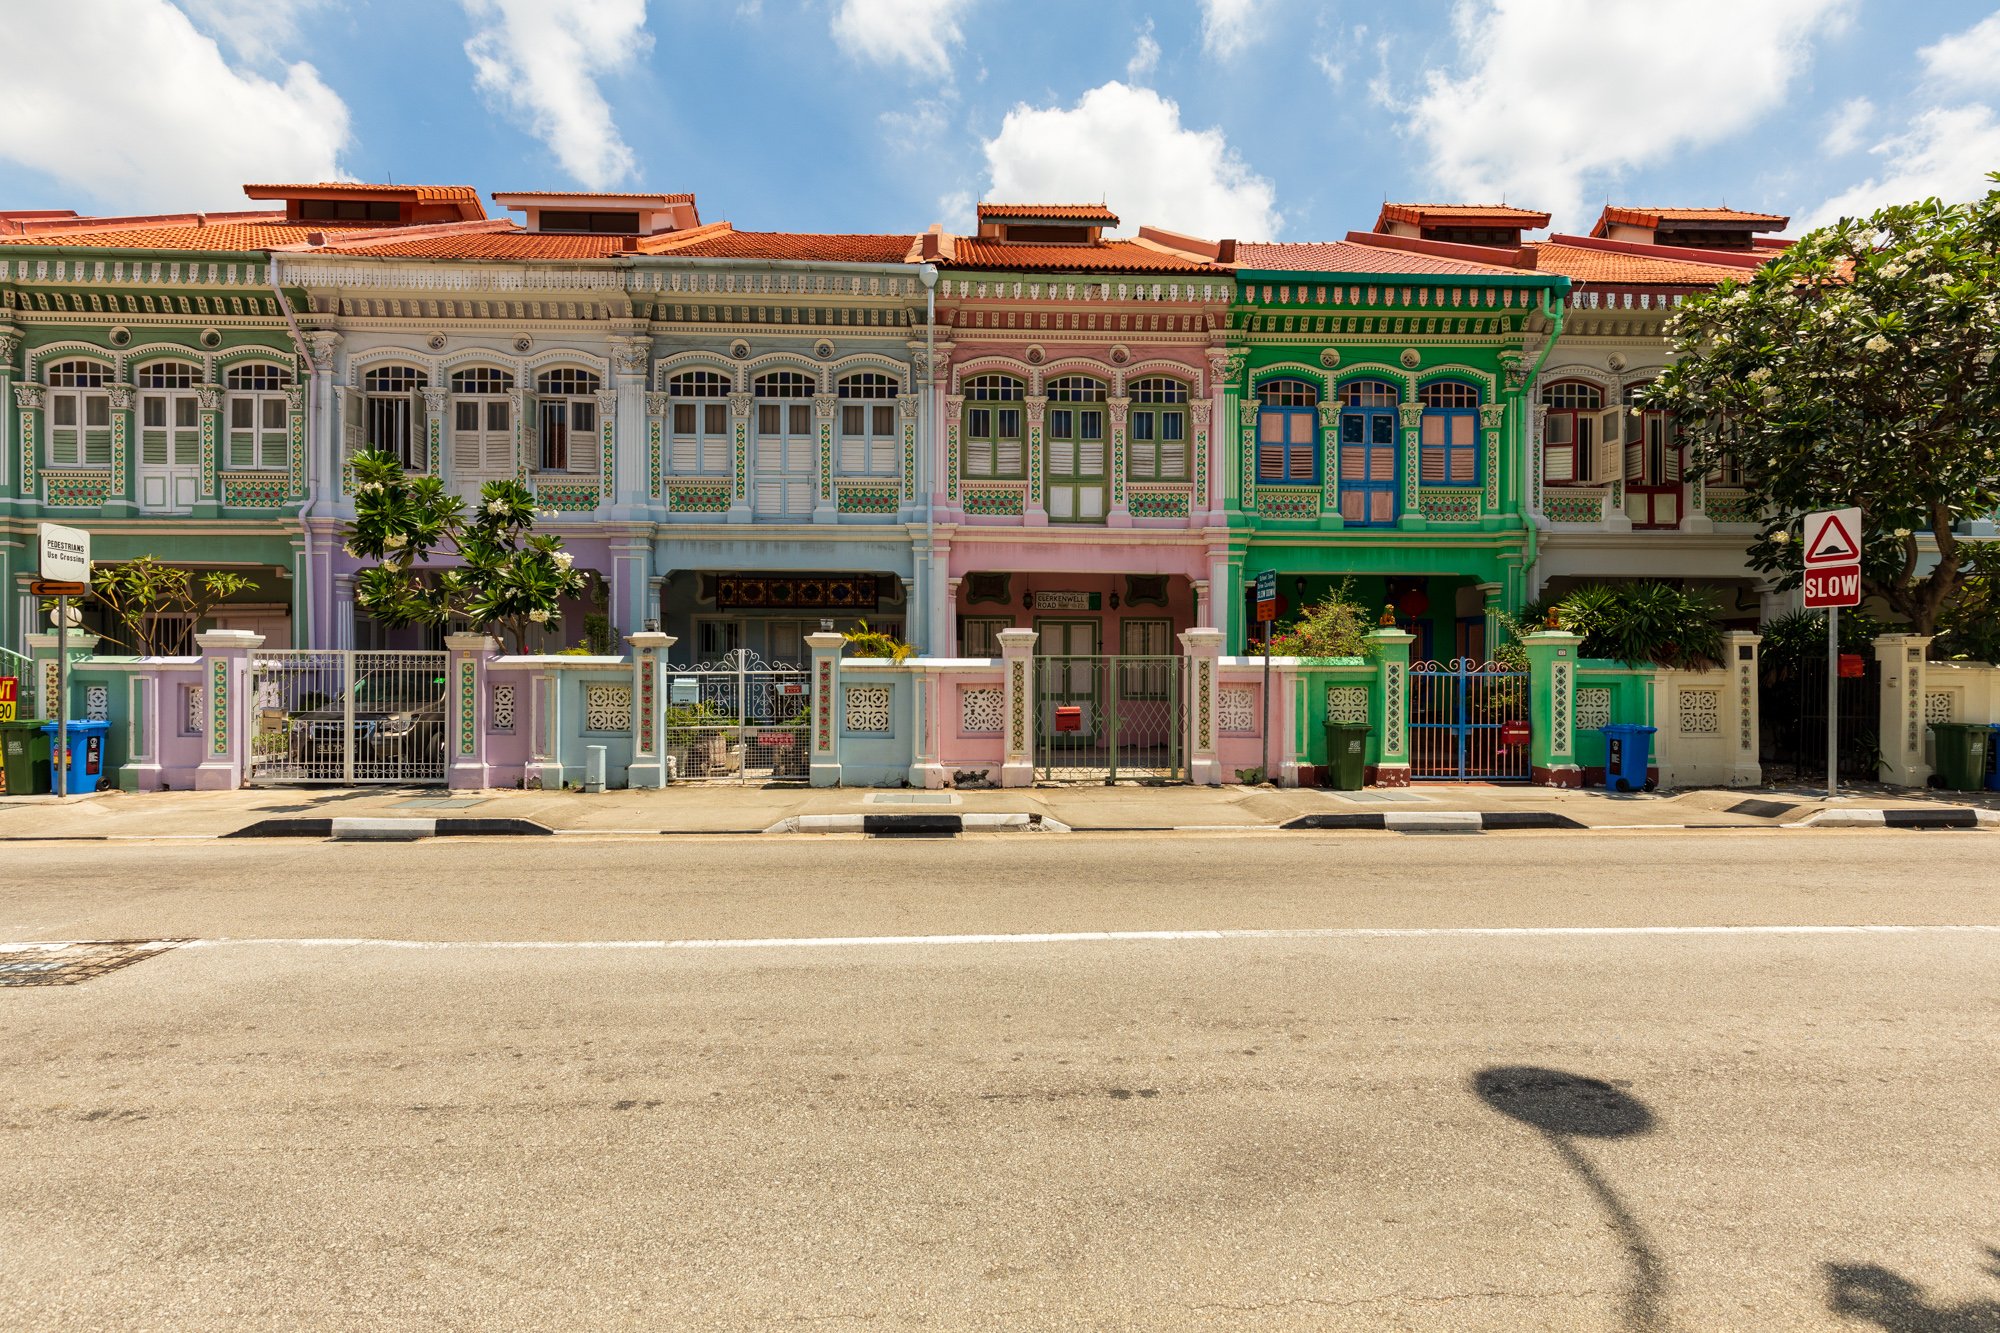
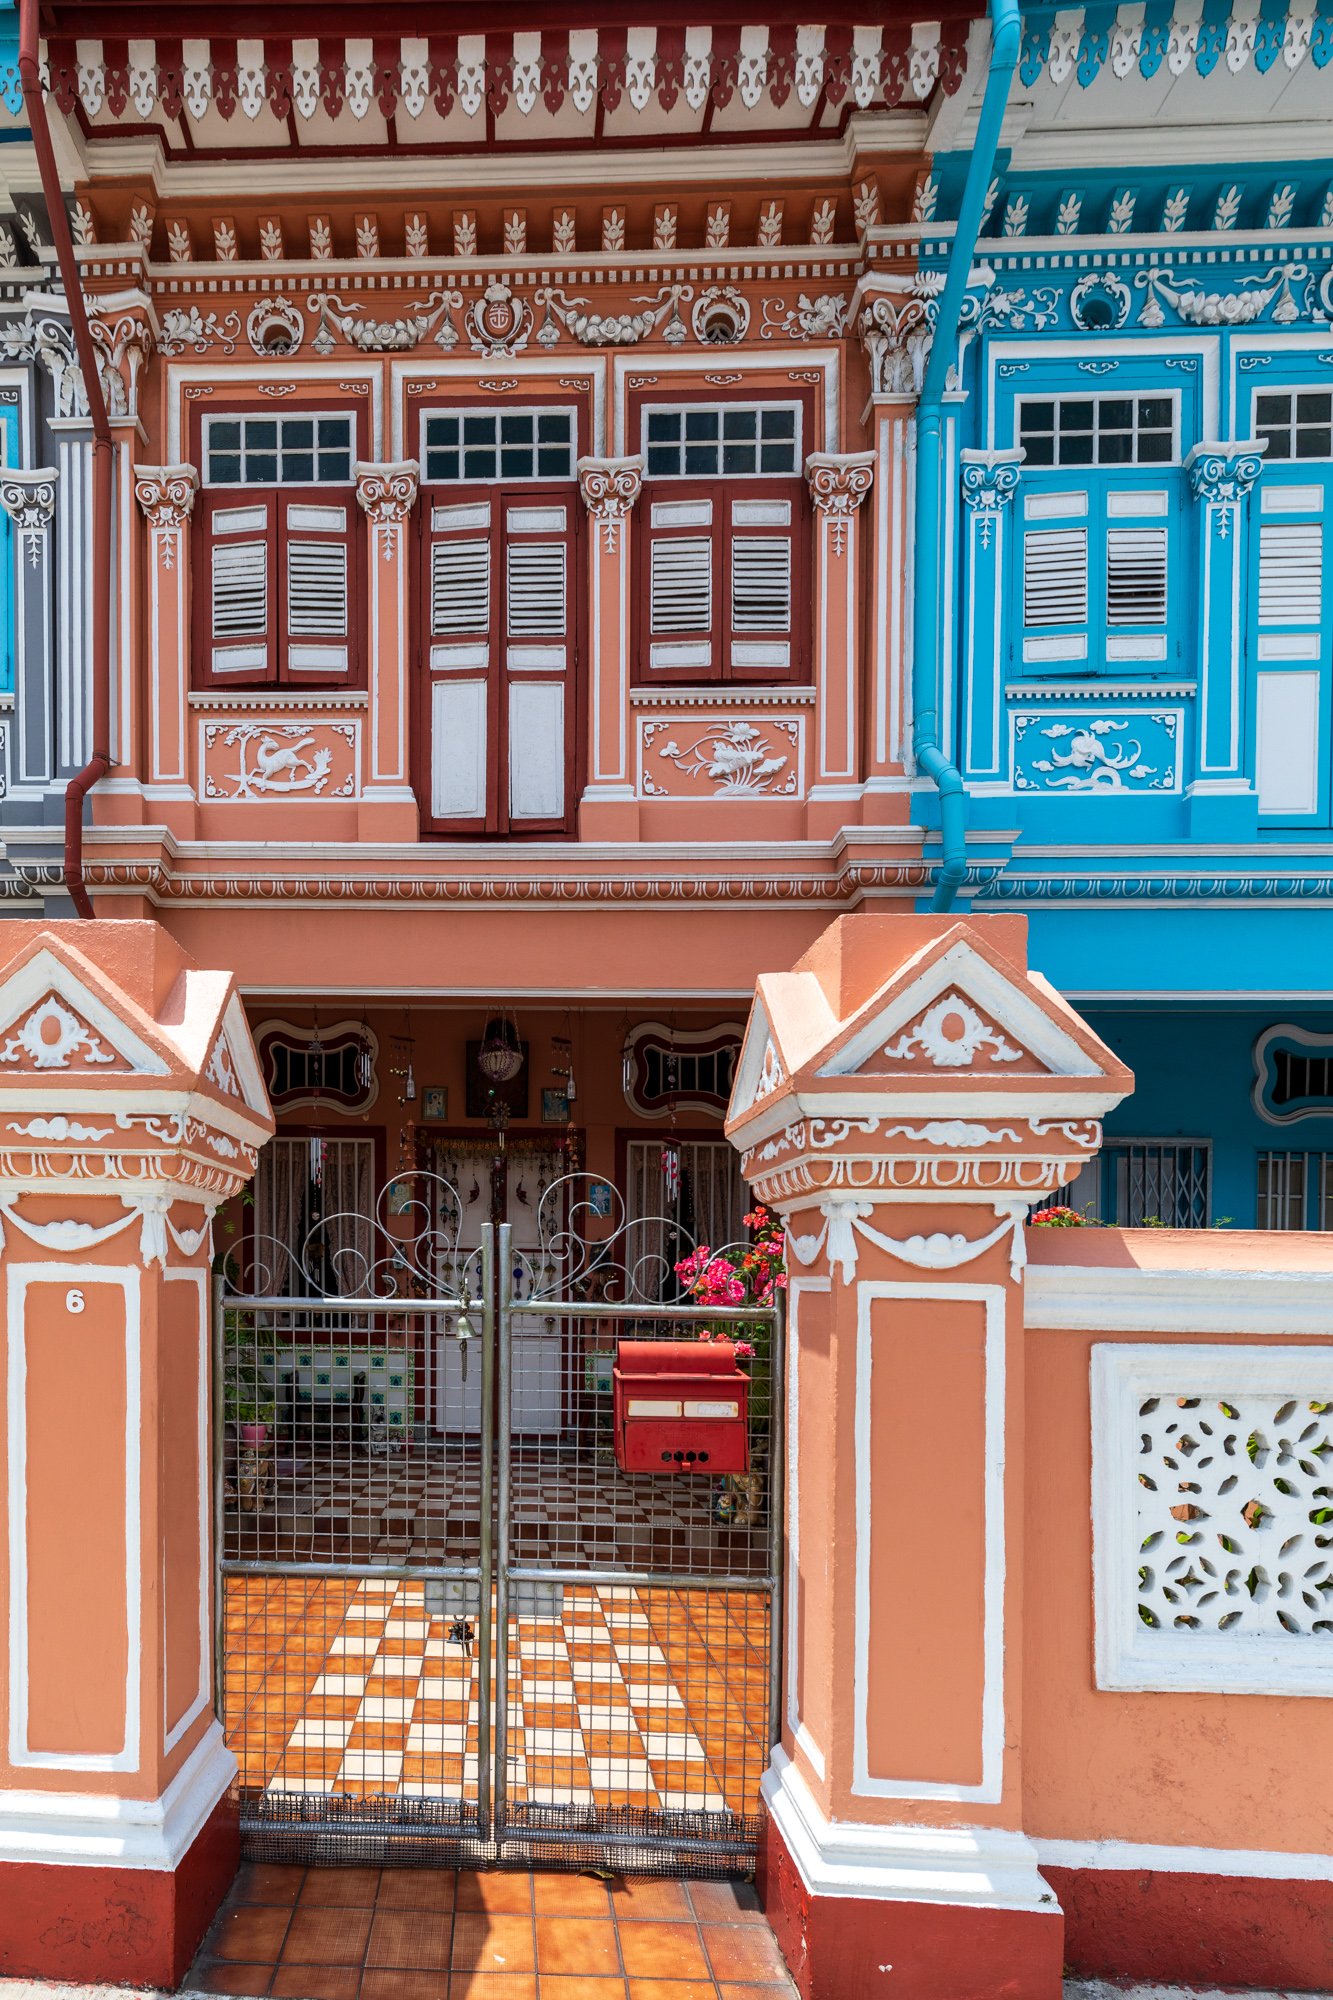
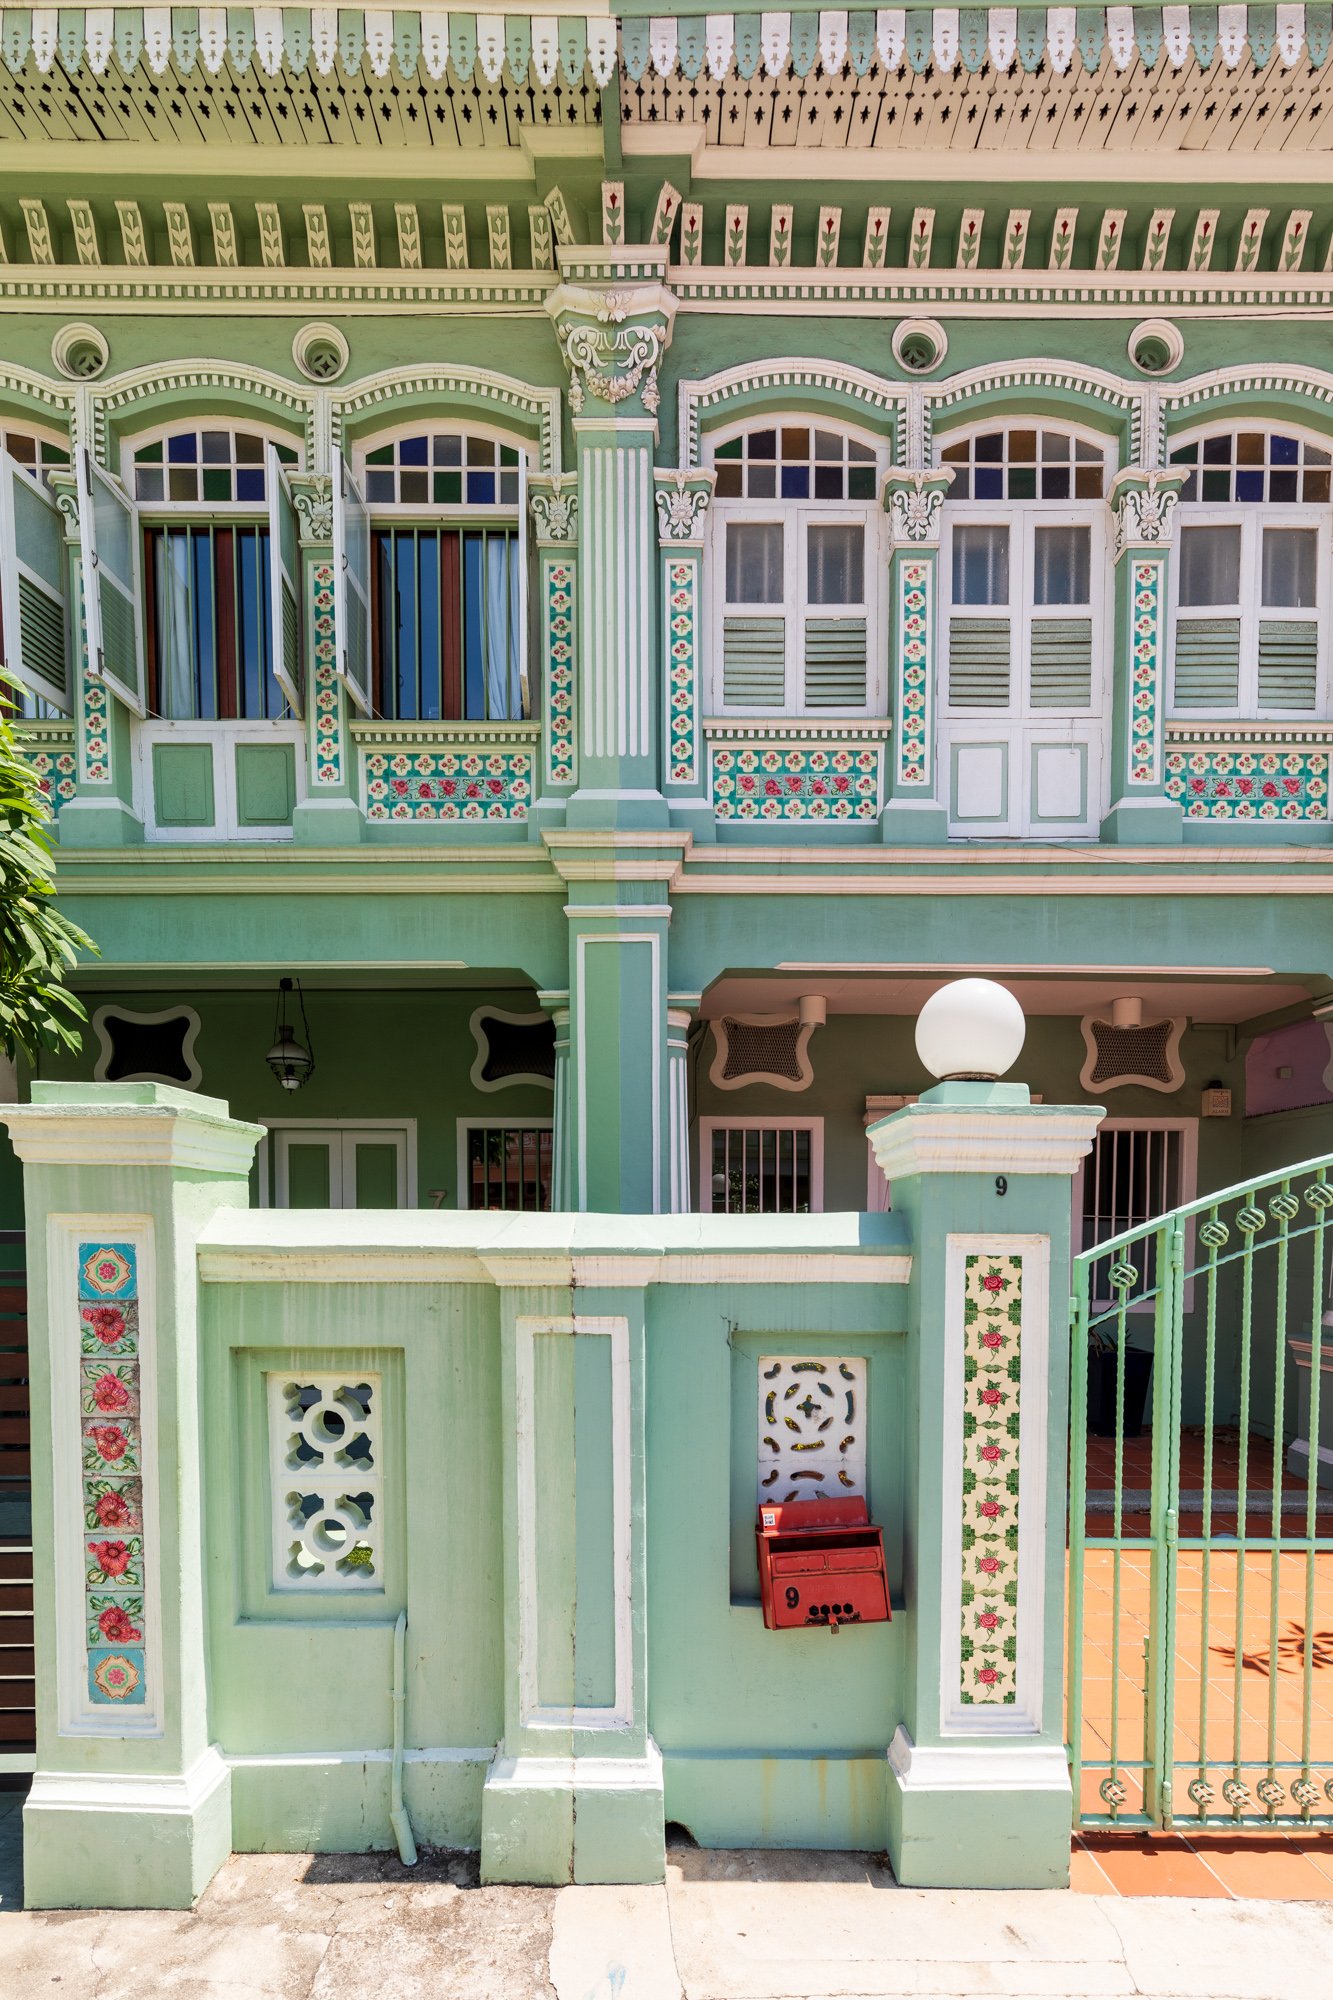
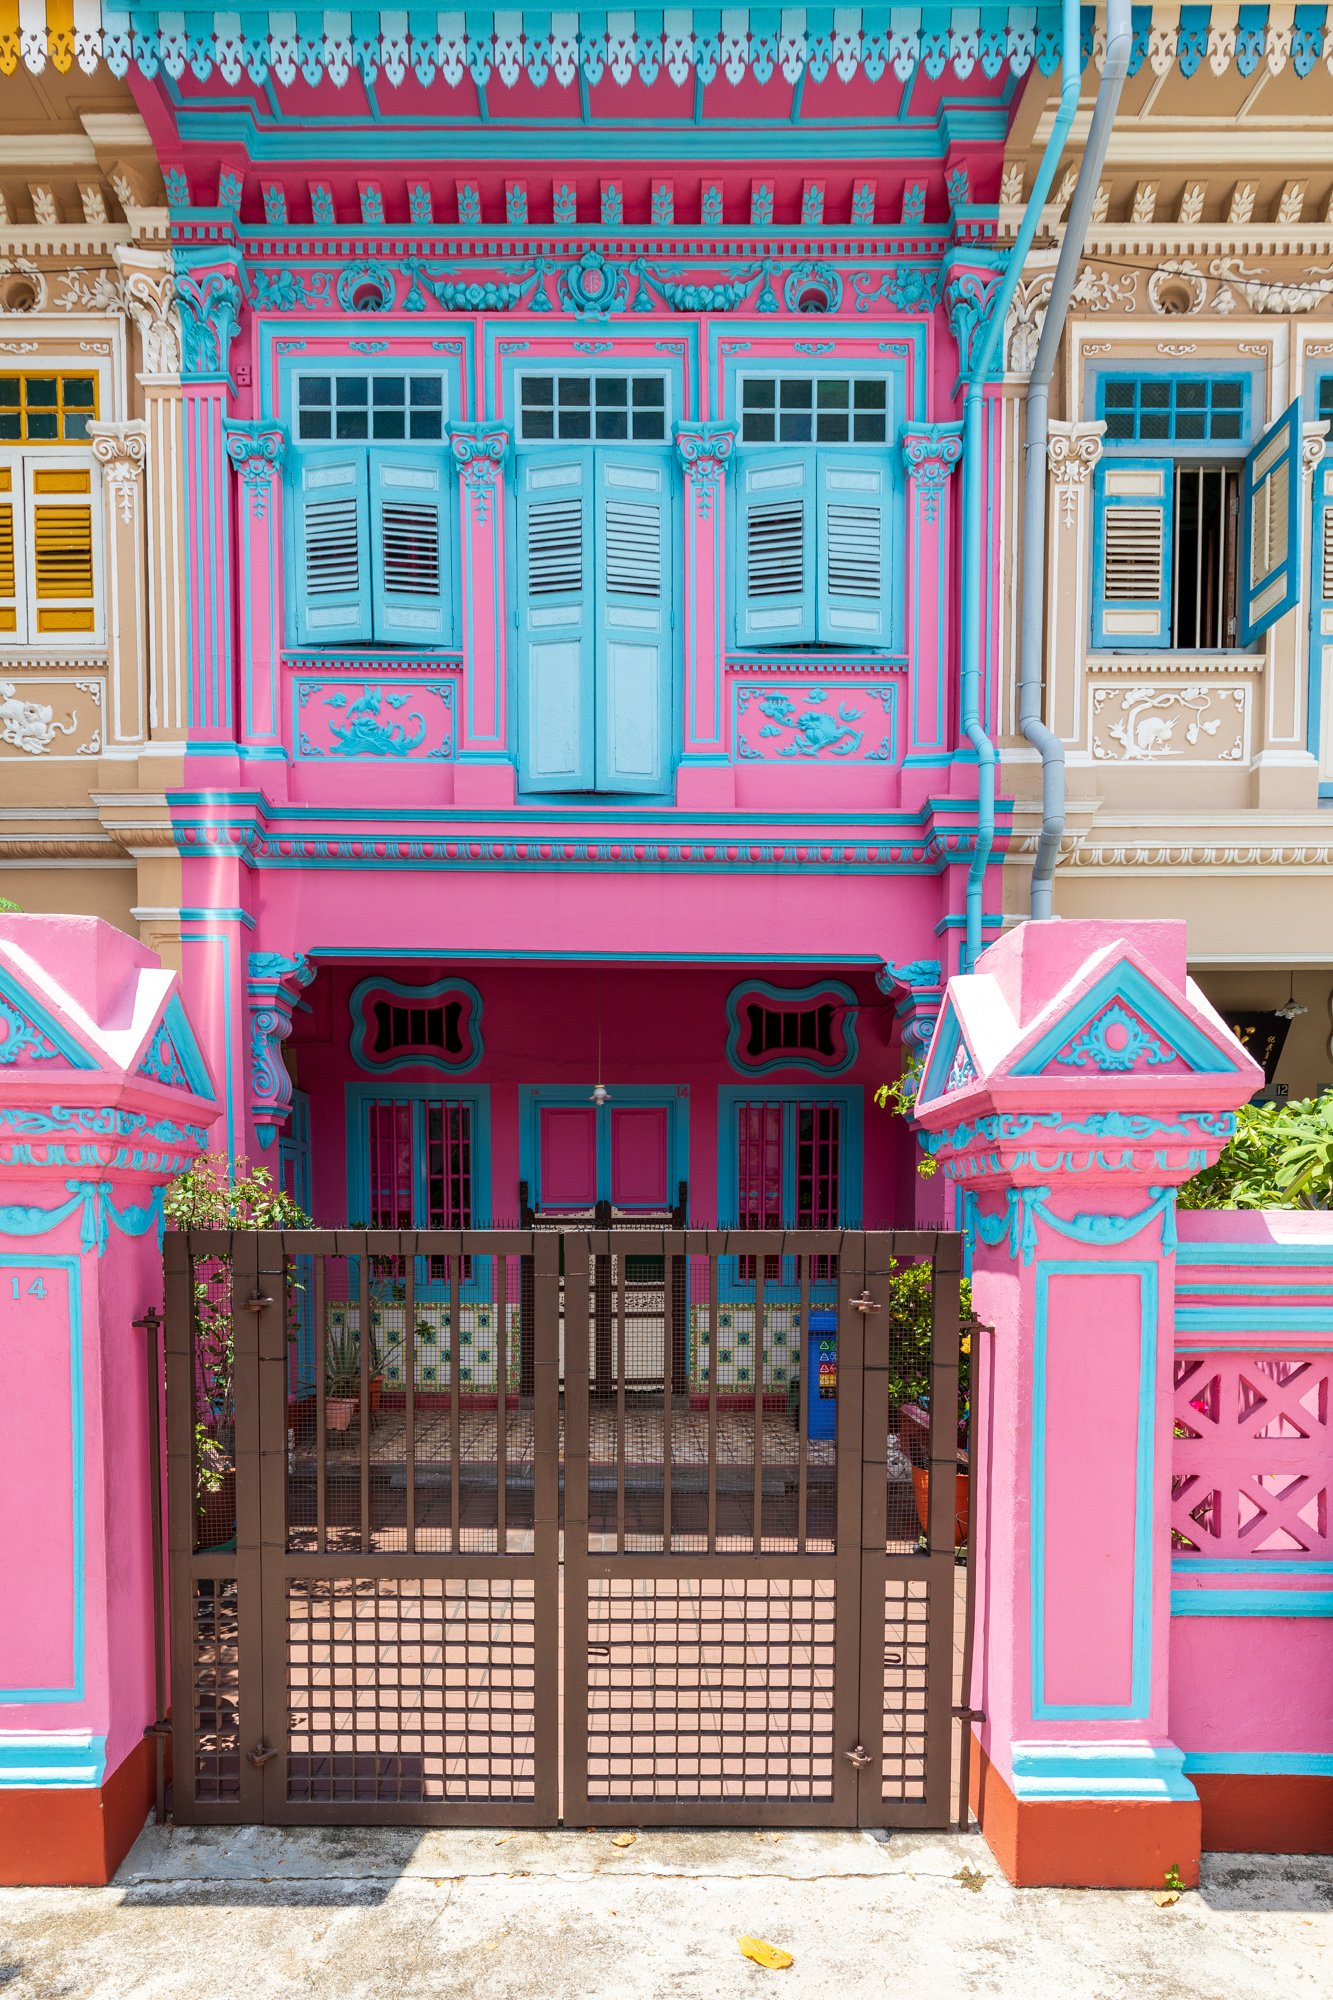
PERANAKAN HOUSES on Joo Chiat Road
The Peranakan Houses are found on Joo Chiat Road and in the Katong neighborhood. Peranakan refers to Chinese people with Malay or Indonesian heritage, and they are here in Singapore. The shophouses are pastel-colored houses with colorful shutters and ornate designs.
📷 Pro Tip: The best light hits the Joo Chiat Road shophouses in the morning between 7am and 10am. Position yourself on the opposite side of the street and use a 50 to 85mm focal length to isolate individual facades without distortion. Look for details: shuttered windows, carved ornamental panels, painted ceramic tiles. These close-up shots tell the story of the architecture as well as any wide establishing shot. On weekends, the street fills up by late morning and parked cars interrupt the compositions; arrive early. The Hotel Indigo Singapore Katong is in this neighborhood and makes a convenient base if you want to be here at the best light every morning.
Best time: Early morning. Access: Free. Dakota MRT, then a ten-minute walk.
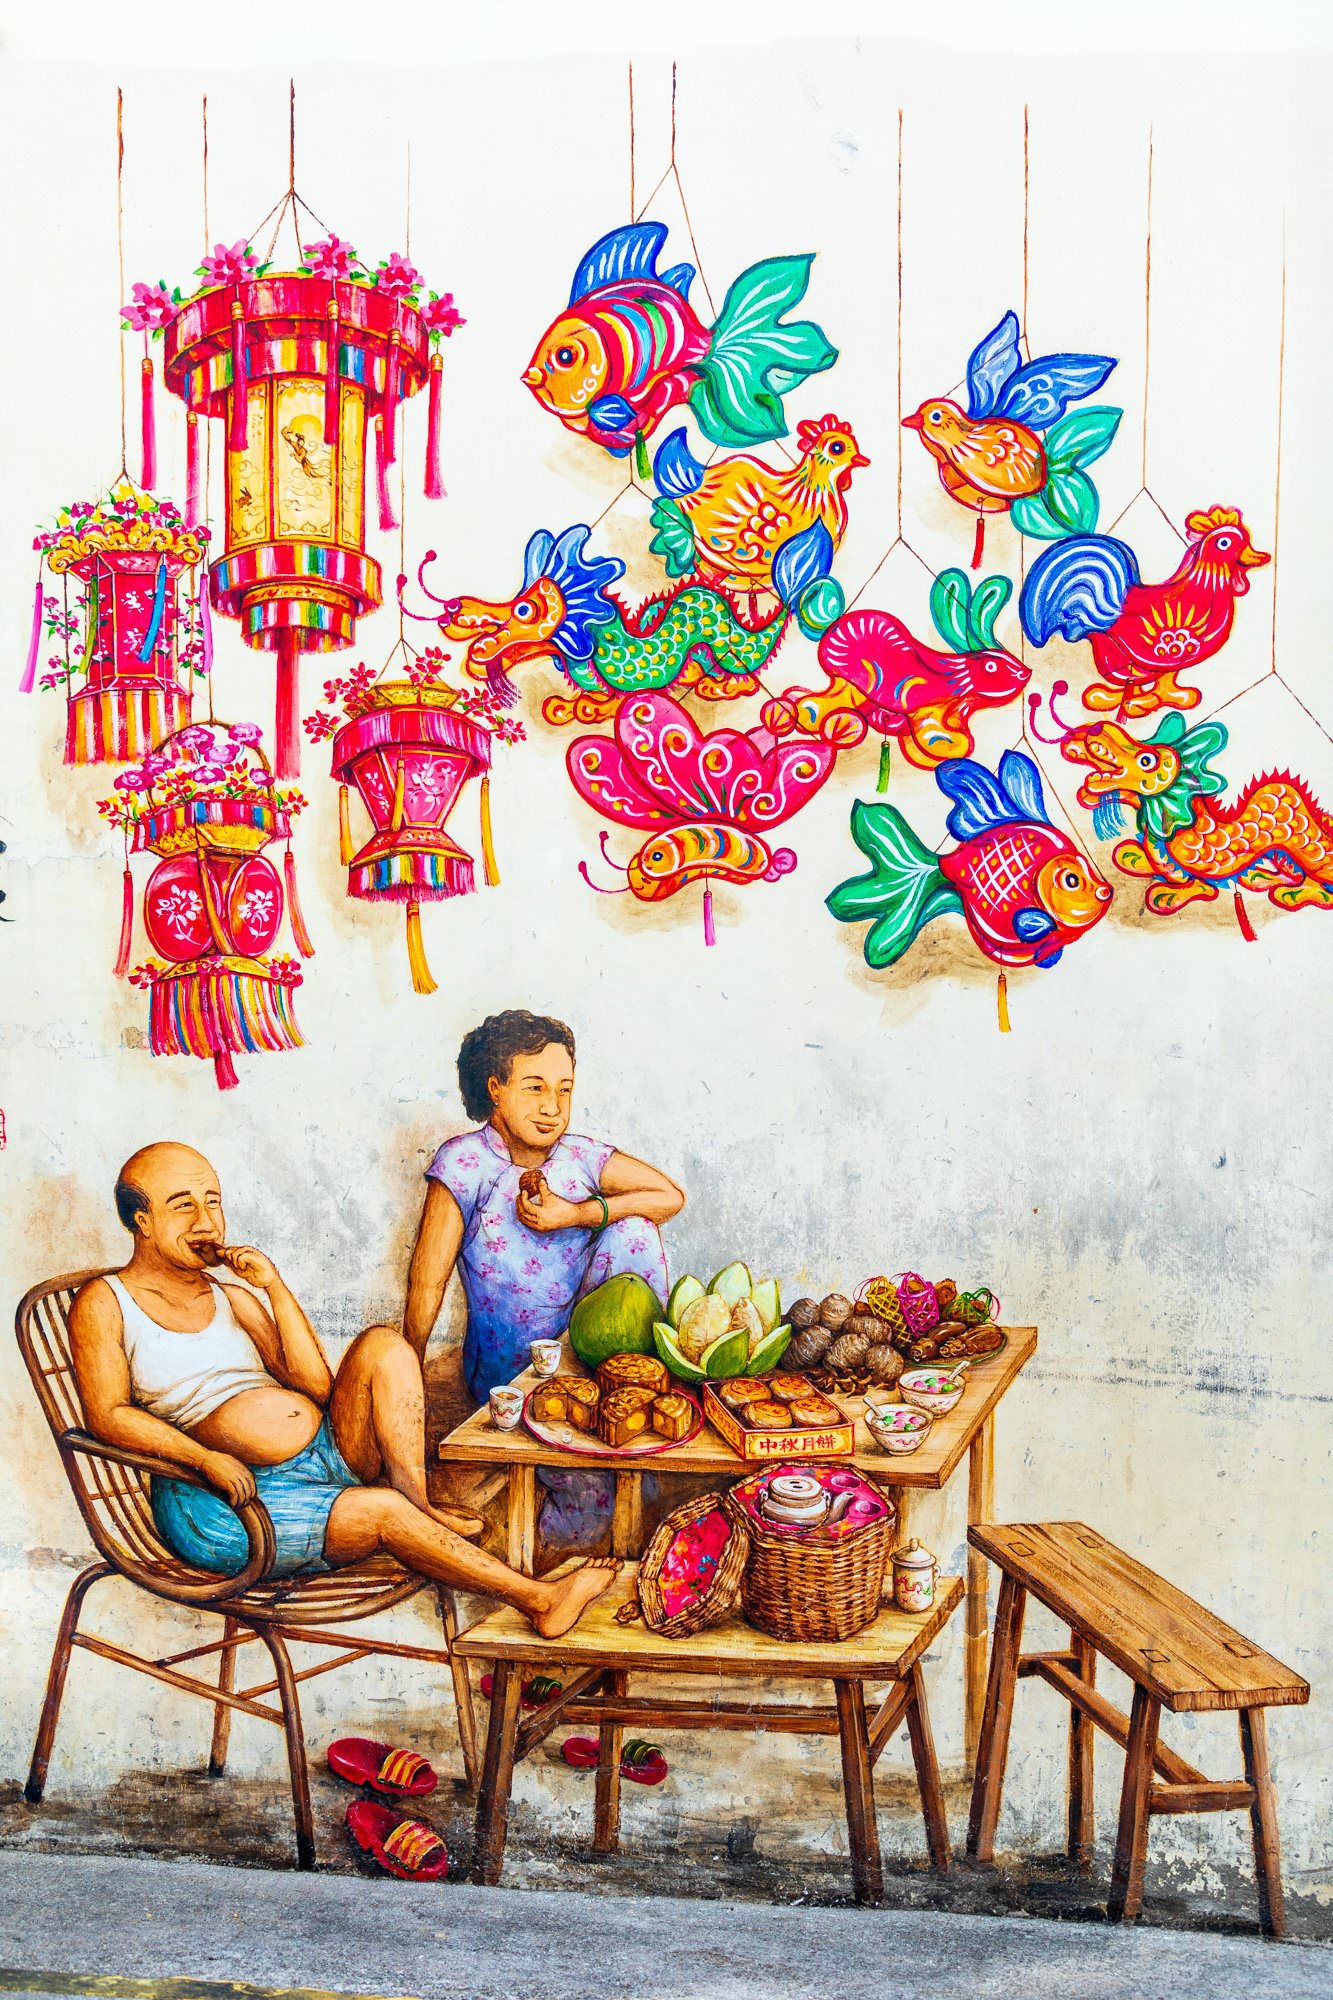
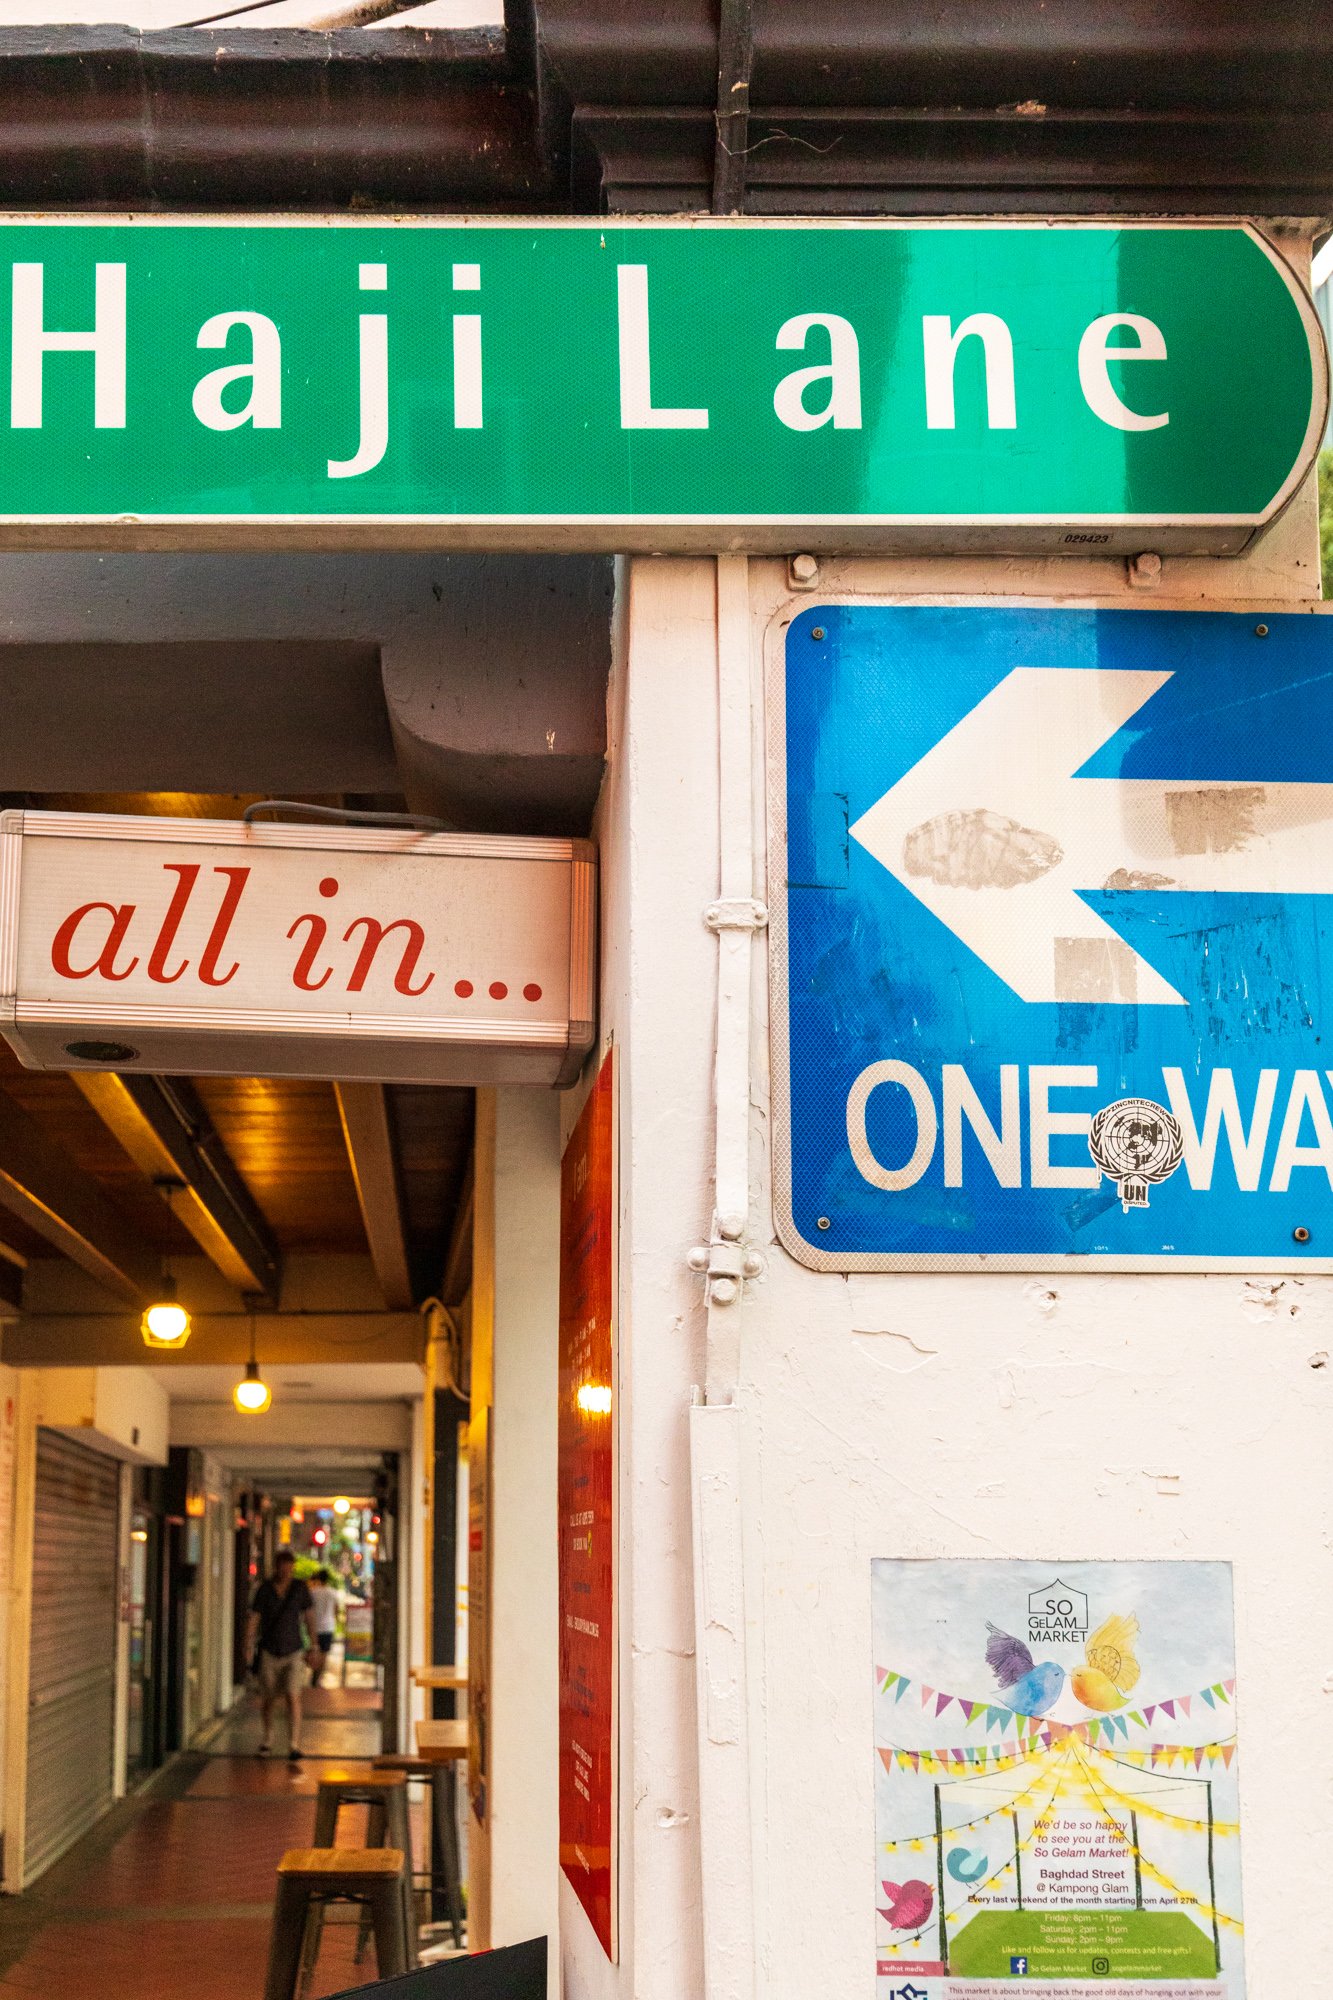
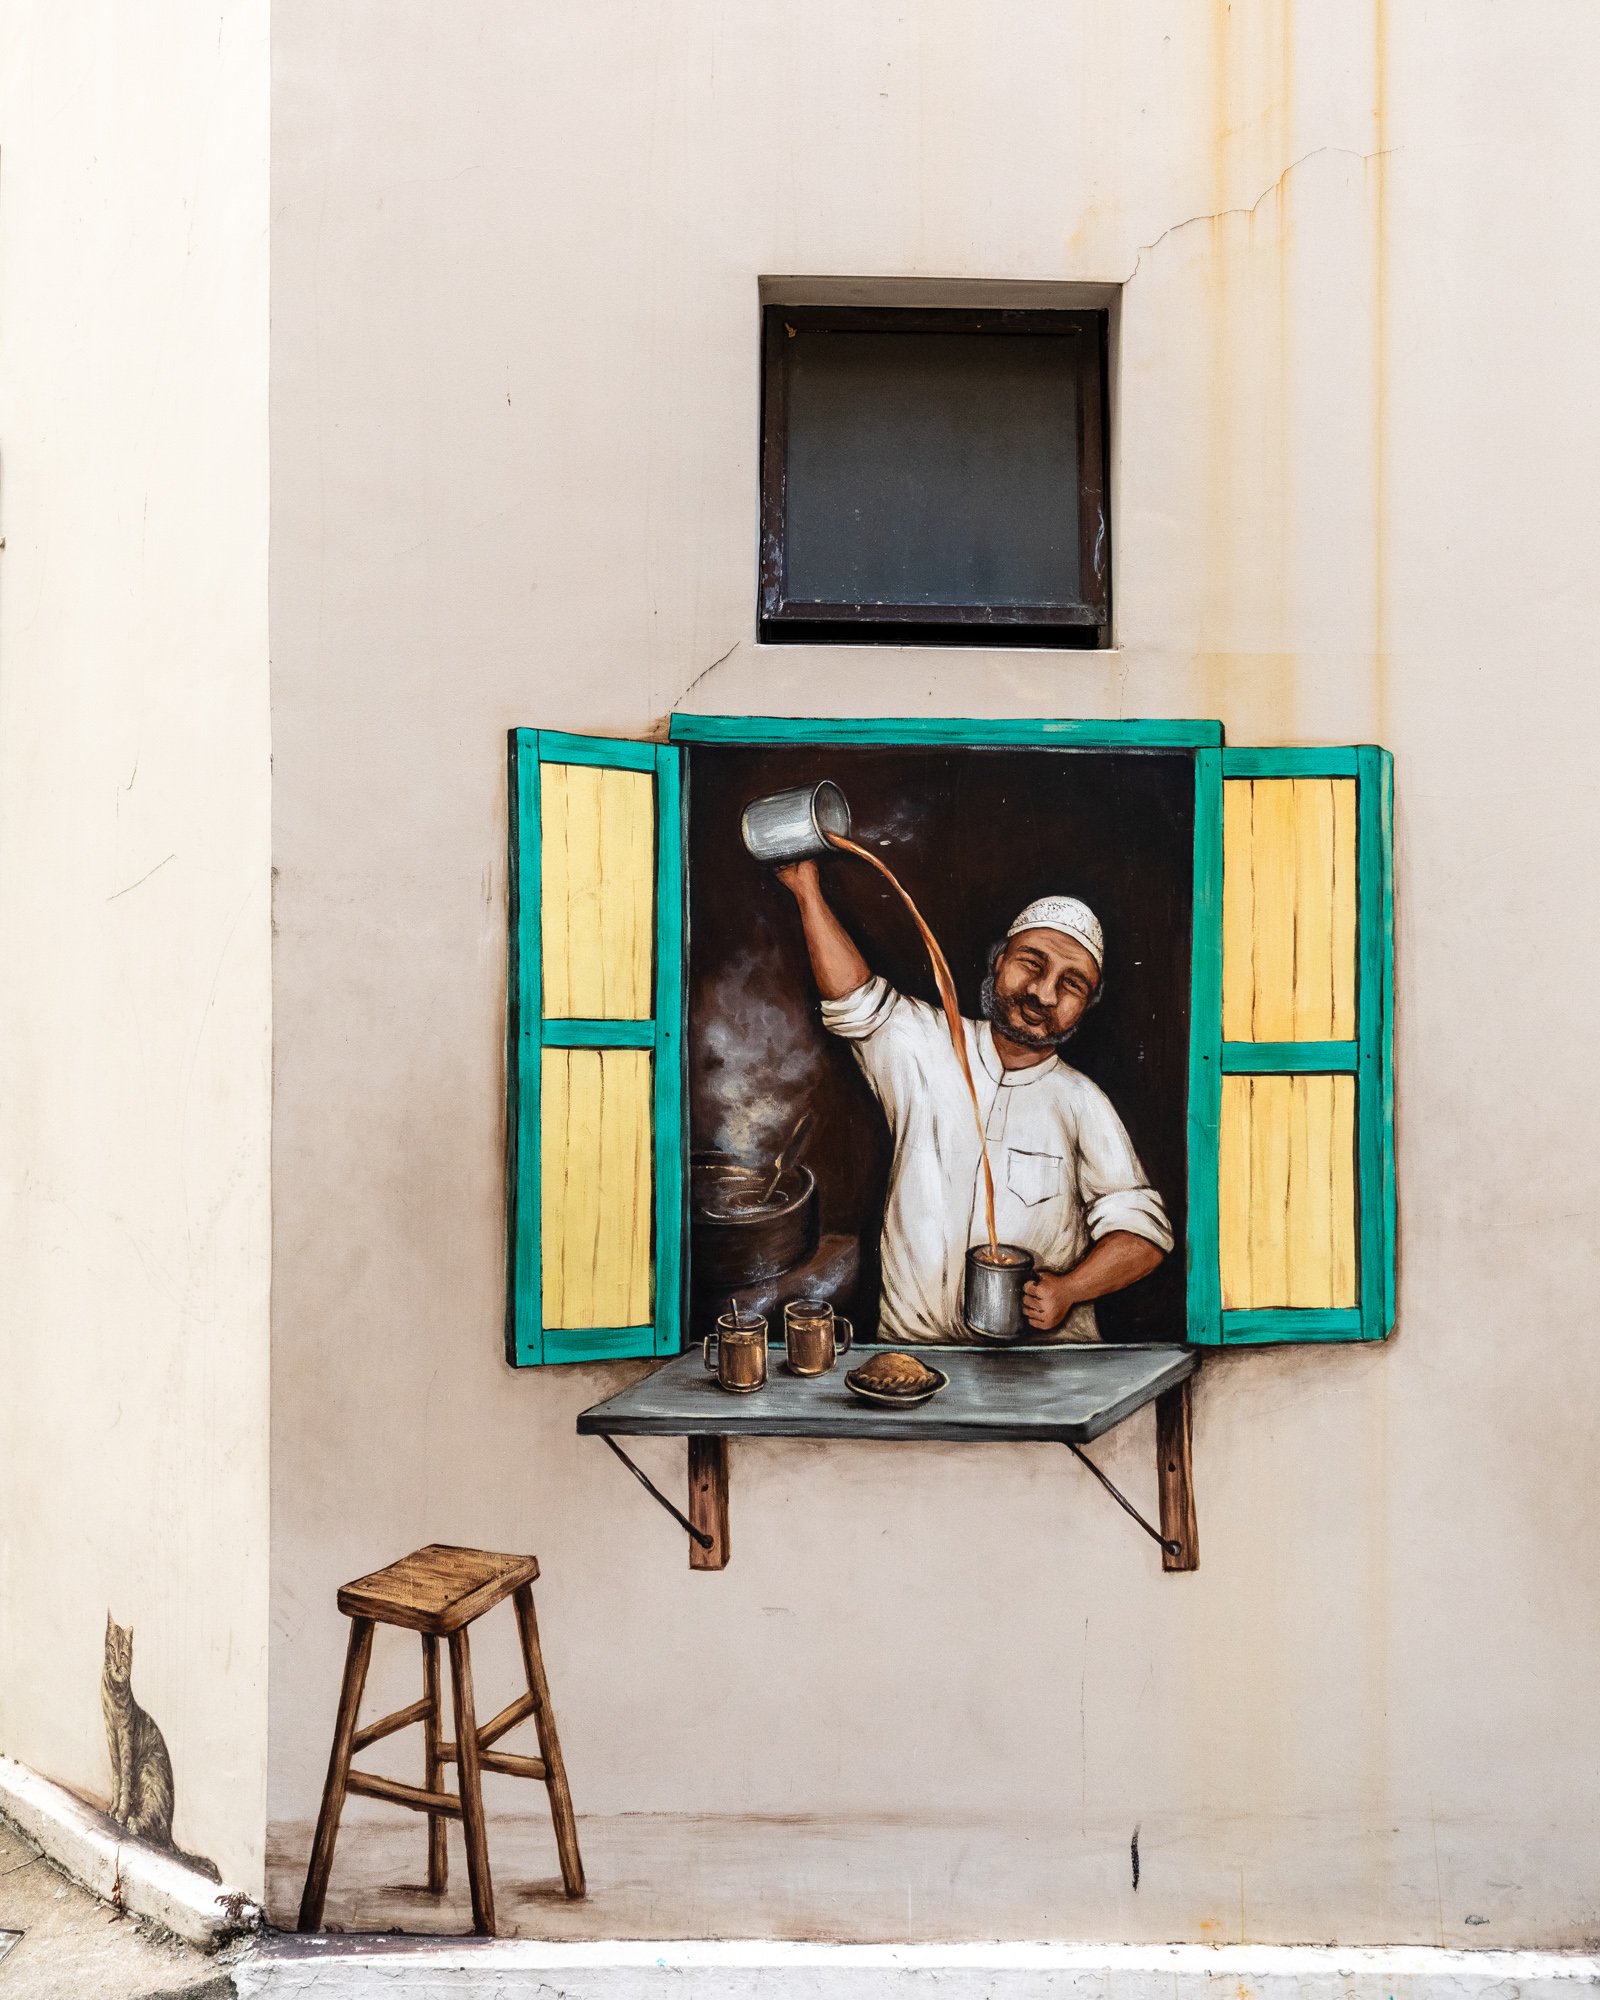
HAJI LANE in the KAMPUNG GLAM
Haji Lane in the Kampong Glam neighborhood is full of fabulous boutiques and cafes housed in charming 19th-century shophouses, some of which gained a splash of color through stunning art murals. The Arab Quarter features two of Singapore’s most well-known photography locations: Sultan Mosque and Haji Lane. The mix of colonial architecture and street art makes Haji Lane one of the most interesting places to photograph.

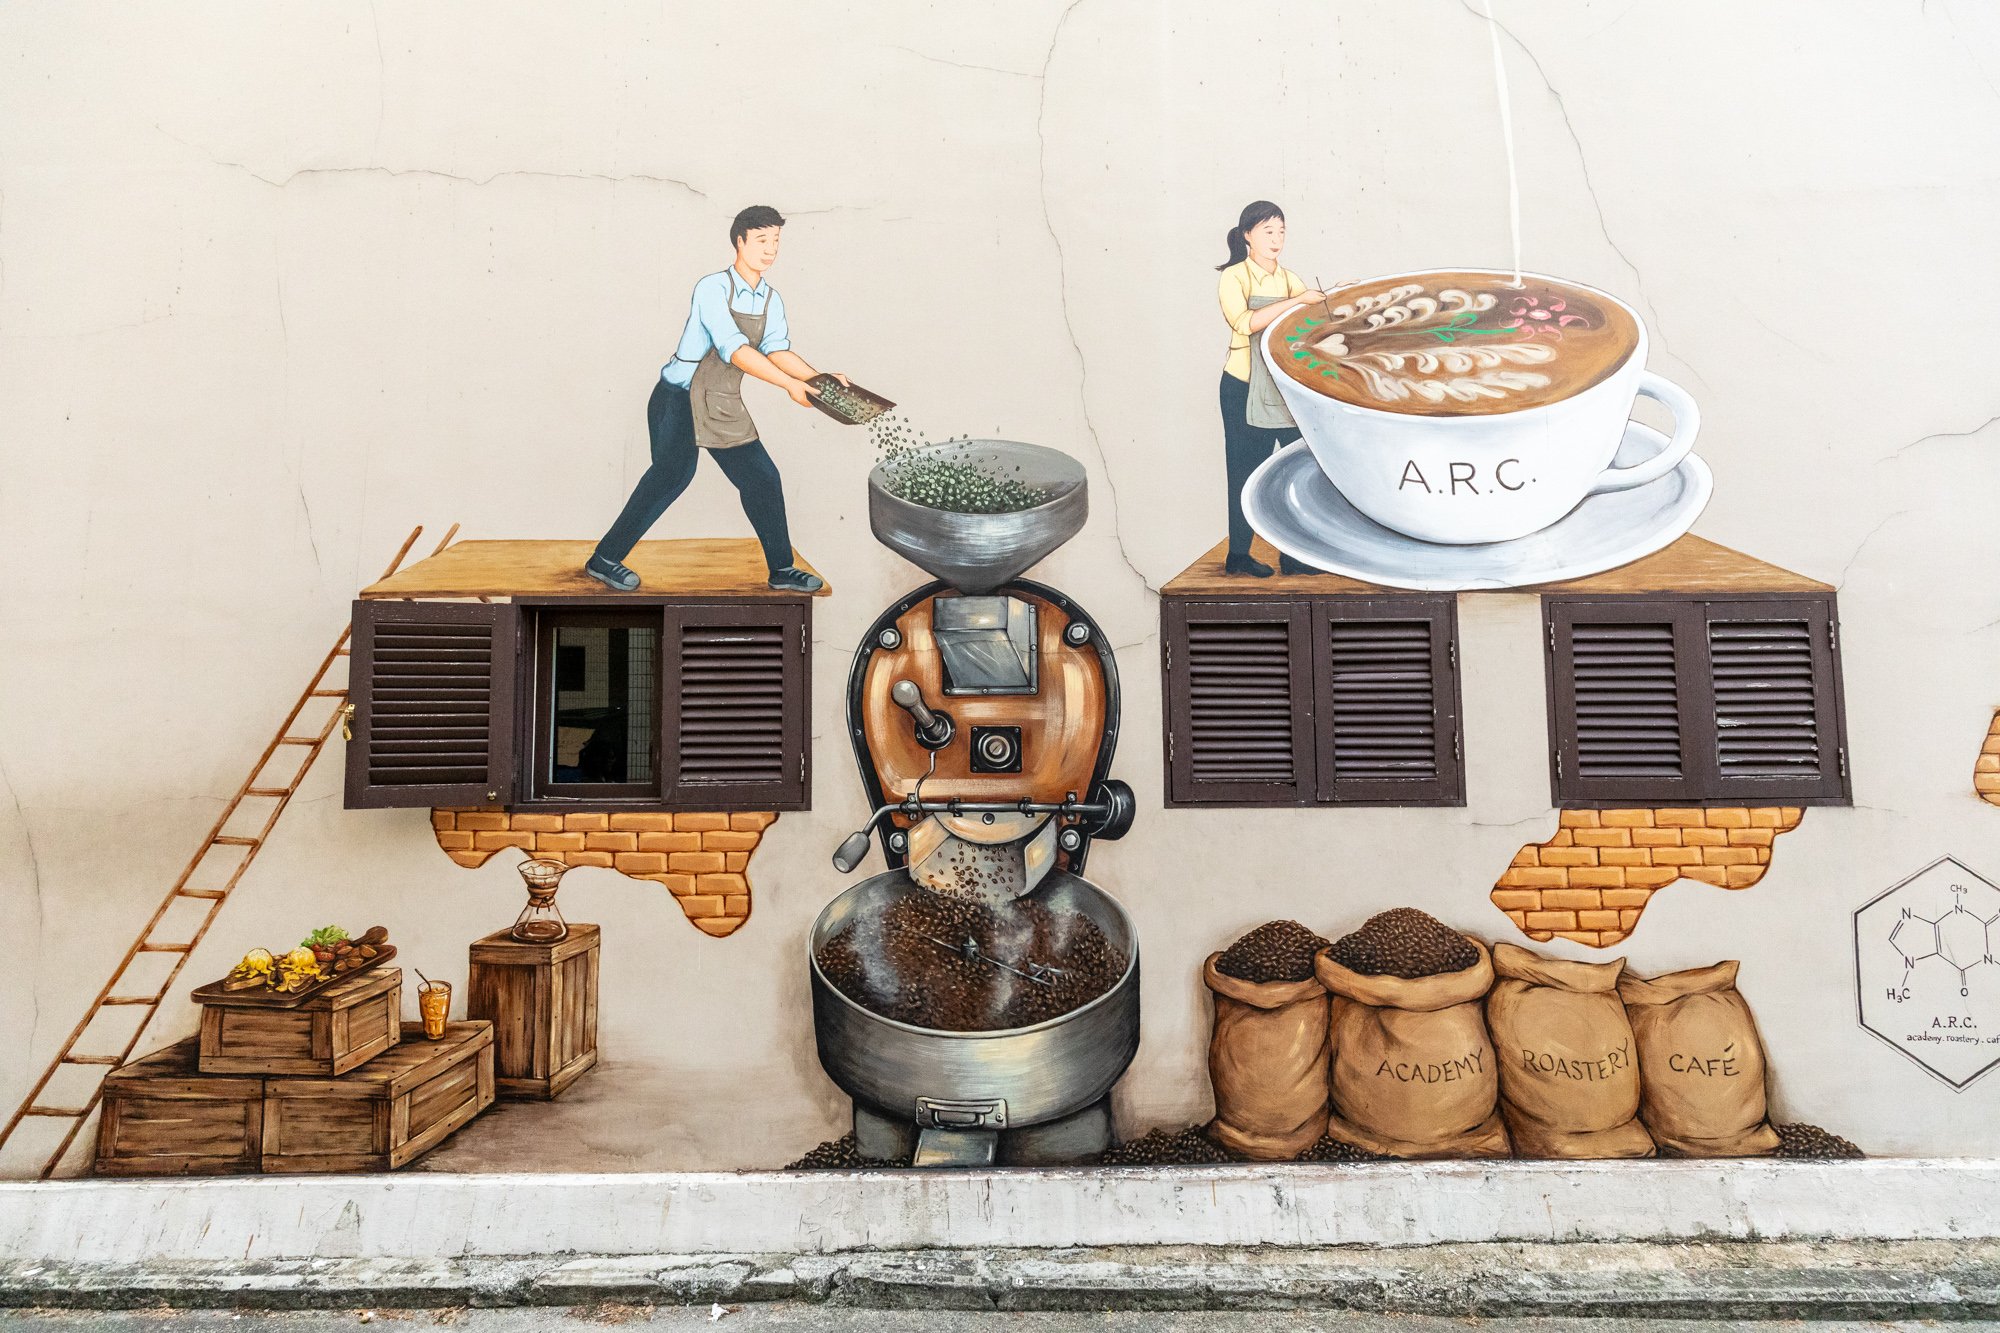
If you love to photograph murals, then this is the place to come to.
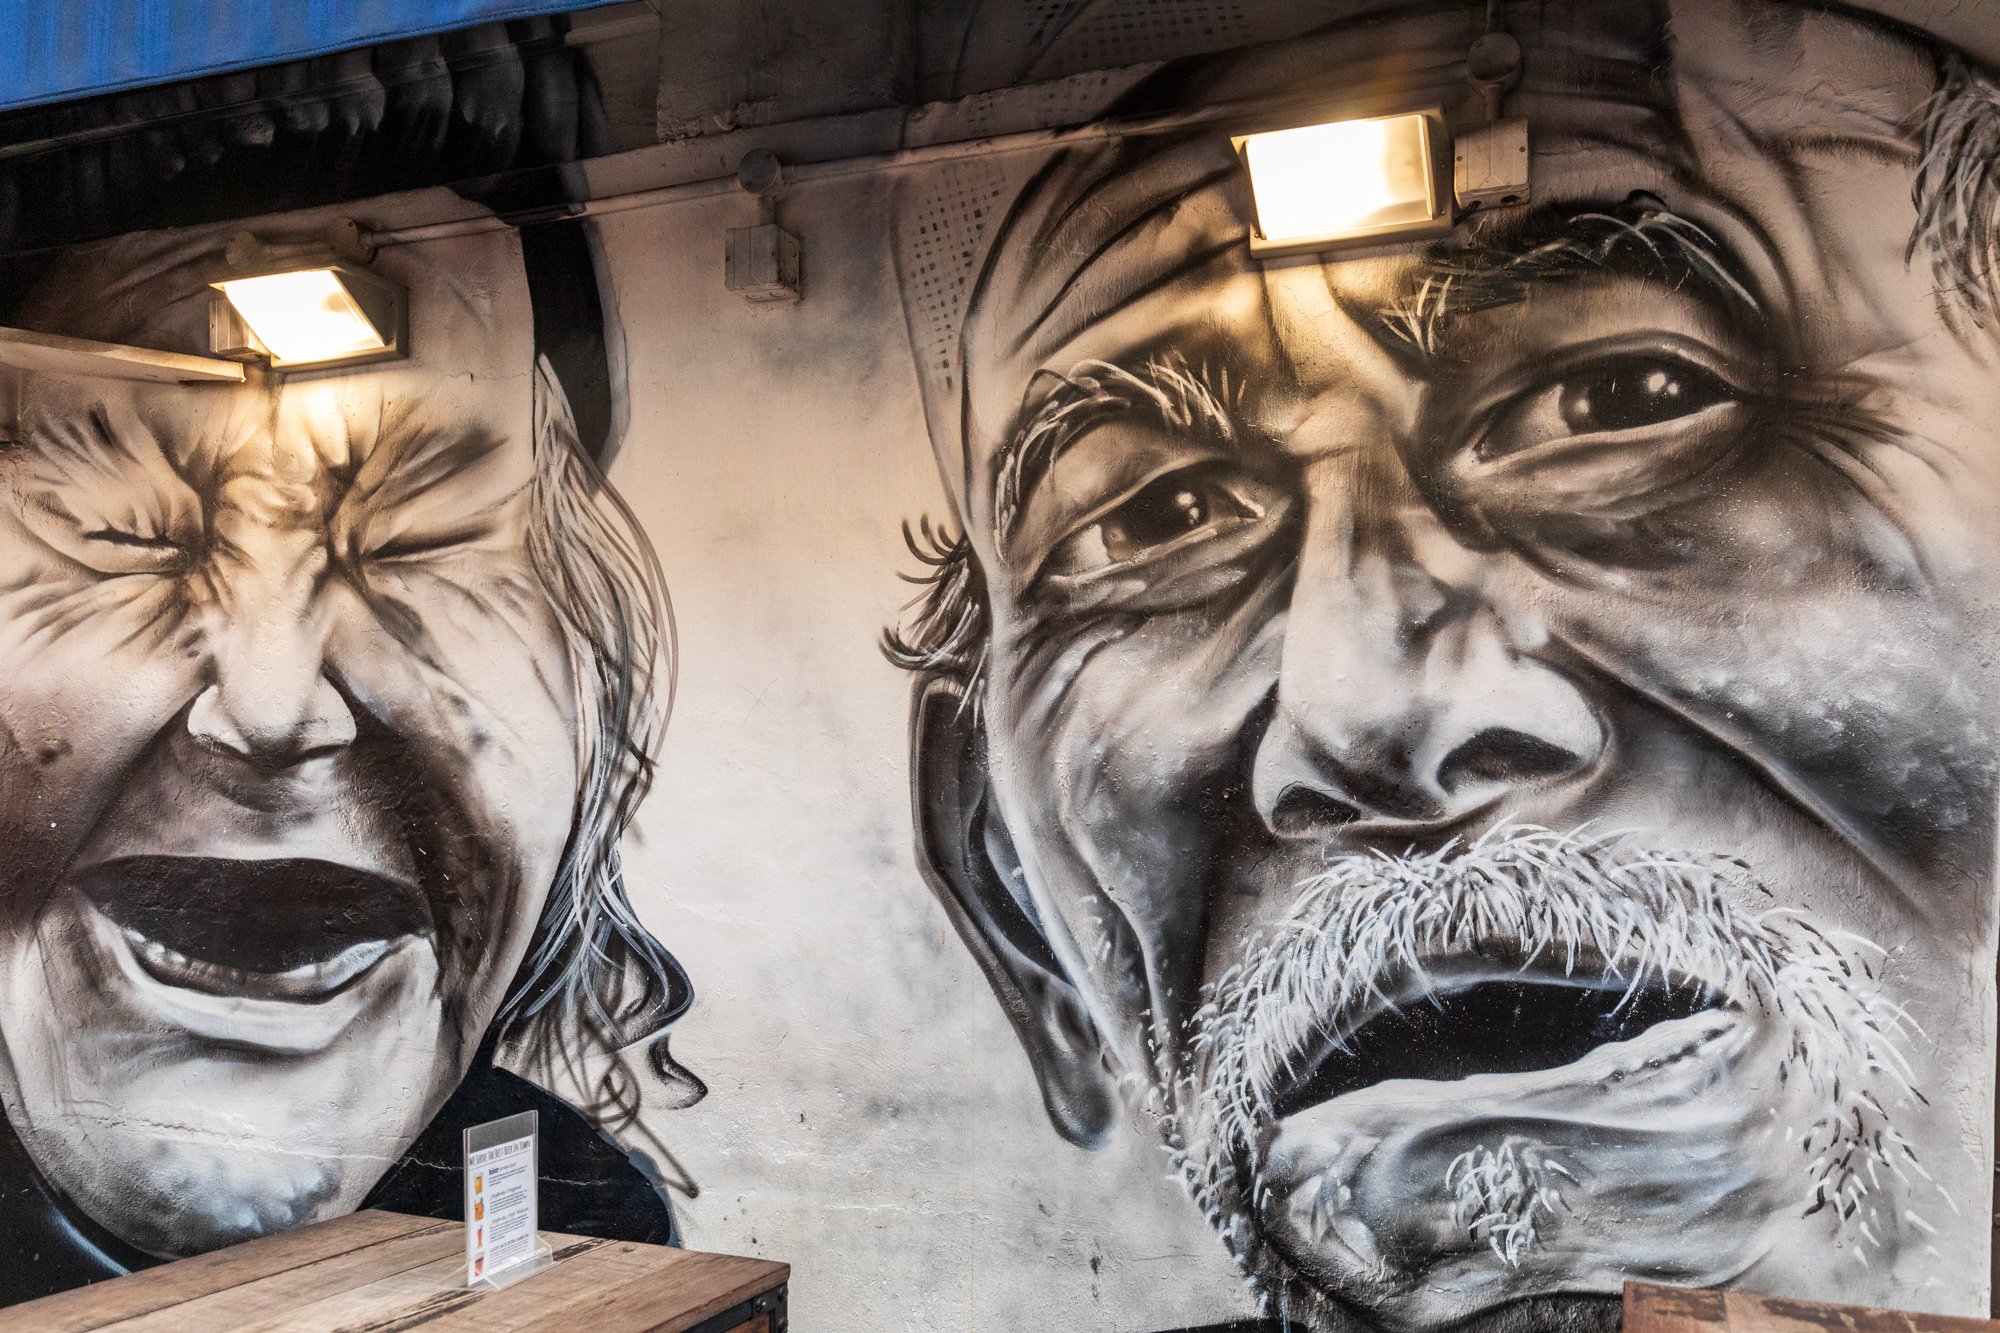
Sultan Mosque is a well-preserved mosque from 1824 with its gleaming golden domes. The best angles for great shots of the mosque are straight down the palm-tree-lined avenue.
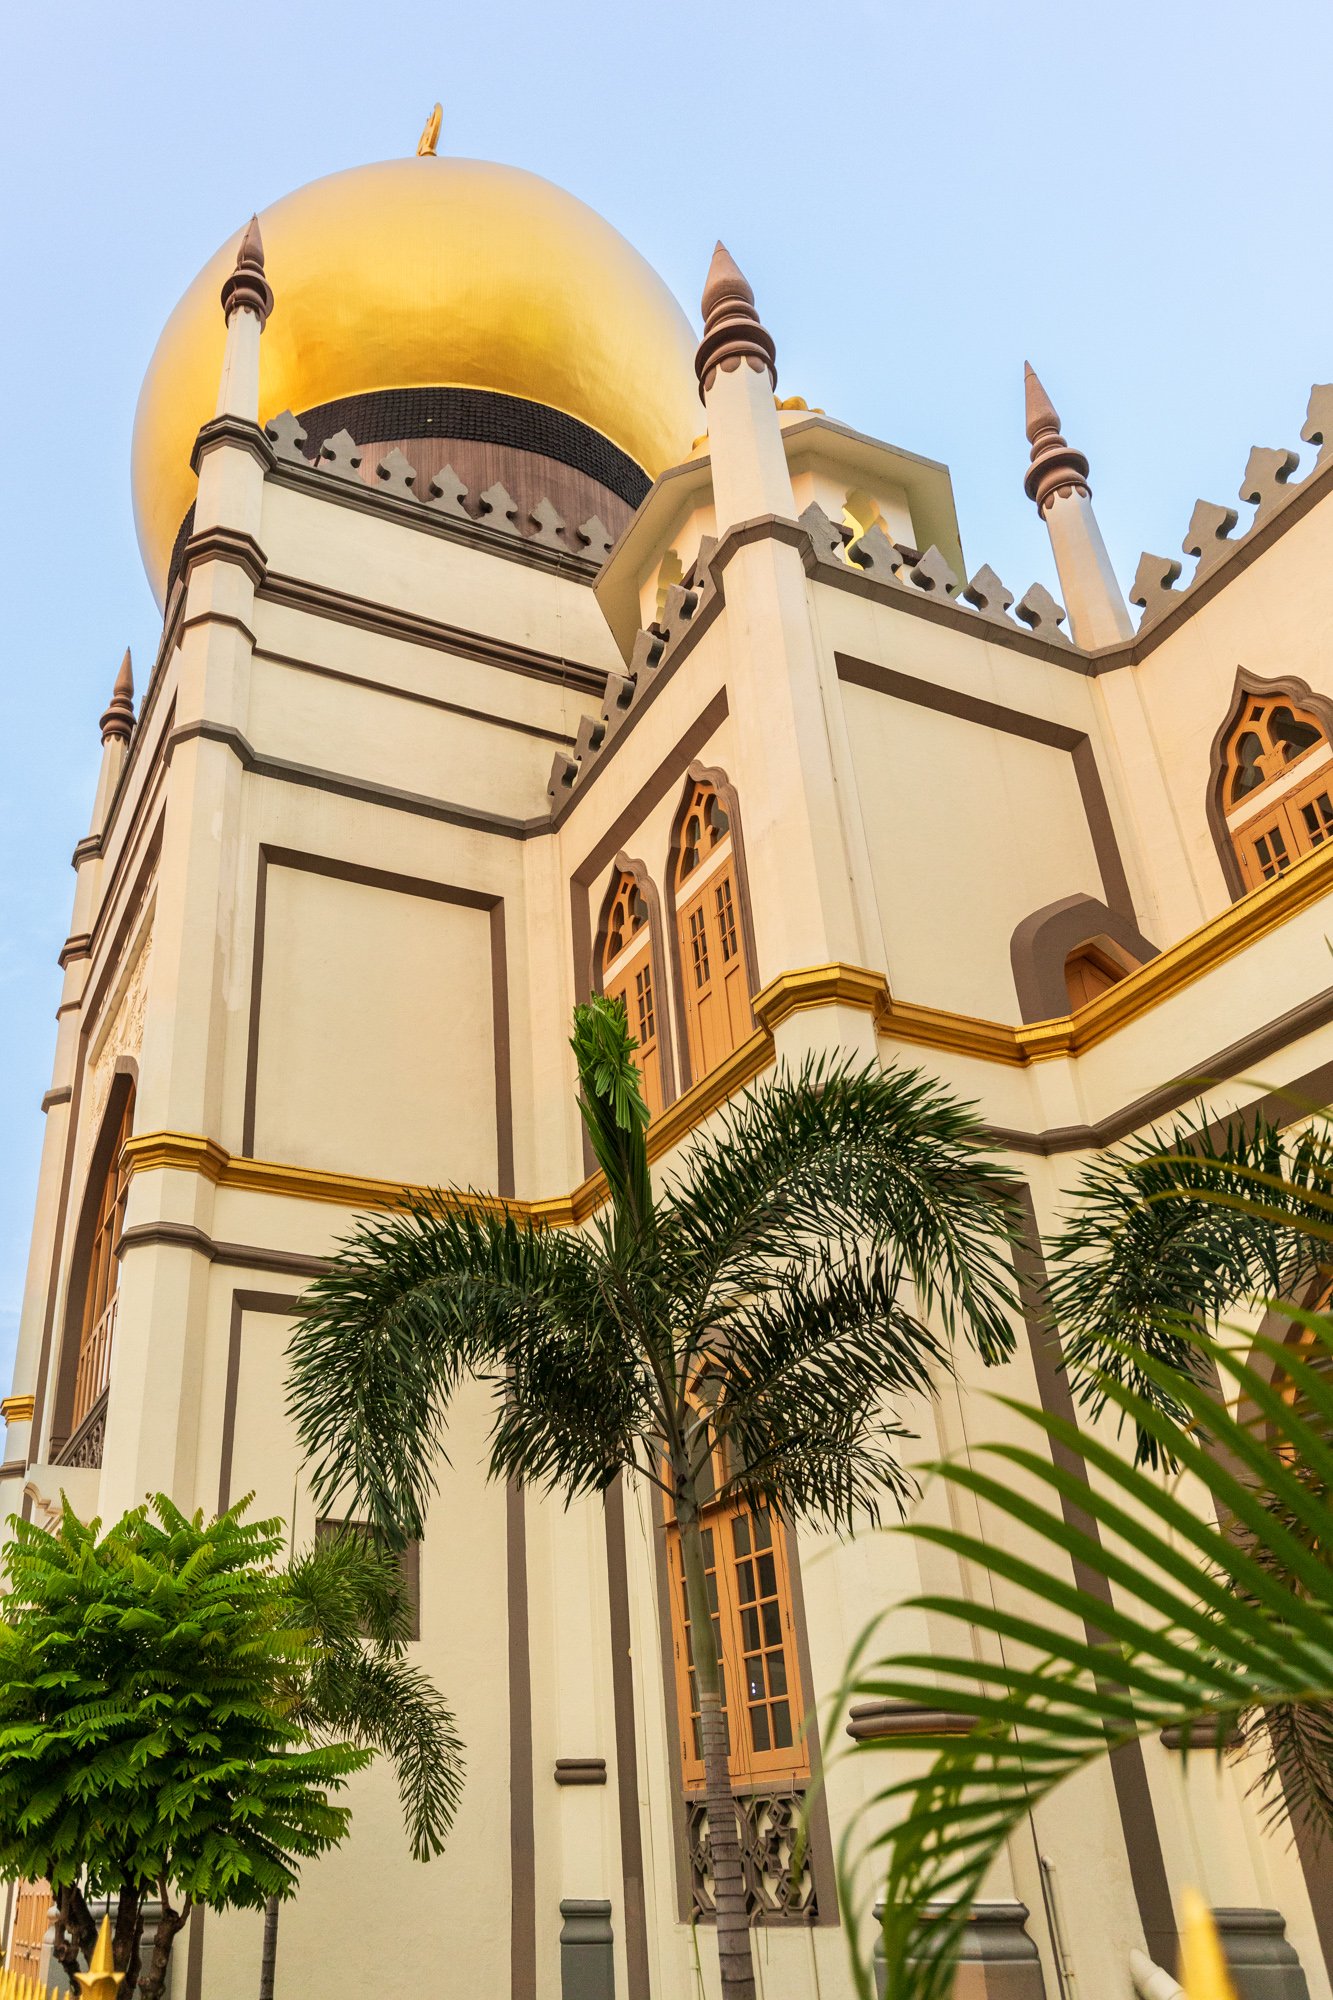
You’ll find plenty of quirky street art, boutique shops, and awesome cafes and bars.
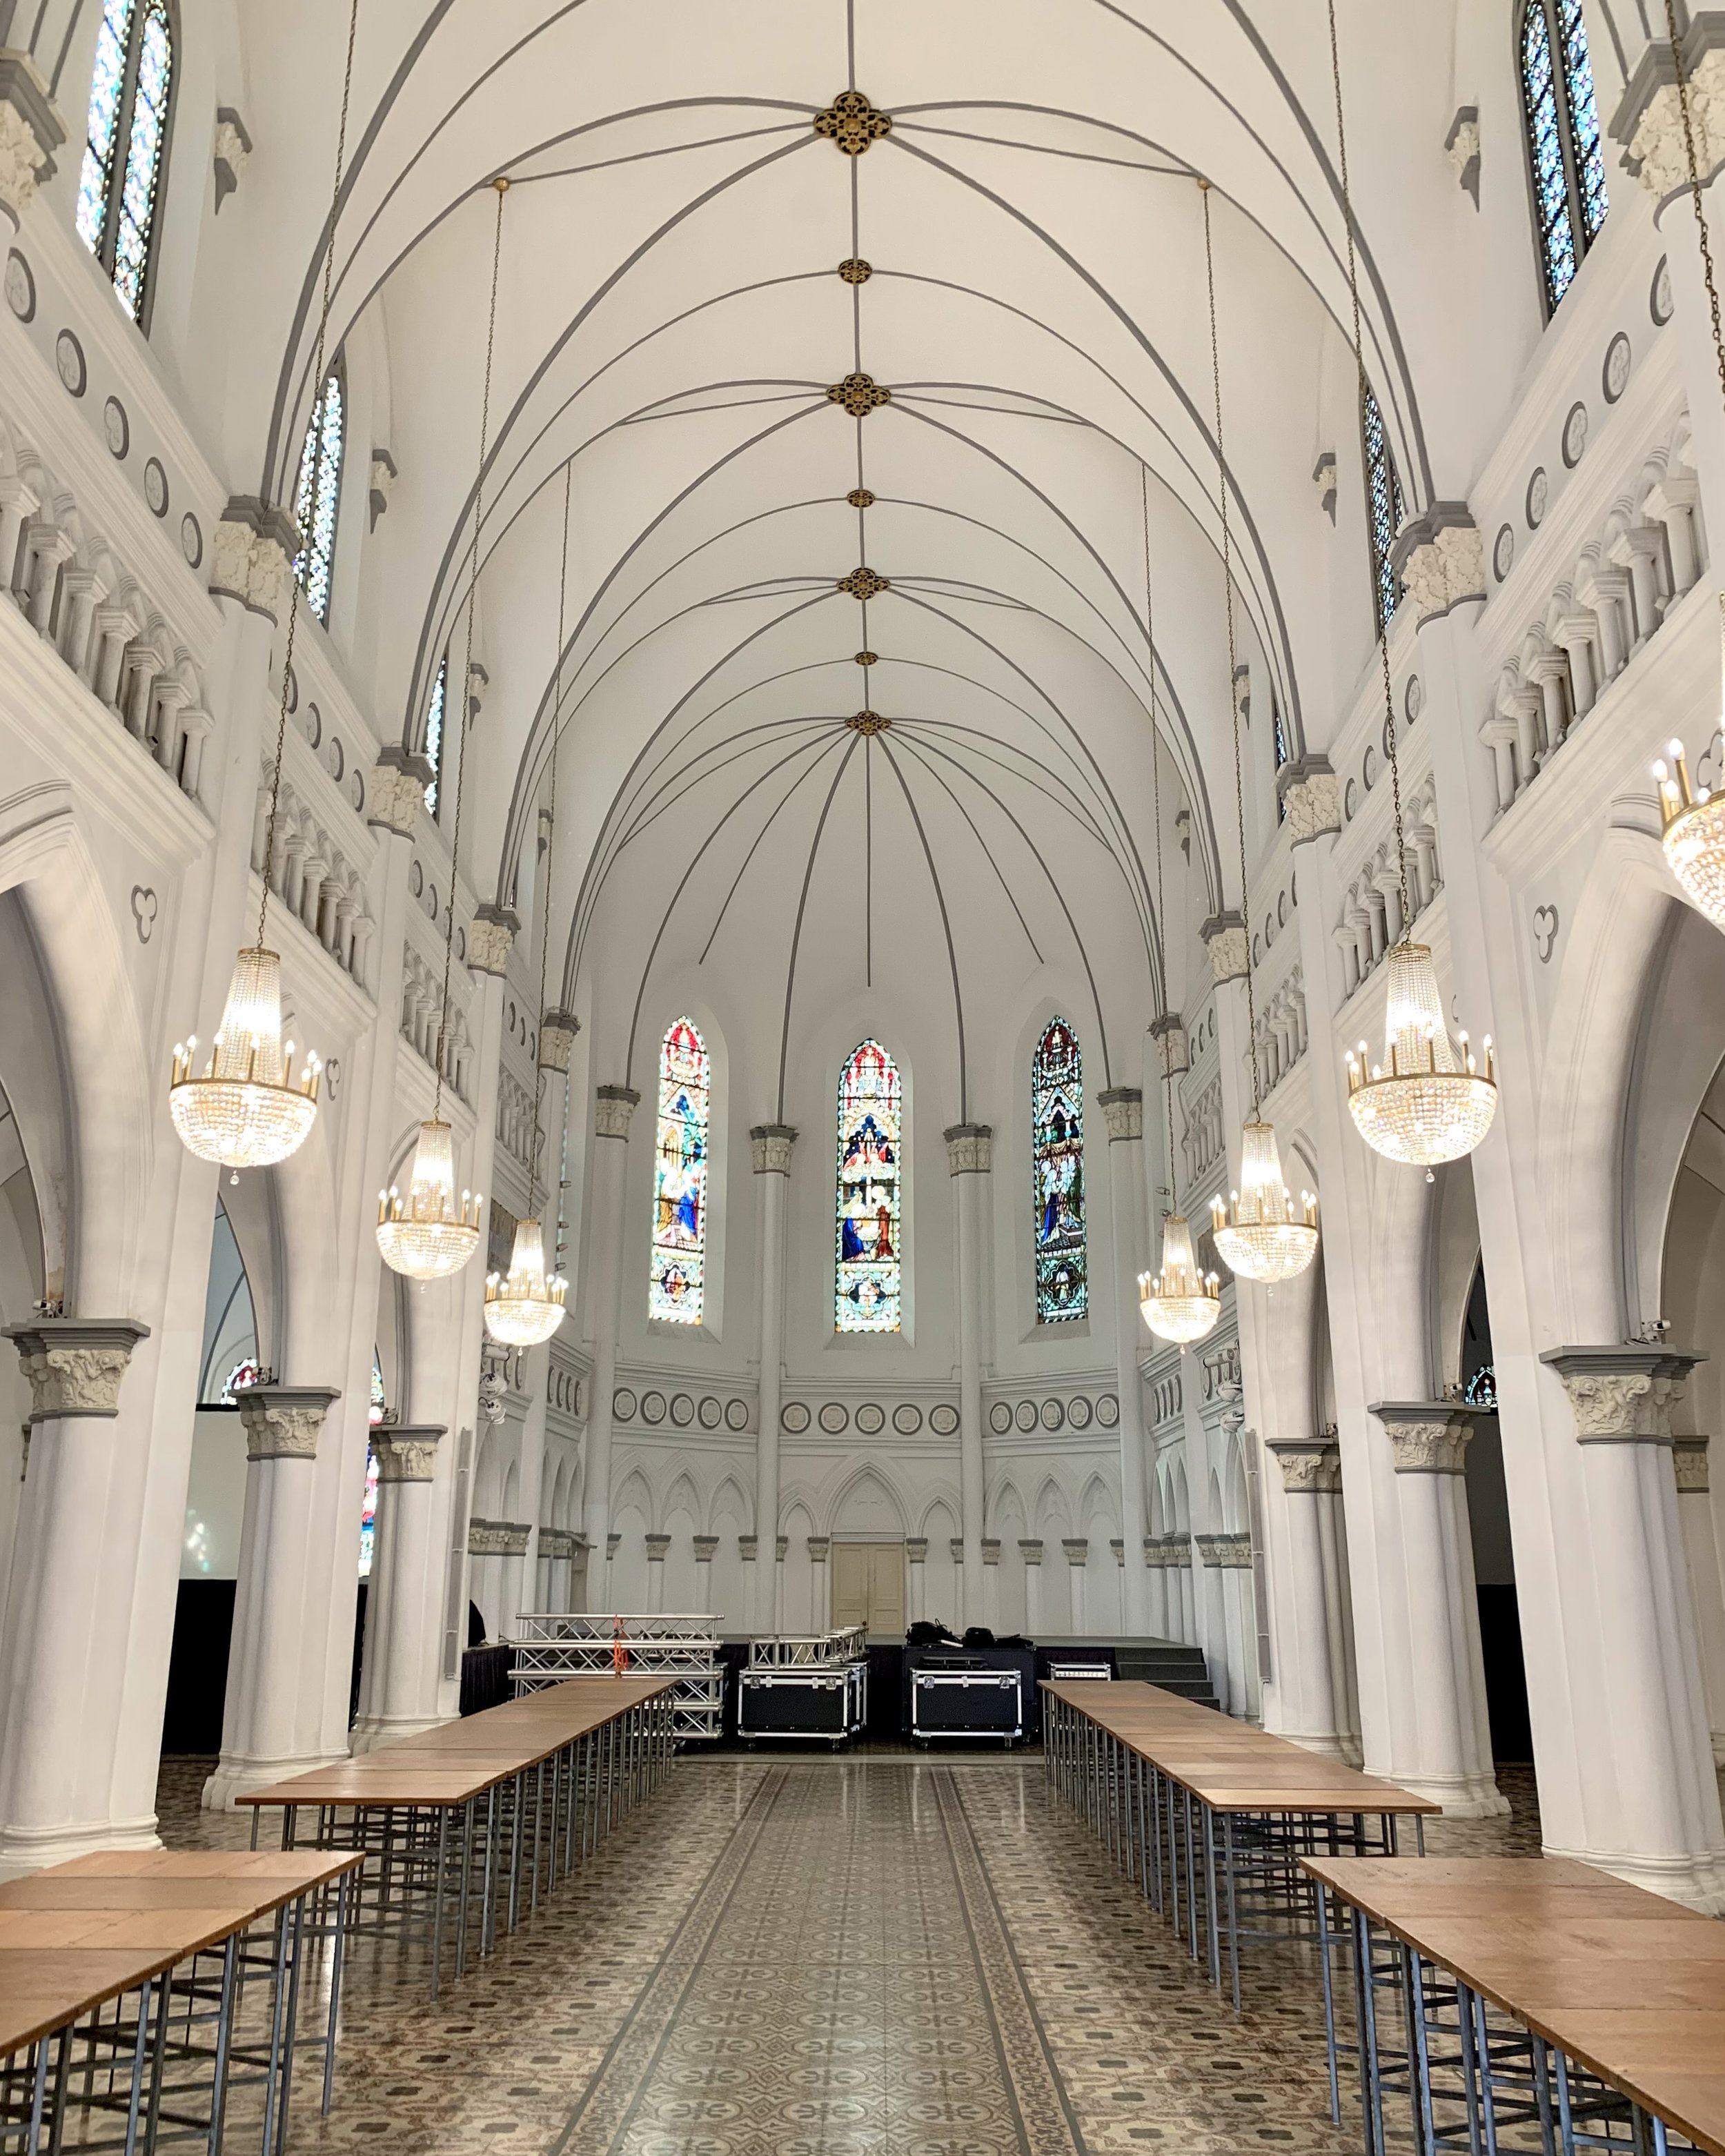
CHIJMES
Chijmes Church became famous from the movie Crazy Rich Asians. This stunning building, dating back to 1852, was once a Catholic convent and sprawls across an entire city block.
Festivals and Events in Singapore
Chinese New Year (January or February) Chinatown transforms completely. Lanterns are strung across every street, lion dance troupes perform through the week of the new year, and the nighttime glow is extraordinary for photography. The best images come from the streets around the Buddha Tooth Relic Temple and the Pagoda Street market. Crowds are significant in the evenings; shoot in the early morning for quieter compositions.
Singapore National Day (August) Centered on Marina Bay, National Day brings an aerial display, military parade, and fireworks over the water. This is one of the best long-exposure opportunities of the year. Plan your position on the Jubilee Bridge or the Merlion Park esplanade well in advance, as good spots fill up hours before the event.
Deepavali / Diwali (October or November) Little India undergoes a full transformation. String lights cover every building for weeks beforehand, and the festival of lights turns the neighborhood into an extraordinary photography environment, especially after dark. This is my favorite festival to photograph in Singapore.
Singapore Night Festival (August) A multi-night arts event centered on the Bras Basah and Bugis arts precinct, with light installations, projections, and performances on and around the National Museum of Singapore. This is pure after-dark photography material and tends to draw serious photographers from across the region.
Final Thoughts
Four visits in, Singapore still surprises me. Most cities reveal themselves quickly, and by the second trip you are mostly confirming what you already know. Singapore keeps adding layers. There are things I noticed on my fourth visit that I missed entirely on the first three, and that kind of depth is rare in any destination.
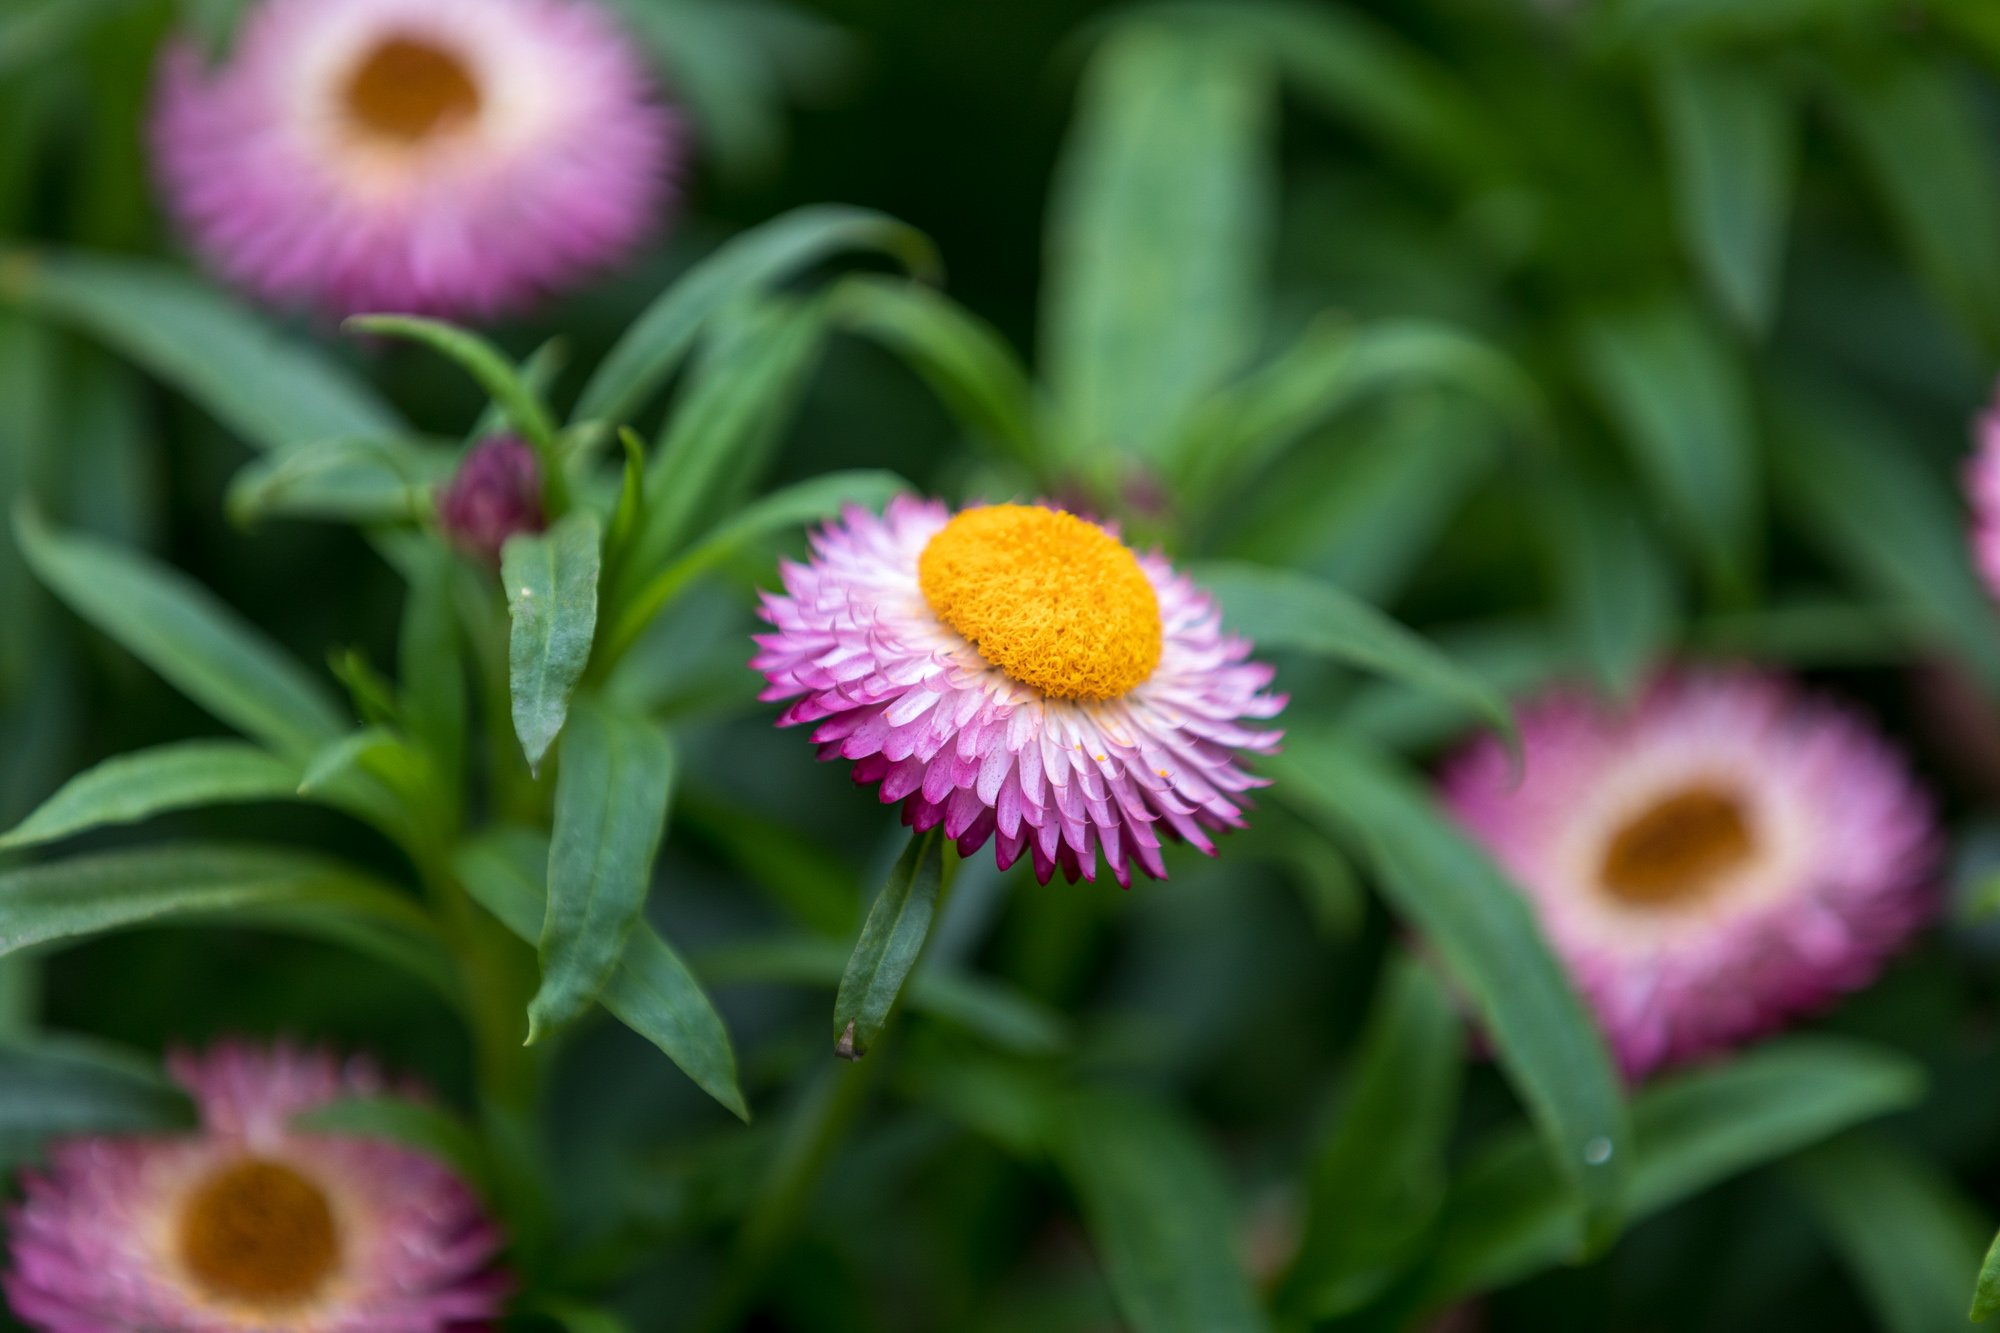
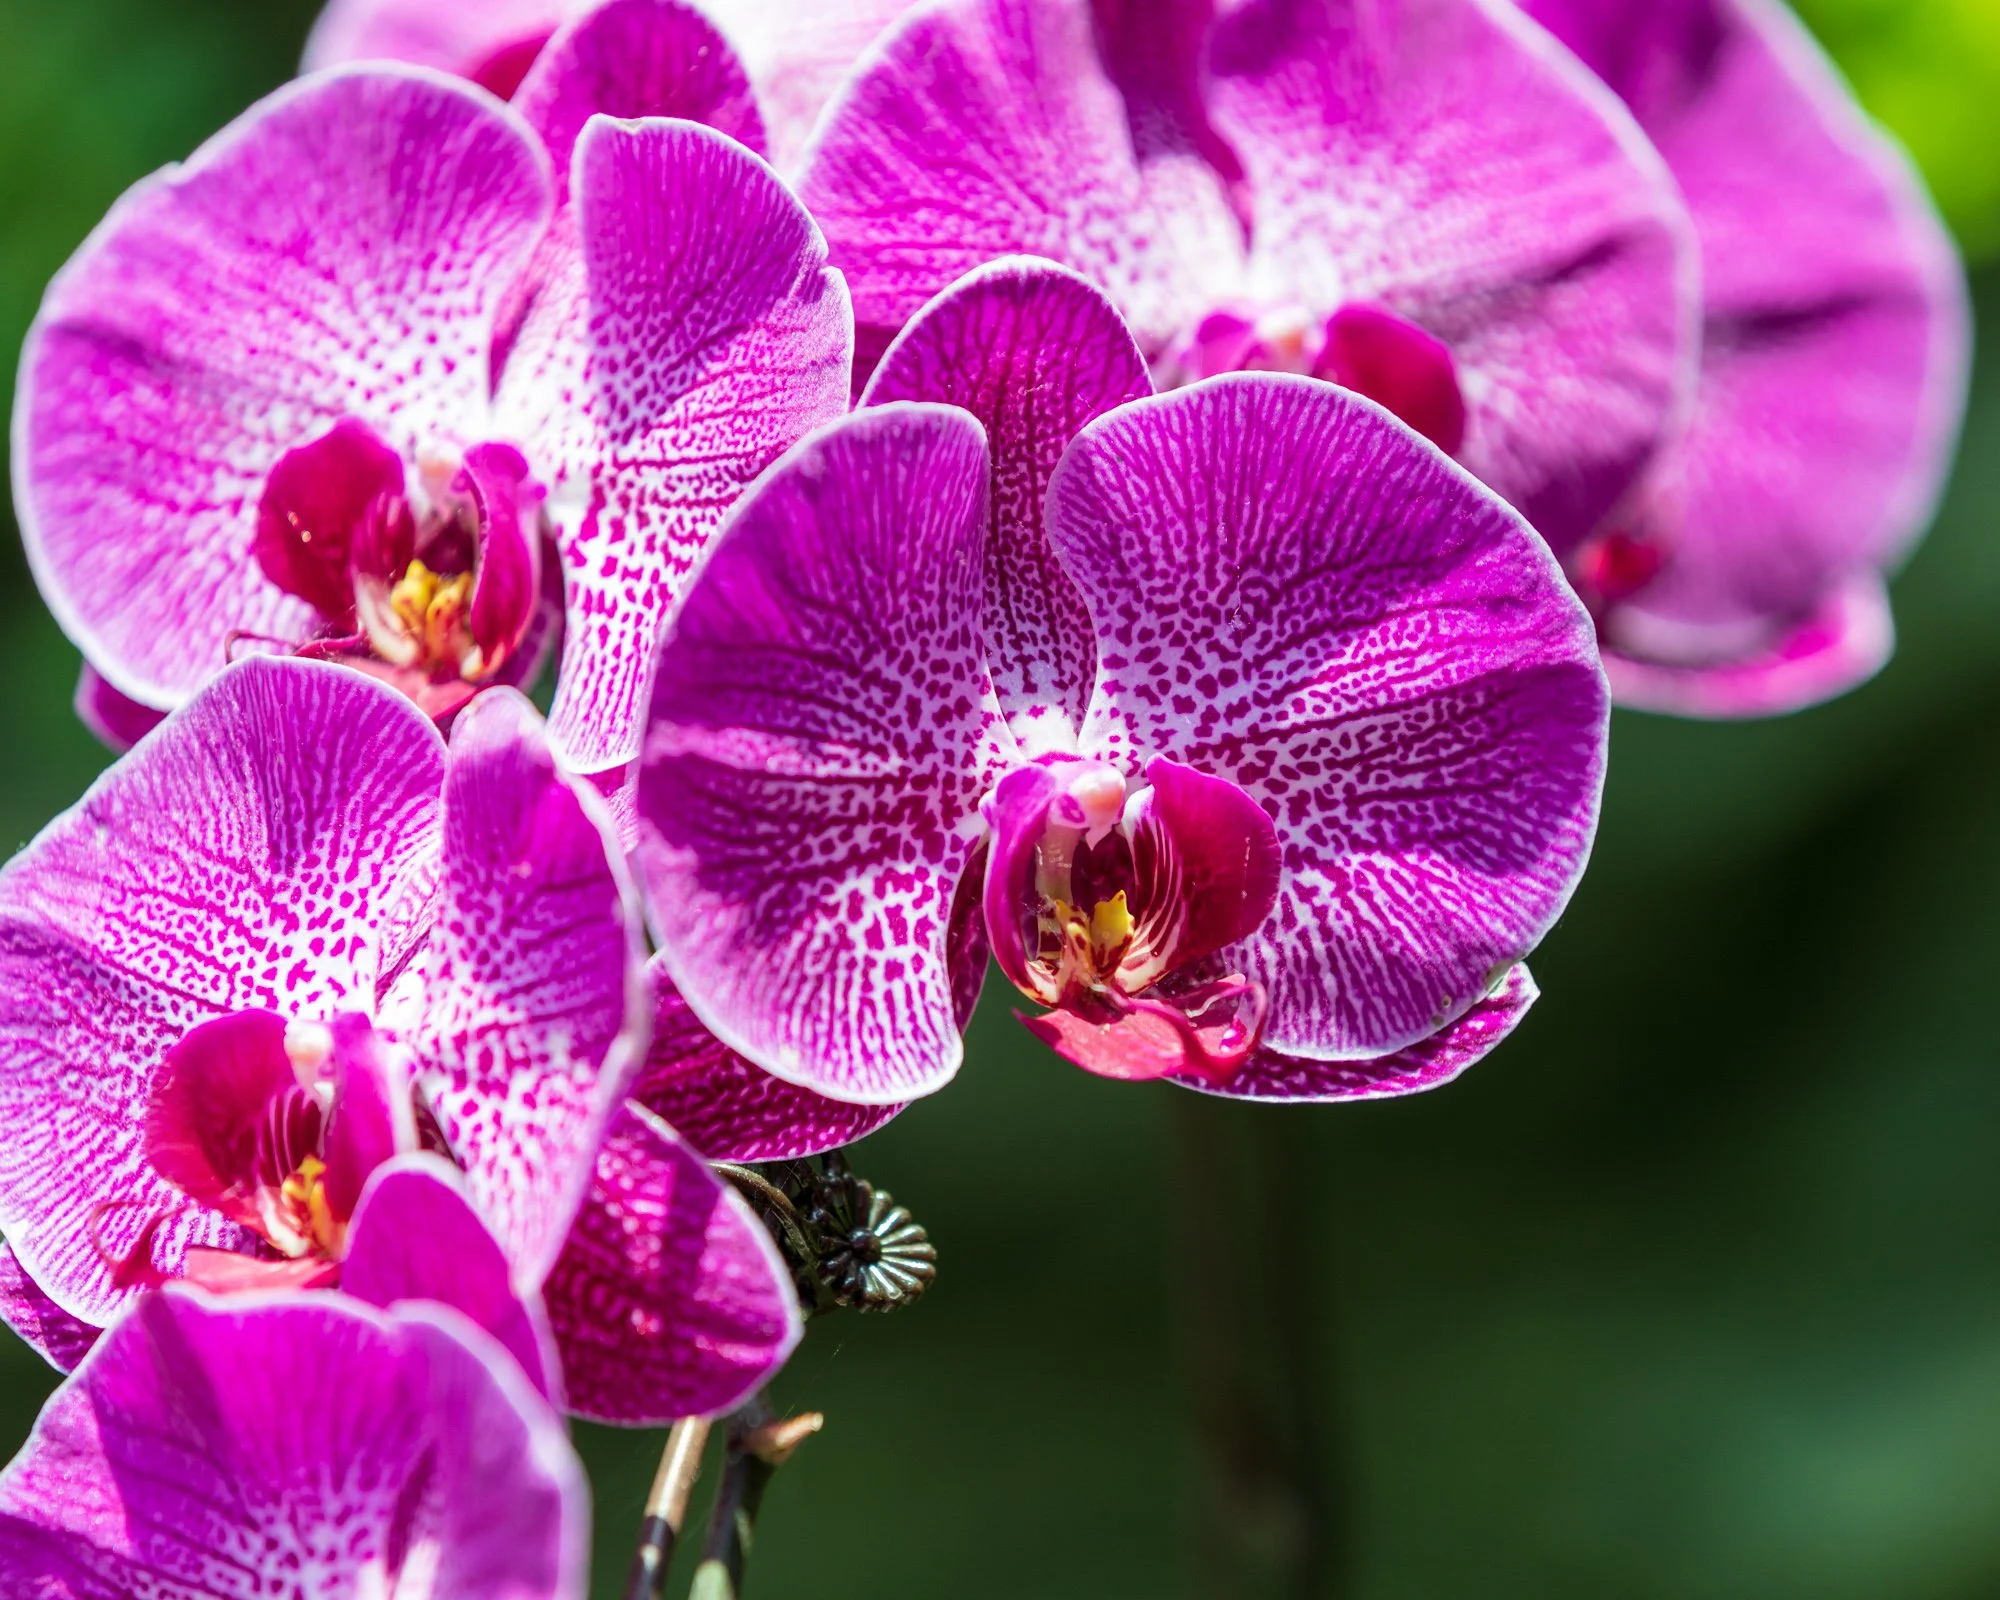
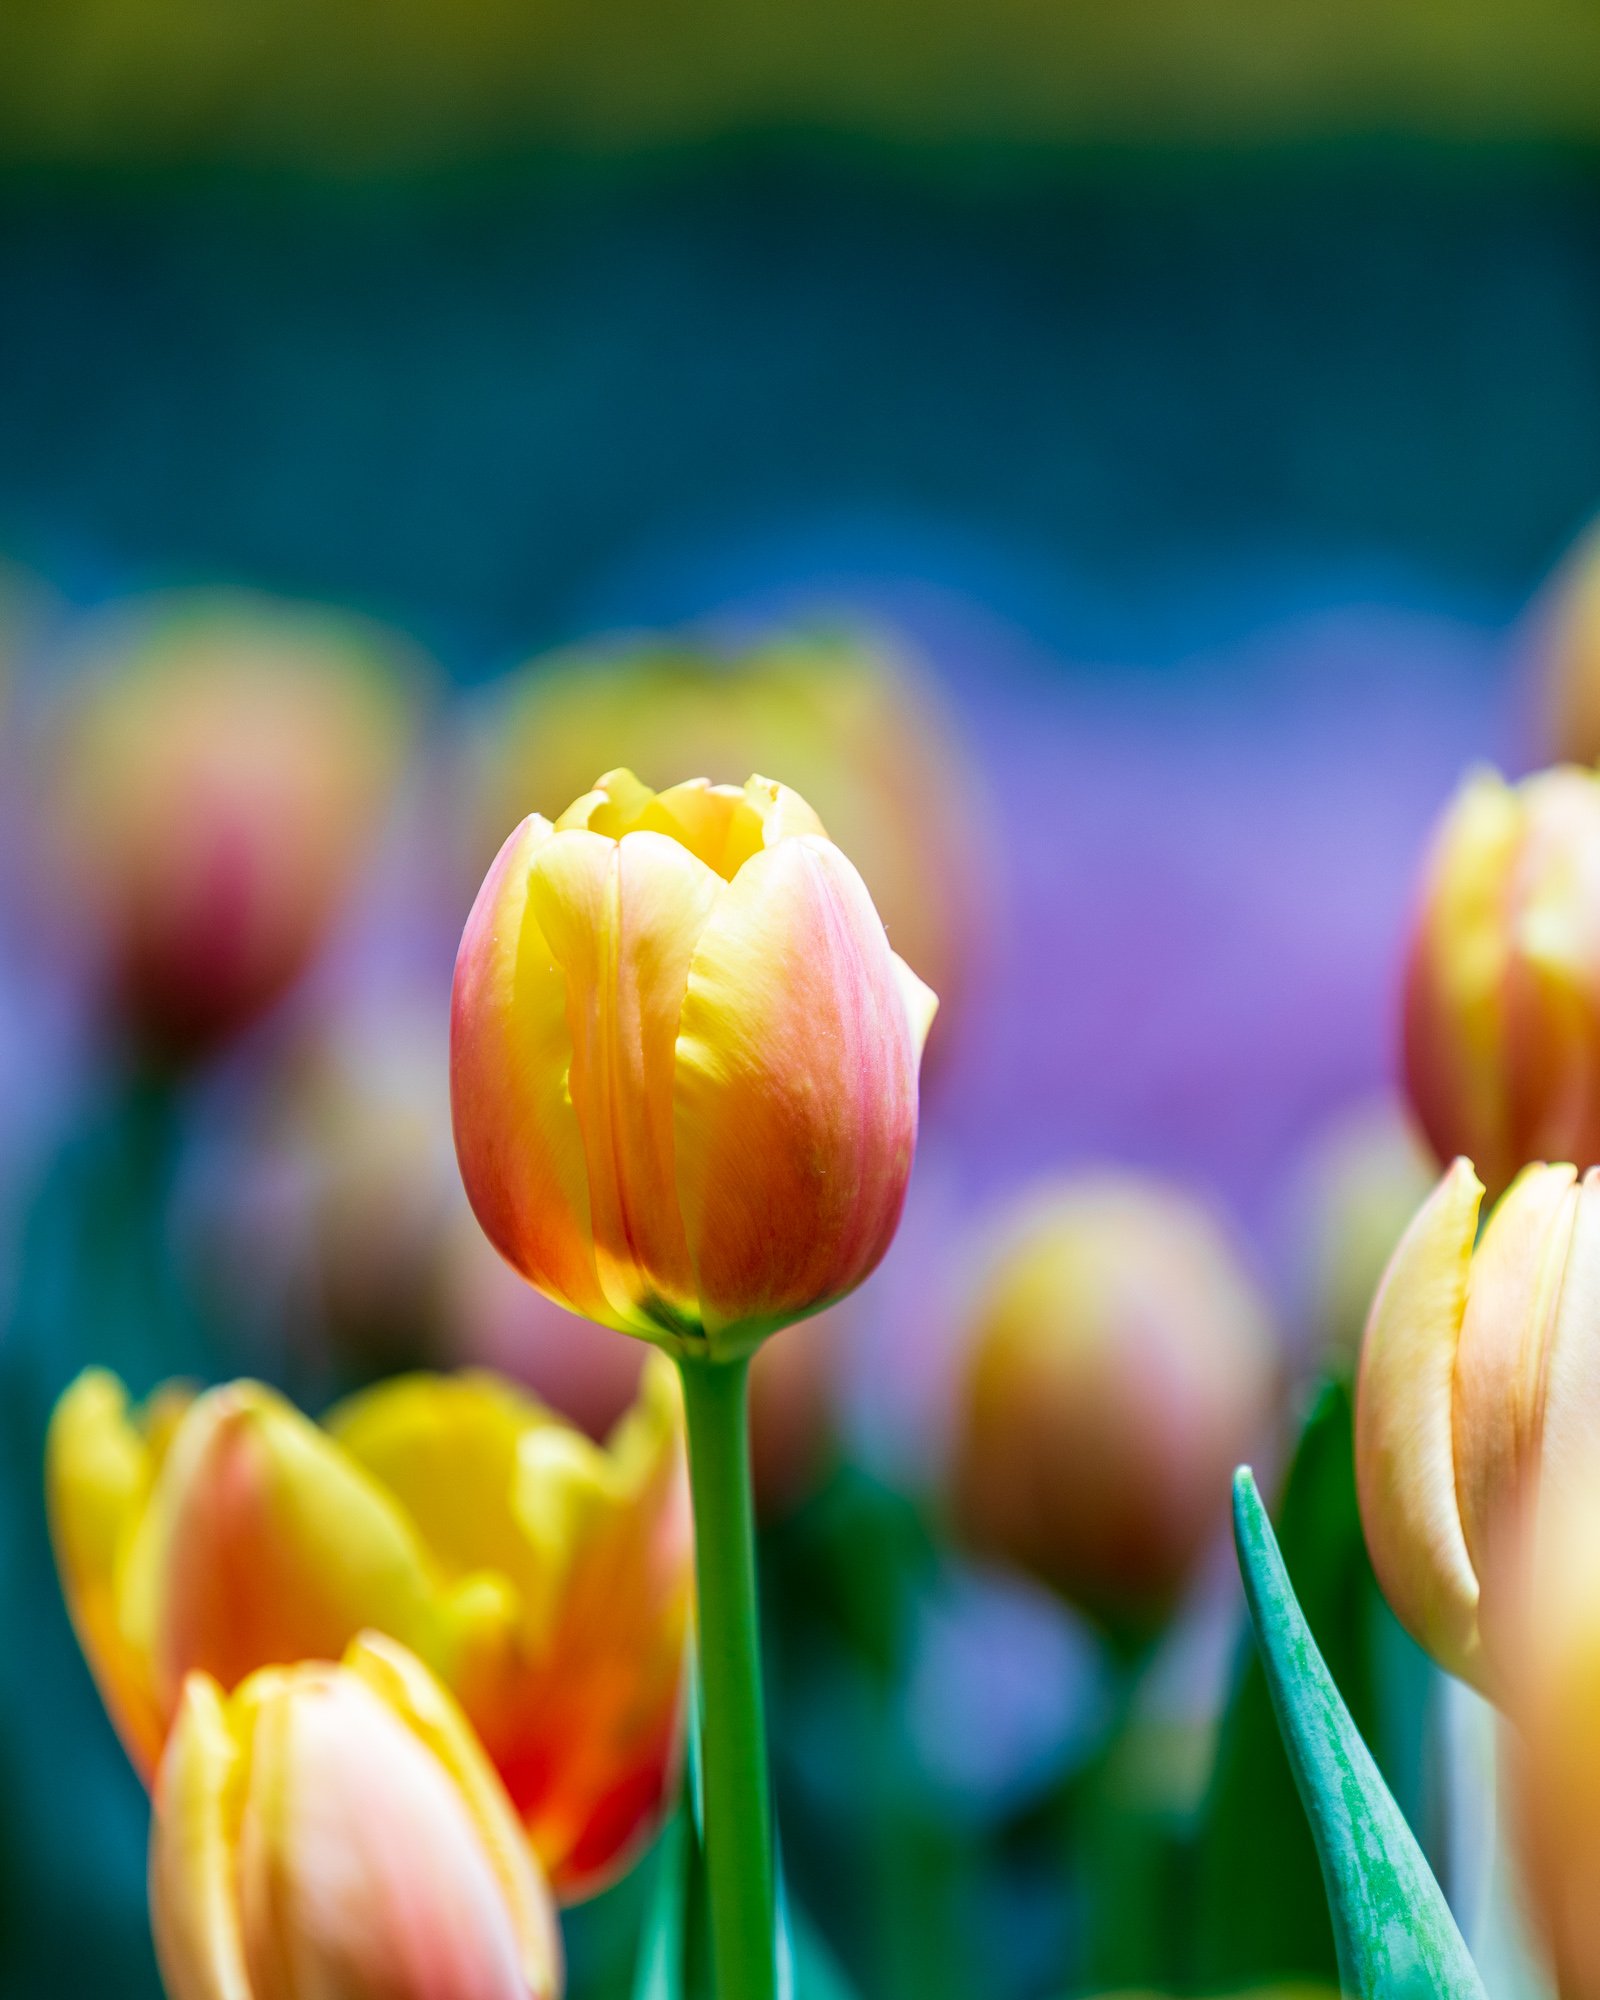
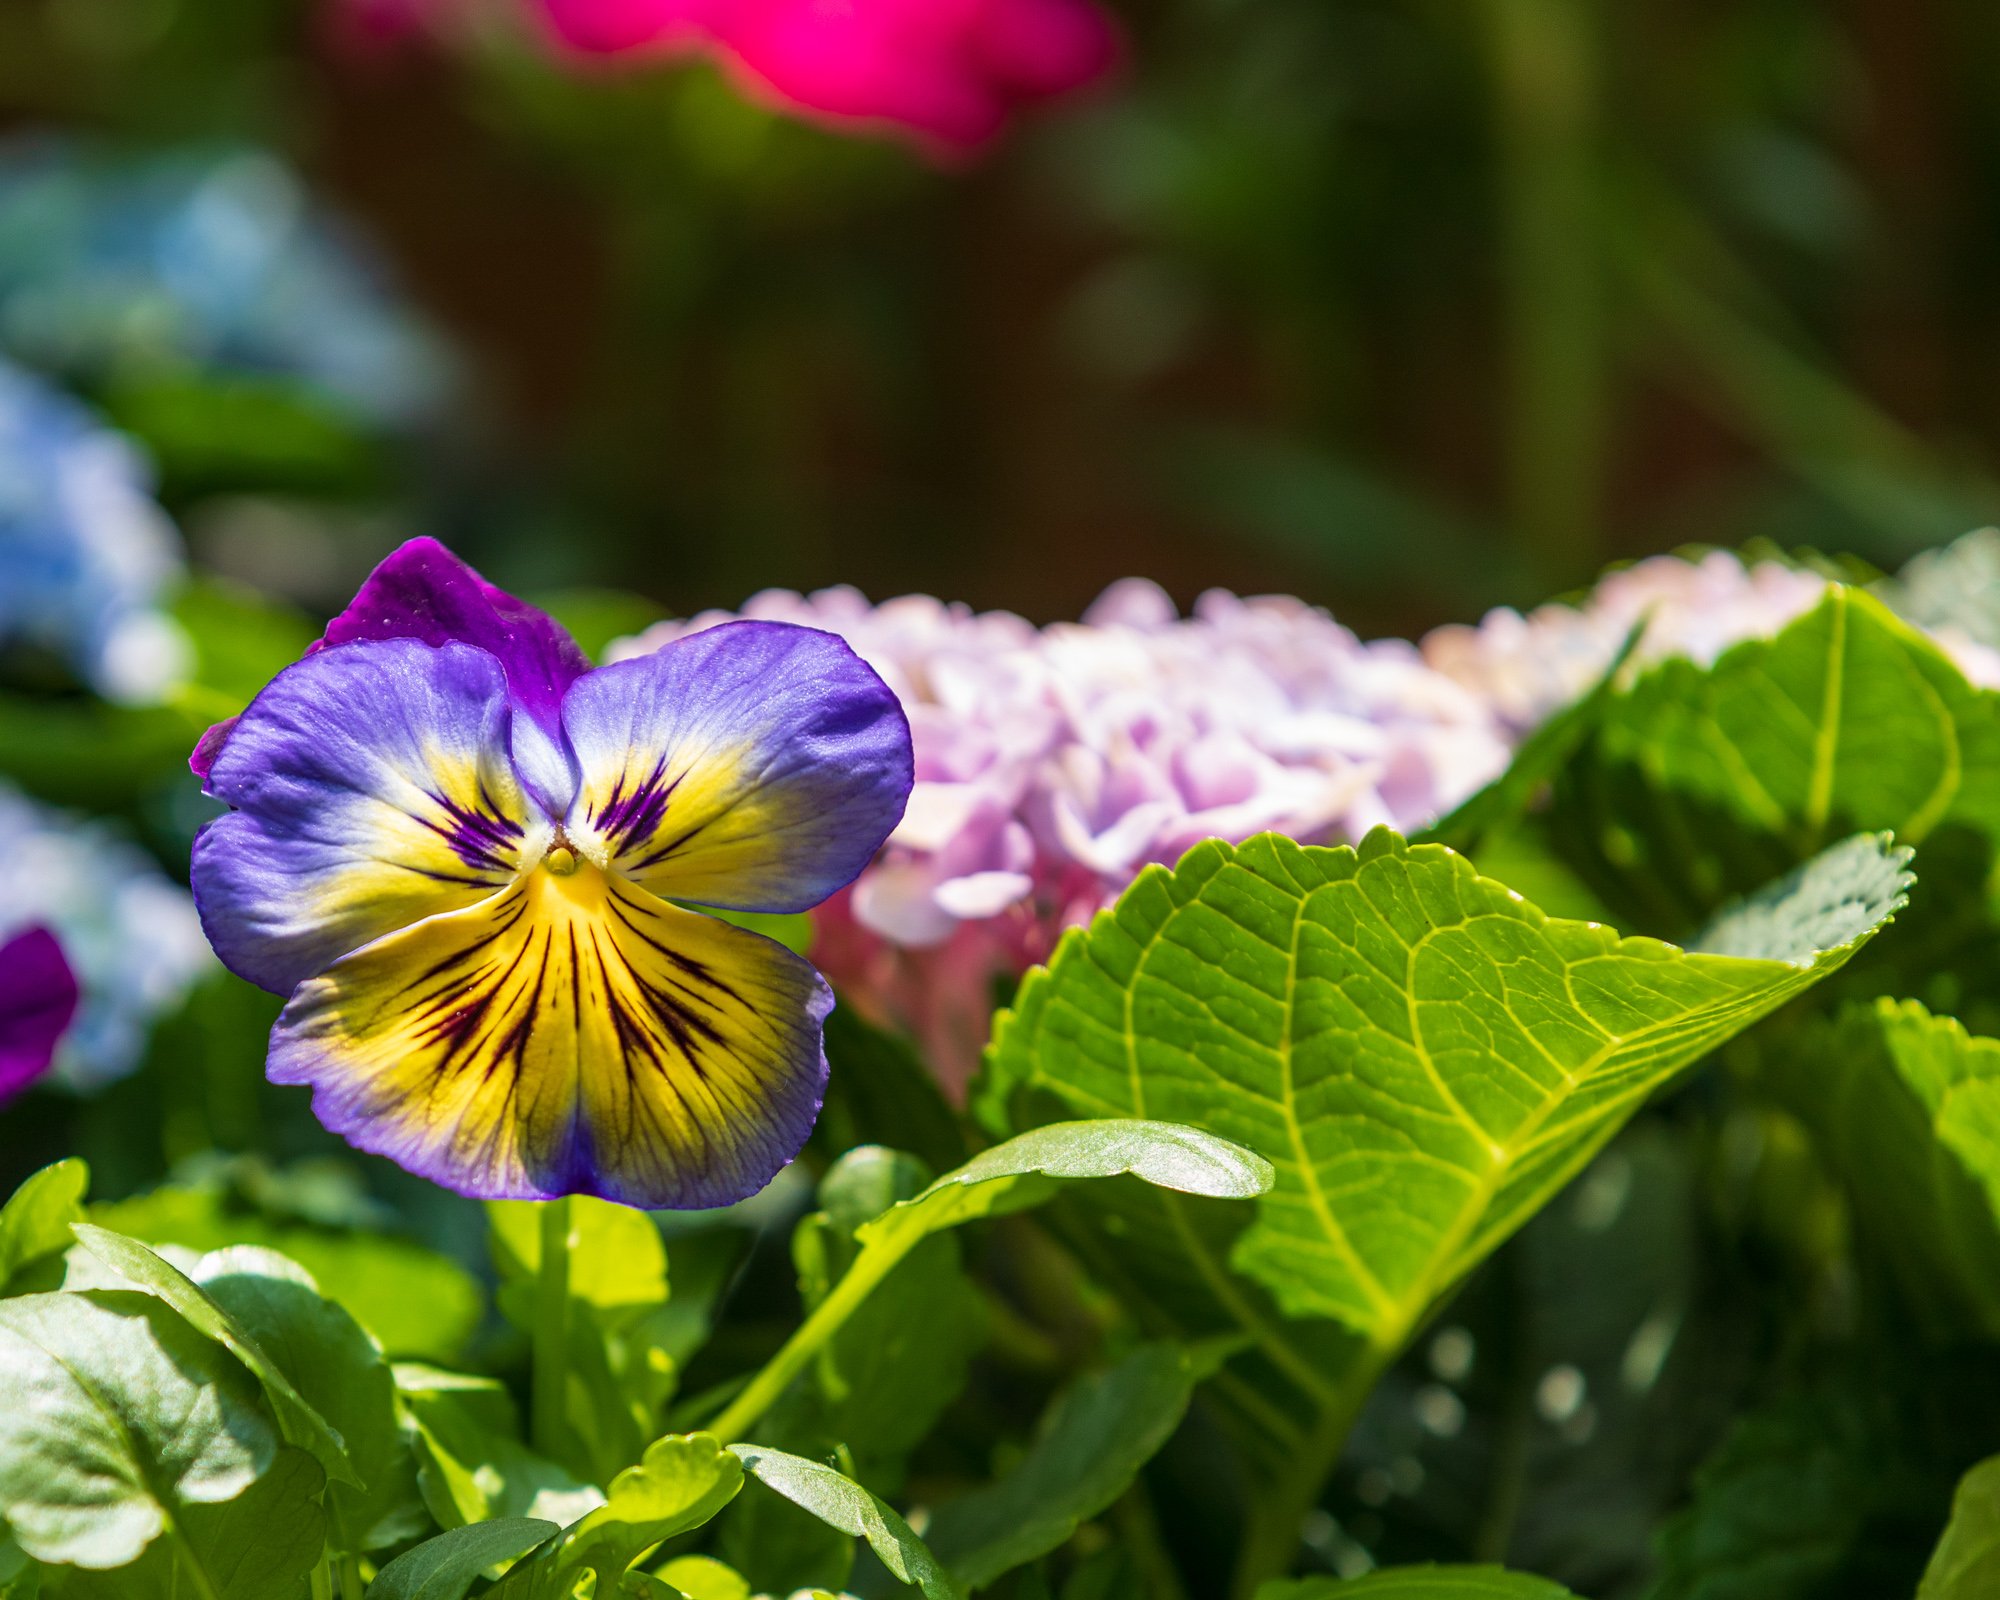
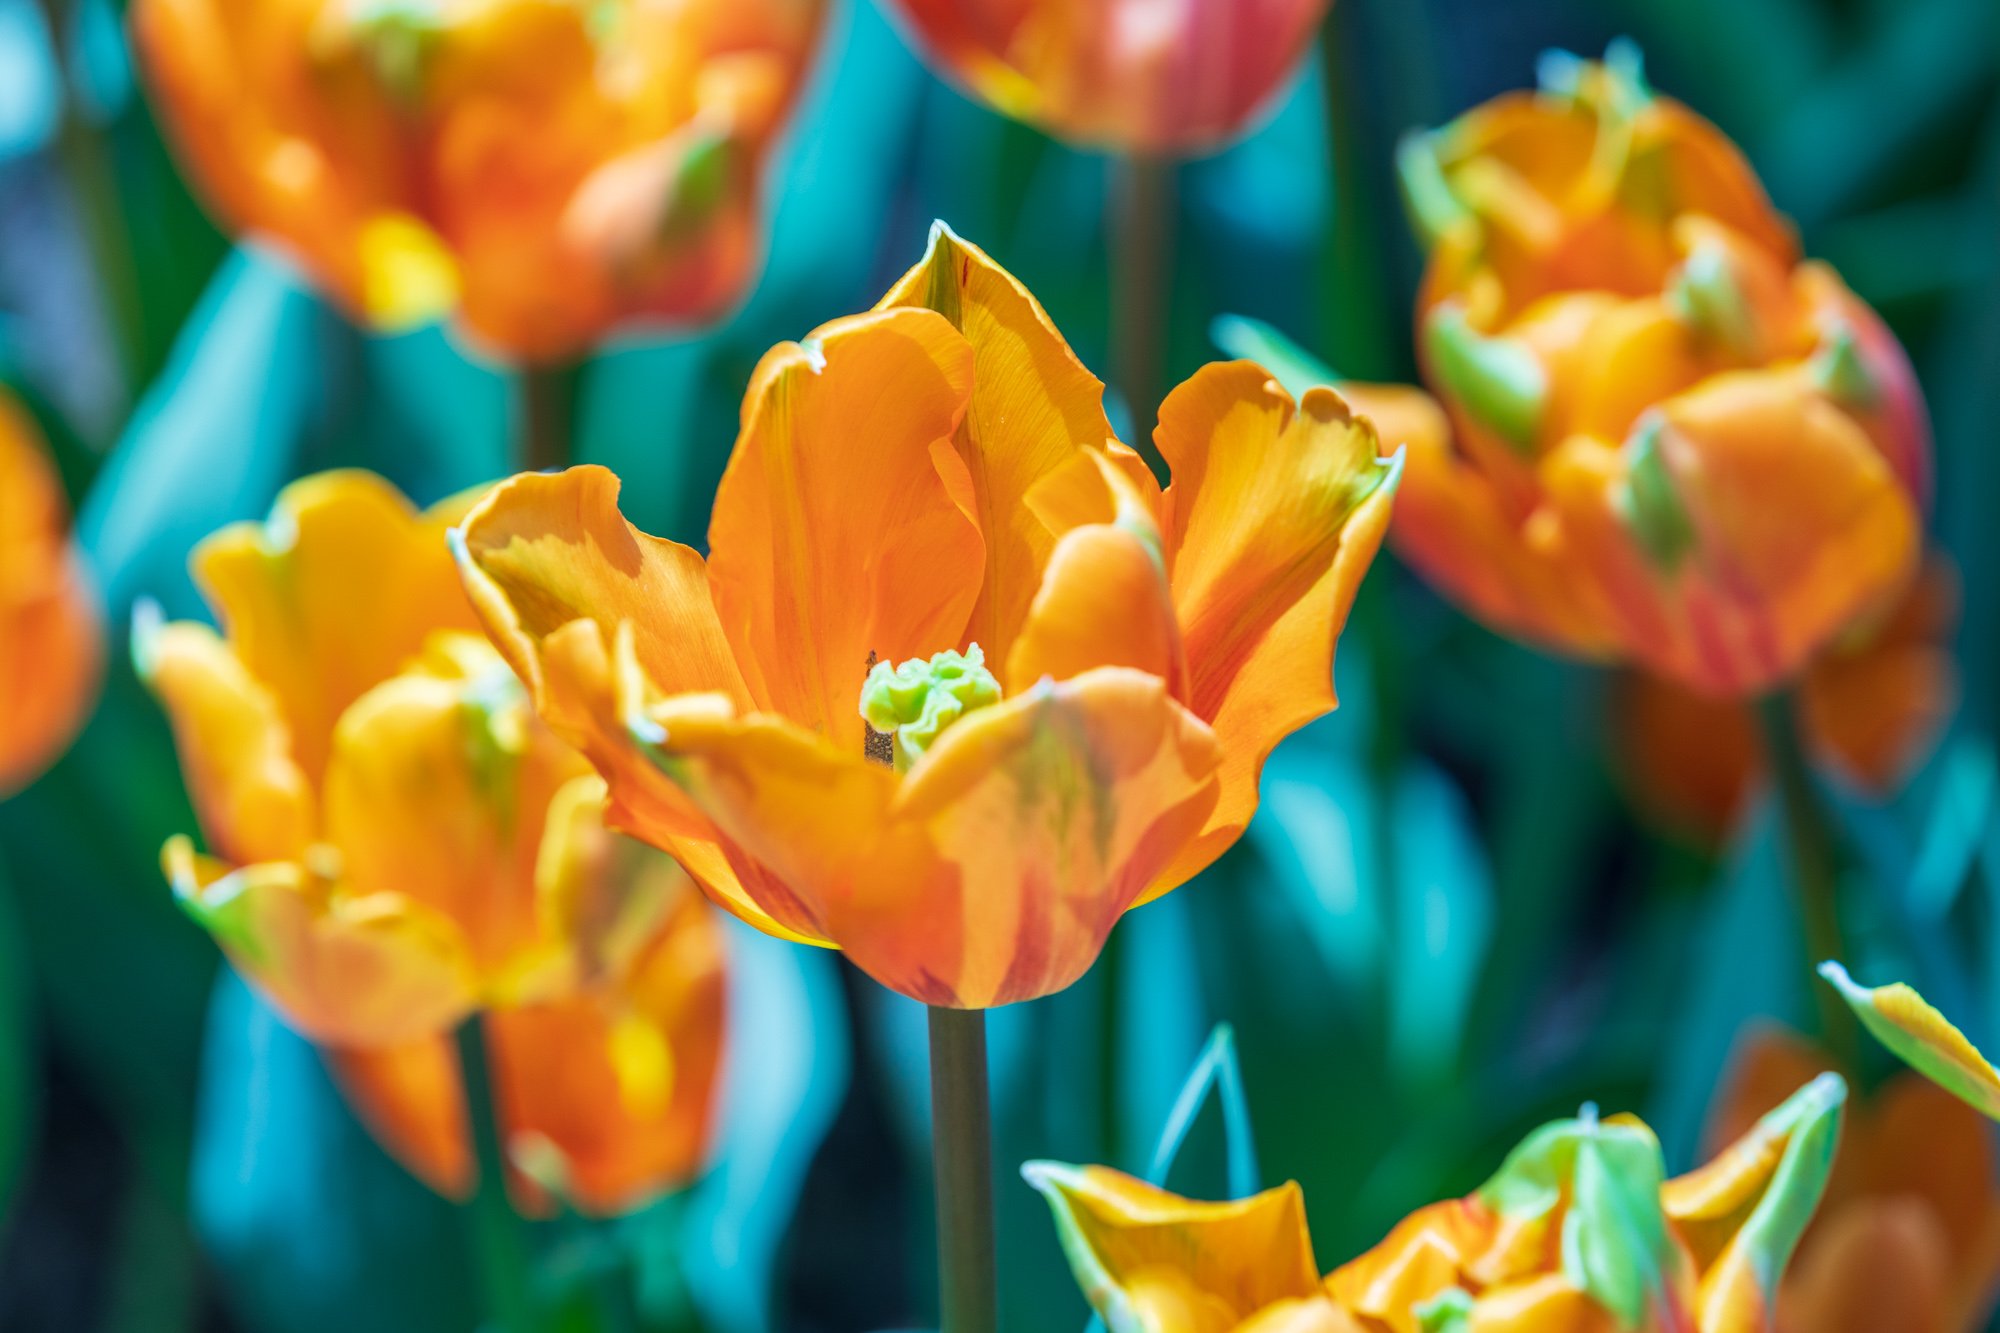
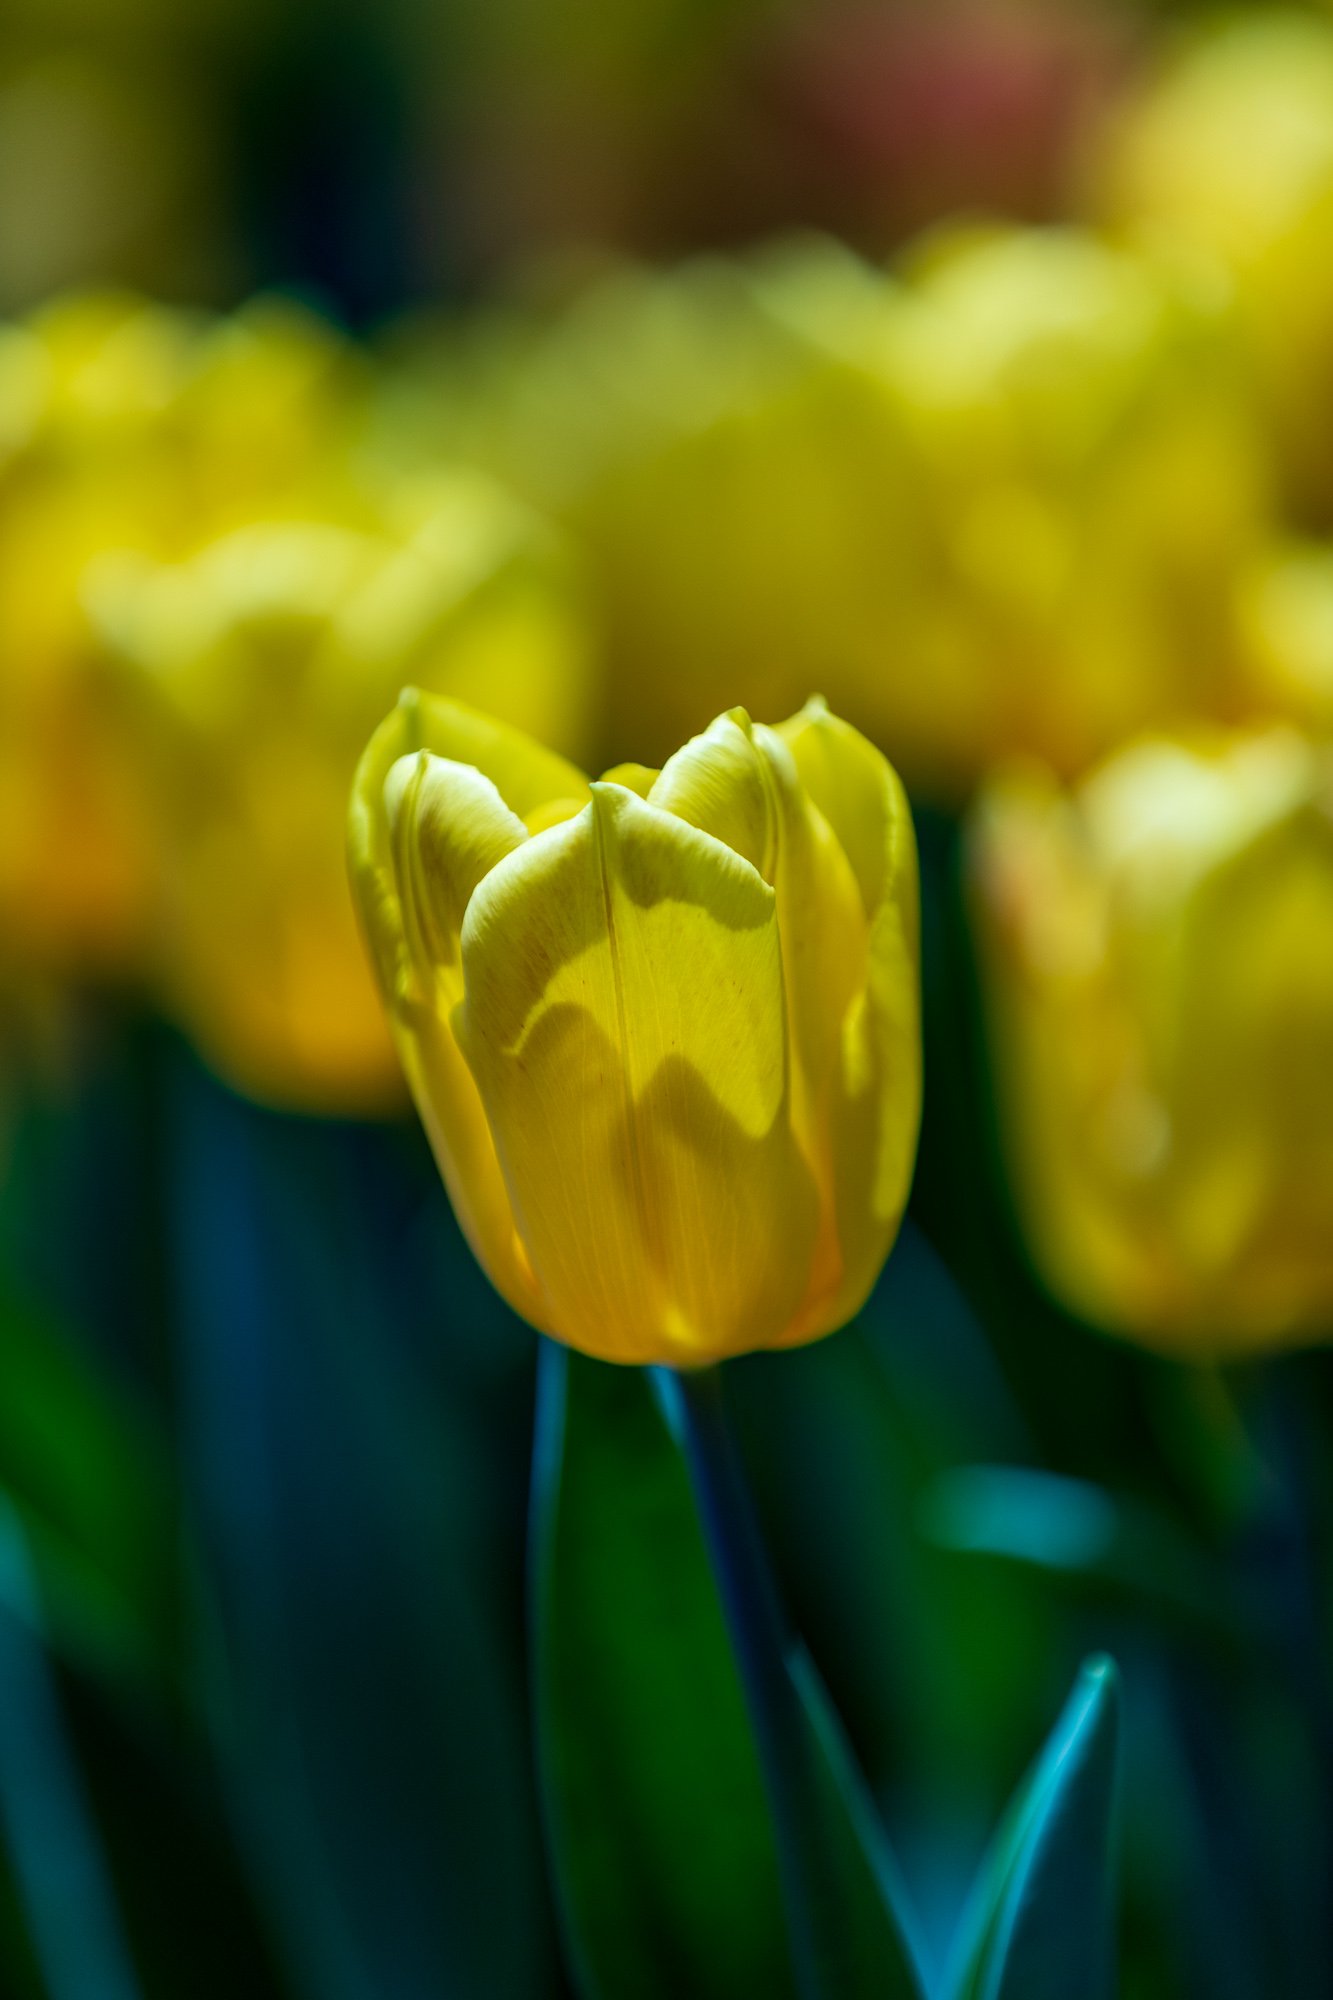
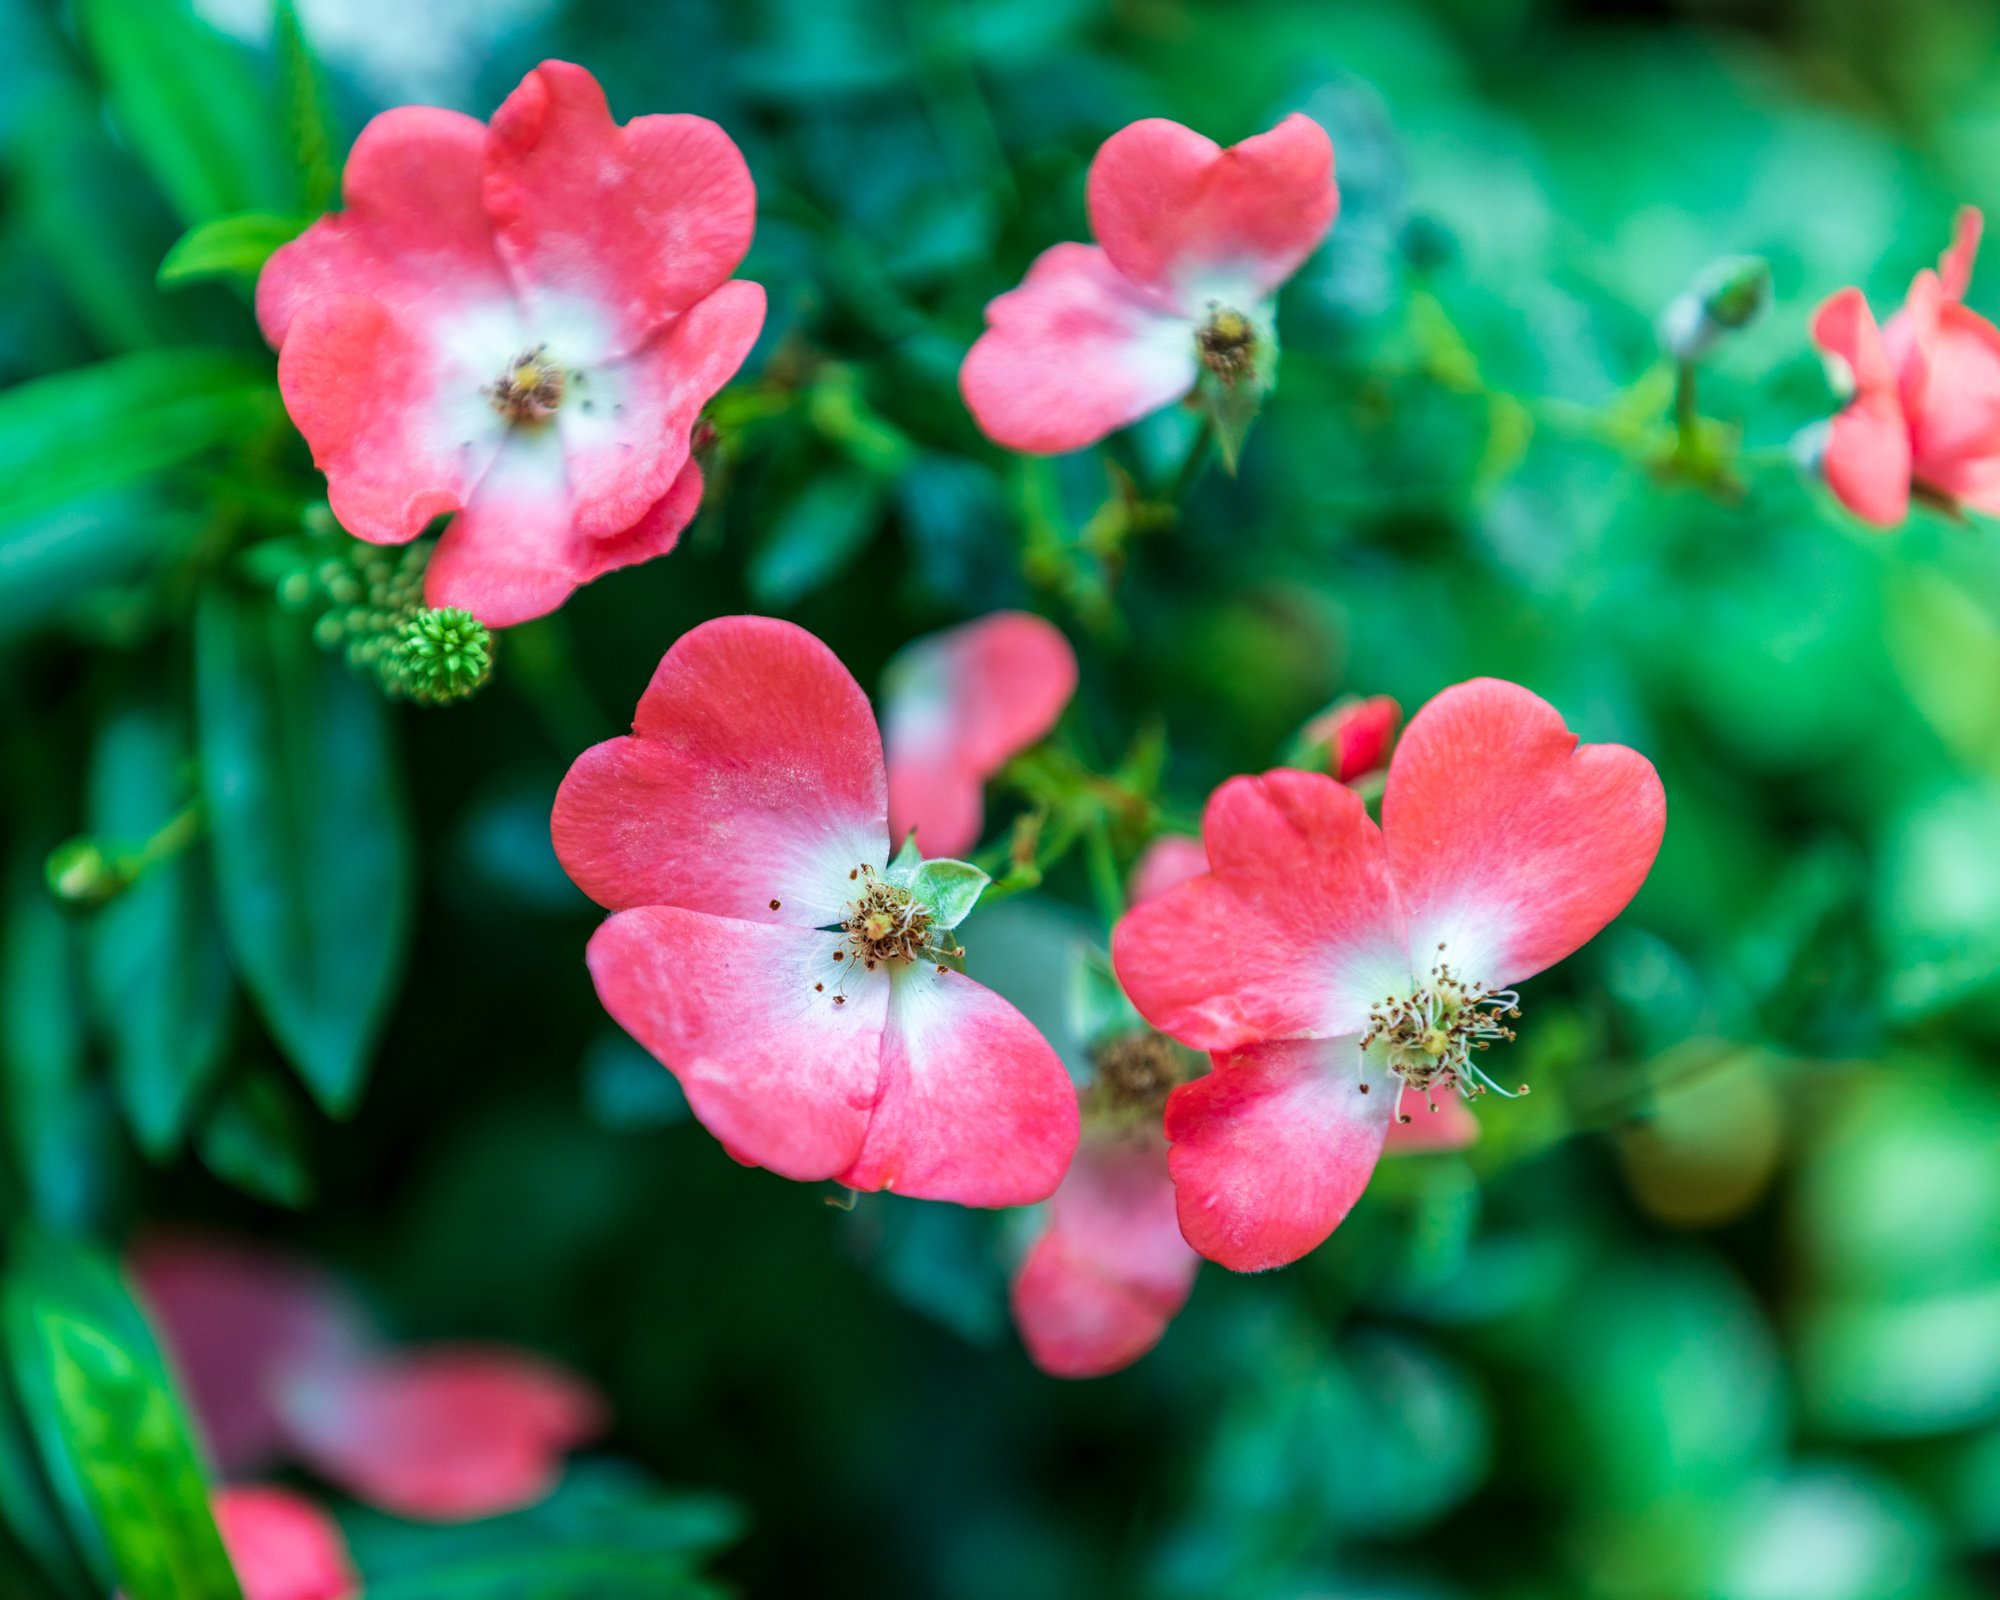
The first thing that shocked me was not the skyline. It was the flowers. The drive from the airport into the city is lined with carefully planted, meticulously maintained blooms, and the first time I saw it I could not believe a city would put that much effort into a road that most people only see once. It told me everything I needed to know about Singapore before I even reached the hotel.
Go for the skyline if that is what drew you here. But stay for the hawker centers, the temple light, the Peranakan facades, the murals tucked into Haji Lane, and the cool mist of the Cloud Forest. Stand on the waterfront at sunrise and watch Marina Bay Sands reflect off the water before the city wakes up. This is one of the safest, cleanest, most genuinely welcoming cities in the world, and it happens to be one of the most photogenic. That combination is rarer than you think.
If you would like to join a future photography workshop, visit my Workshops page for current offerings and upcoming dates. You can also connect with me on Instagram (@chasinghippoz) and Facebook, or subscribe to the newsletter for travel photography tips, destination guides, and behind-the-scenes stories from more than 75 countries. I look forward to sharing the journey with you.
More Photography & Travel Guides in the Region
My Photography & Travel Guide to Tokyo, Japan. Singapore and Tokyo are natural companions for a longer Asia trip. If Singapore is the ordered, multicultural city-state, Tokyo is the organized chaos you return to again and again. My guide covers Shinjuku, Yanaka, Asakusa, and the best photography locations across the city.
My Photography & Travel Guide to Hong Kong. A two-hour flight from Singapore and a completely different visual world. Hong Kong is denser, louder, and more vertically extreme, and the harbor photographs are extraordinary. My guide covers Victoria Peak, the tram, the night markets, and the rooftop access spots that most guides miss.
My Photography & Travel Guide to Bali, Indonesia. A short flight from Singapore and a completely different rhythm. Bali offers rice terraces, temple ceremonies, volcanic landscapes, and a photographic pace that is slower and more contemplative. The two cities together make for a strong regional itinerary.
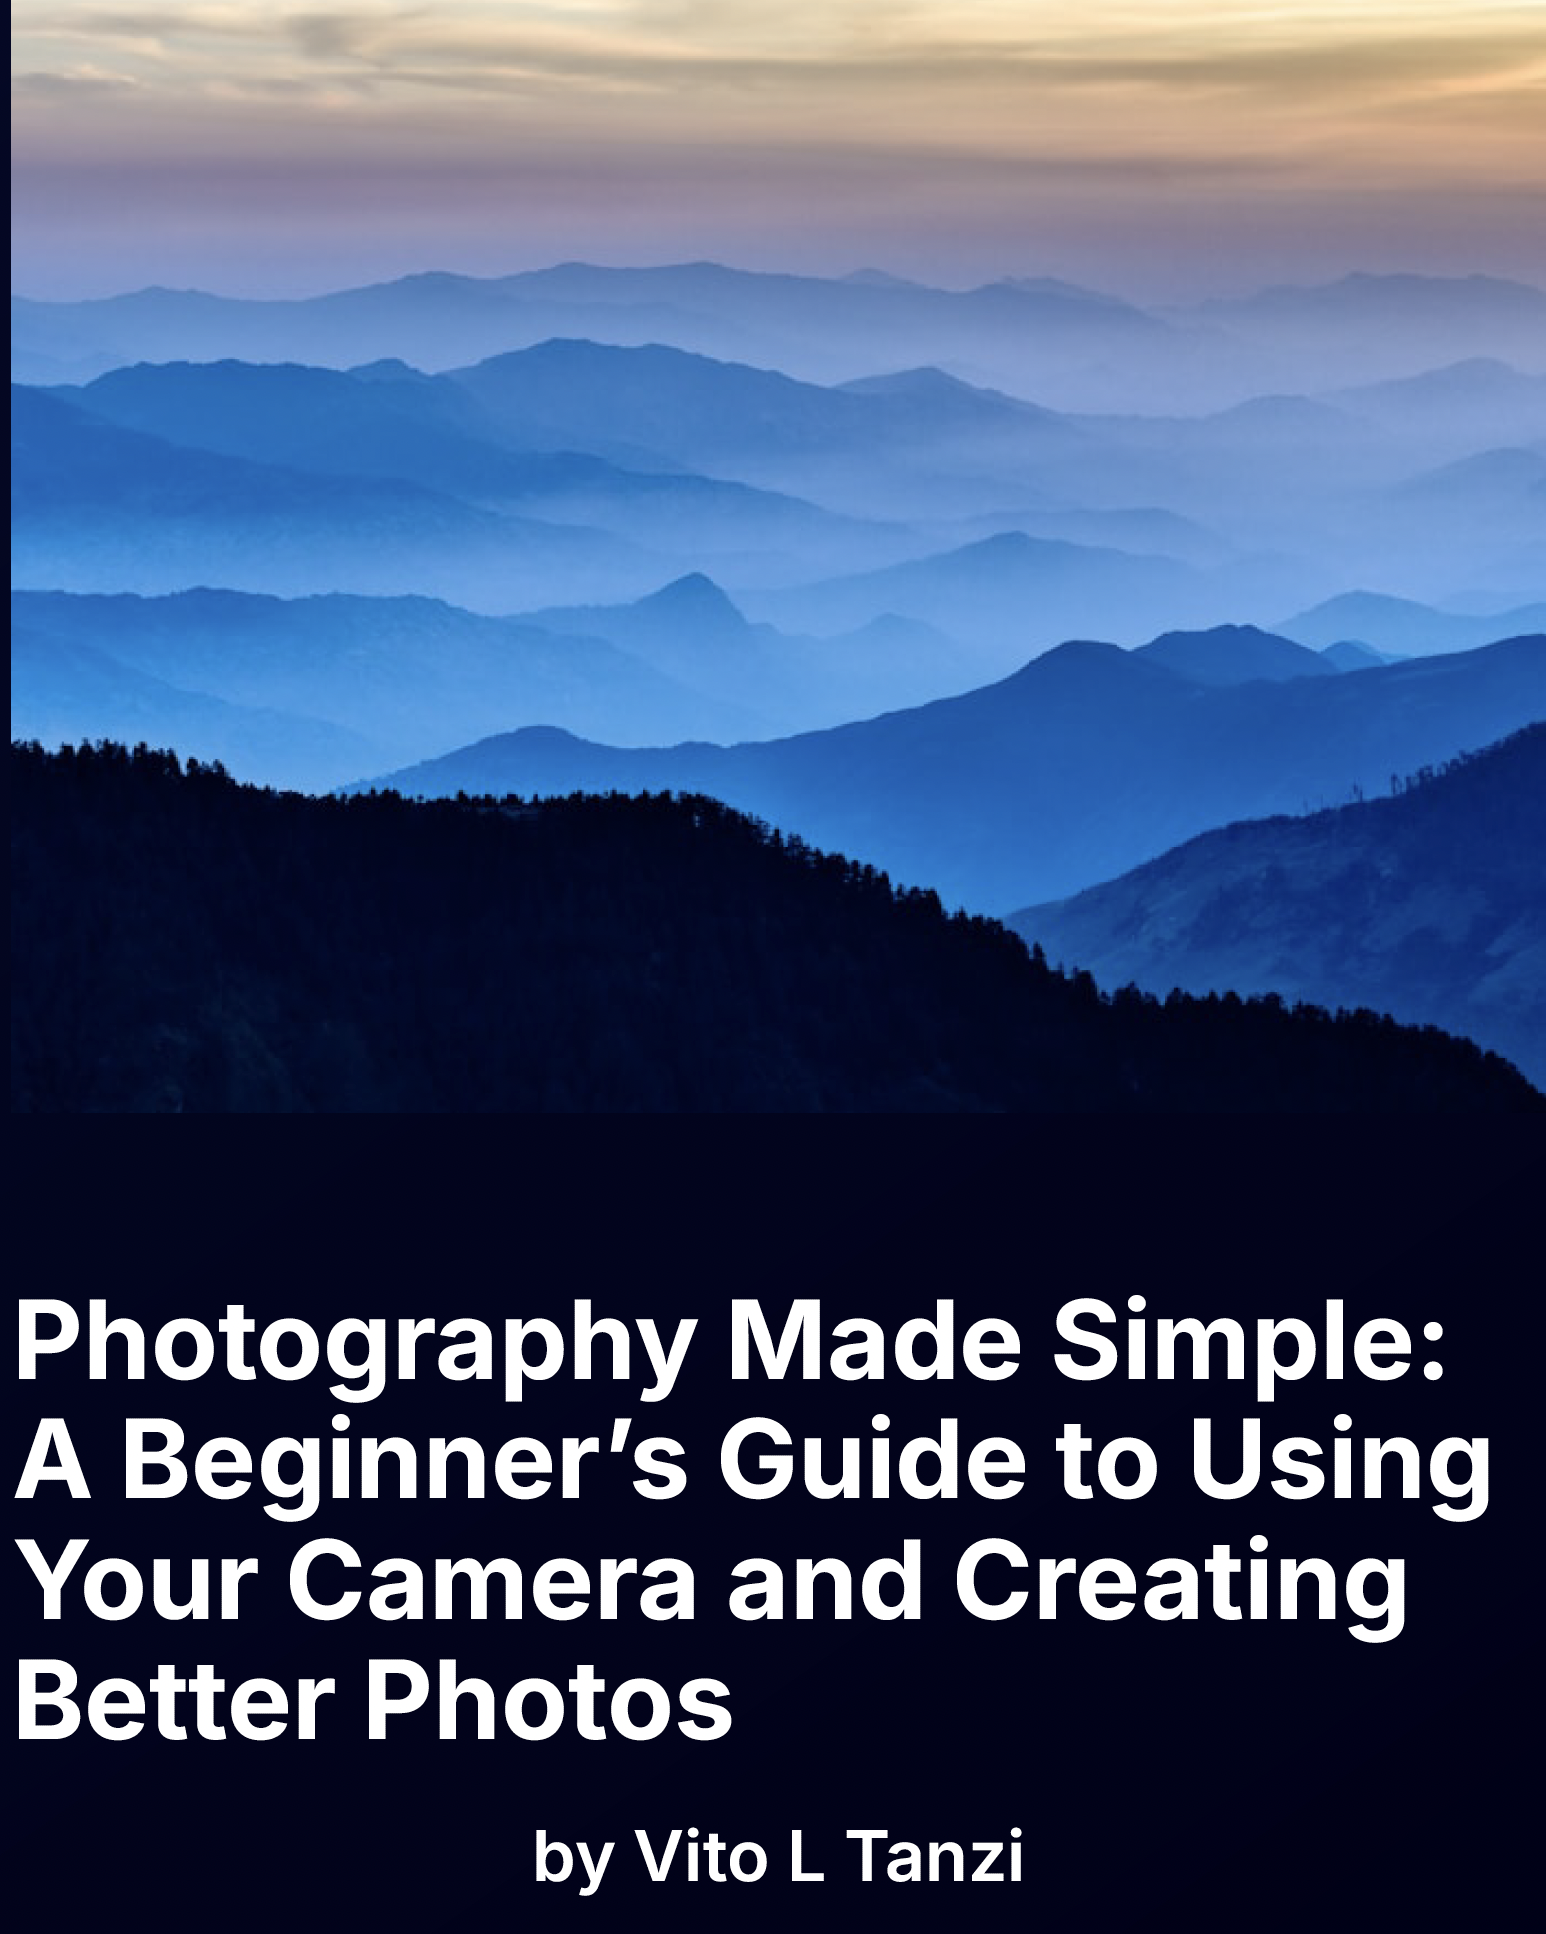
Finally—a beginner-friendly photography guide that makes sense.
If you've ever picked up a camera and thought, "Now what?" this is the book for you.
Photography Made Simple is written for adults who are just starting out and want a clear, encouraging, real-world approach to learning photography. Whether you're using a DSLR, mirrorless, or just your smartphone, this guide walks you through the basics—without the jargon or tech overwhelm.
Inside, you'll learn:
The only camera settings you really need to know to get started
How to shoot sharper, more intentional photos using light and composition
Simple tips for portraits, landscapes, travel, and everyday life
What gear you do (and don’t) need
How to create better photos without upgrading your camera
You’ll also get practical exercises, cheat sheets, and tips for organizing and editing your images—plus the confidence to shoot off Auto Mode for good.
This is not a textbook. It’s a friendly guide to seeing the world with fresh eyes—and finally capturing what you see the way you imagine it.
📸 Format: PDF download
Pages: 100+
Perfect for: Beginners, hobbyists, and anyone ready to take better photos without the stress
✈️ Travel Photography Planning Sessions
One-on-One Trip Planning with a Professional Travel Photographer
Don’t miss the shot. Let me help you plan for it.
Overview
Planning a photography-focused trip can be overwhelming. From figuring out the best places to shoot, to when the light is just right, to knowing which lens to pack — there are a lot of decisions to make.
This one-on-one Zoom session is your chance to get personalized travel photography advice from someone who’s spent the past 25 years exploring cities, coastlines, and wild places around the world — camera in hand.
Whether you're headed to Paris, Patagonia, Tokyo, or Tuscany, I’ll help you make sure your photography trip is well-planned and creatively inspired, so you come home with the images you dreamed of (and then some).
What’s Included
✅ Photography Location Planning
I’ll help you create a customized itinerary of the best photo spots, including off-the-beaten-path gems and iconic views.
✅ Best Times to Shoot
Get expert advice on lighting, golden hour, blue hour, and seasonal conditions for each location.
✅ Gear Recommendations
Not sure whether to bring the telephoto or the prime? We’ll walk through your gear and make sure you’re bringing the right tools for your destination and style.
✅ Hotel and Base Recommendations
Stay where it’s convenient for sunrise shoots and late-night strolls with your camera. I’ll recommend hotels that are photographer-friendly and well-located.
✅ Custom Travel Tips
From sunrise entry times to tripod rules at major landmarks, you’ll get insider tips to save time, avoid tourist traps, and make the most of your trip.
Who It’s For
This service is for anyone who:
Is planning a trip and wants to prioritize photography
Wants expert insight on the best places to shoot and how to get there
Is tired of missing the shot because of poor planning or bad timing
Is a beginner, enthusiast, or professional photographer looking for guidance before a trip
How It Works
Book a Session
Choose a time that works for you and tell me where you're headed.Share Your Plans
You’ll fill out a quick questionnaire so I know your travel dates, interests, and photography style.One-on-One Zoom Call (60 minutes)
We’ll meet via Zoom and walk through your trip together — from location ideas to gear and timing. You'll leave with a custom PDF full of notes and suggestions.Follow-Up Support
Get one round of email Q&A after your session to clarify anything as your plans evolve.
Why Work With Me?
I’ve spent the last 25 years photographing the world — from major cities to remote islands. I know what it’s like to travel and shoot under pressure, and I love helping people get the most out of their trips. This is not just about hitting “popular spots” — it’s about crafting a creative and efficient plan tailored to your trip, your gear, and your goals.
Pricing
$125 / Session
Includes:
60-minute Zoom call
Custom PDF summary with photography spots, gear tips, and travel recommendations
One follow-up email with additional Q&A
Introductory rate available through September 2025
Ready to Plan Your Trip?
Let’s make sure you’re ready — so when the light is perfect, you’re in the right place with the right gear.
Questions?
Please email me at vito@chasinghippoz.com if you're not sure whether this is right for you. I'm happy to chat.