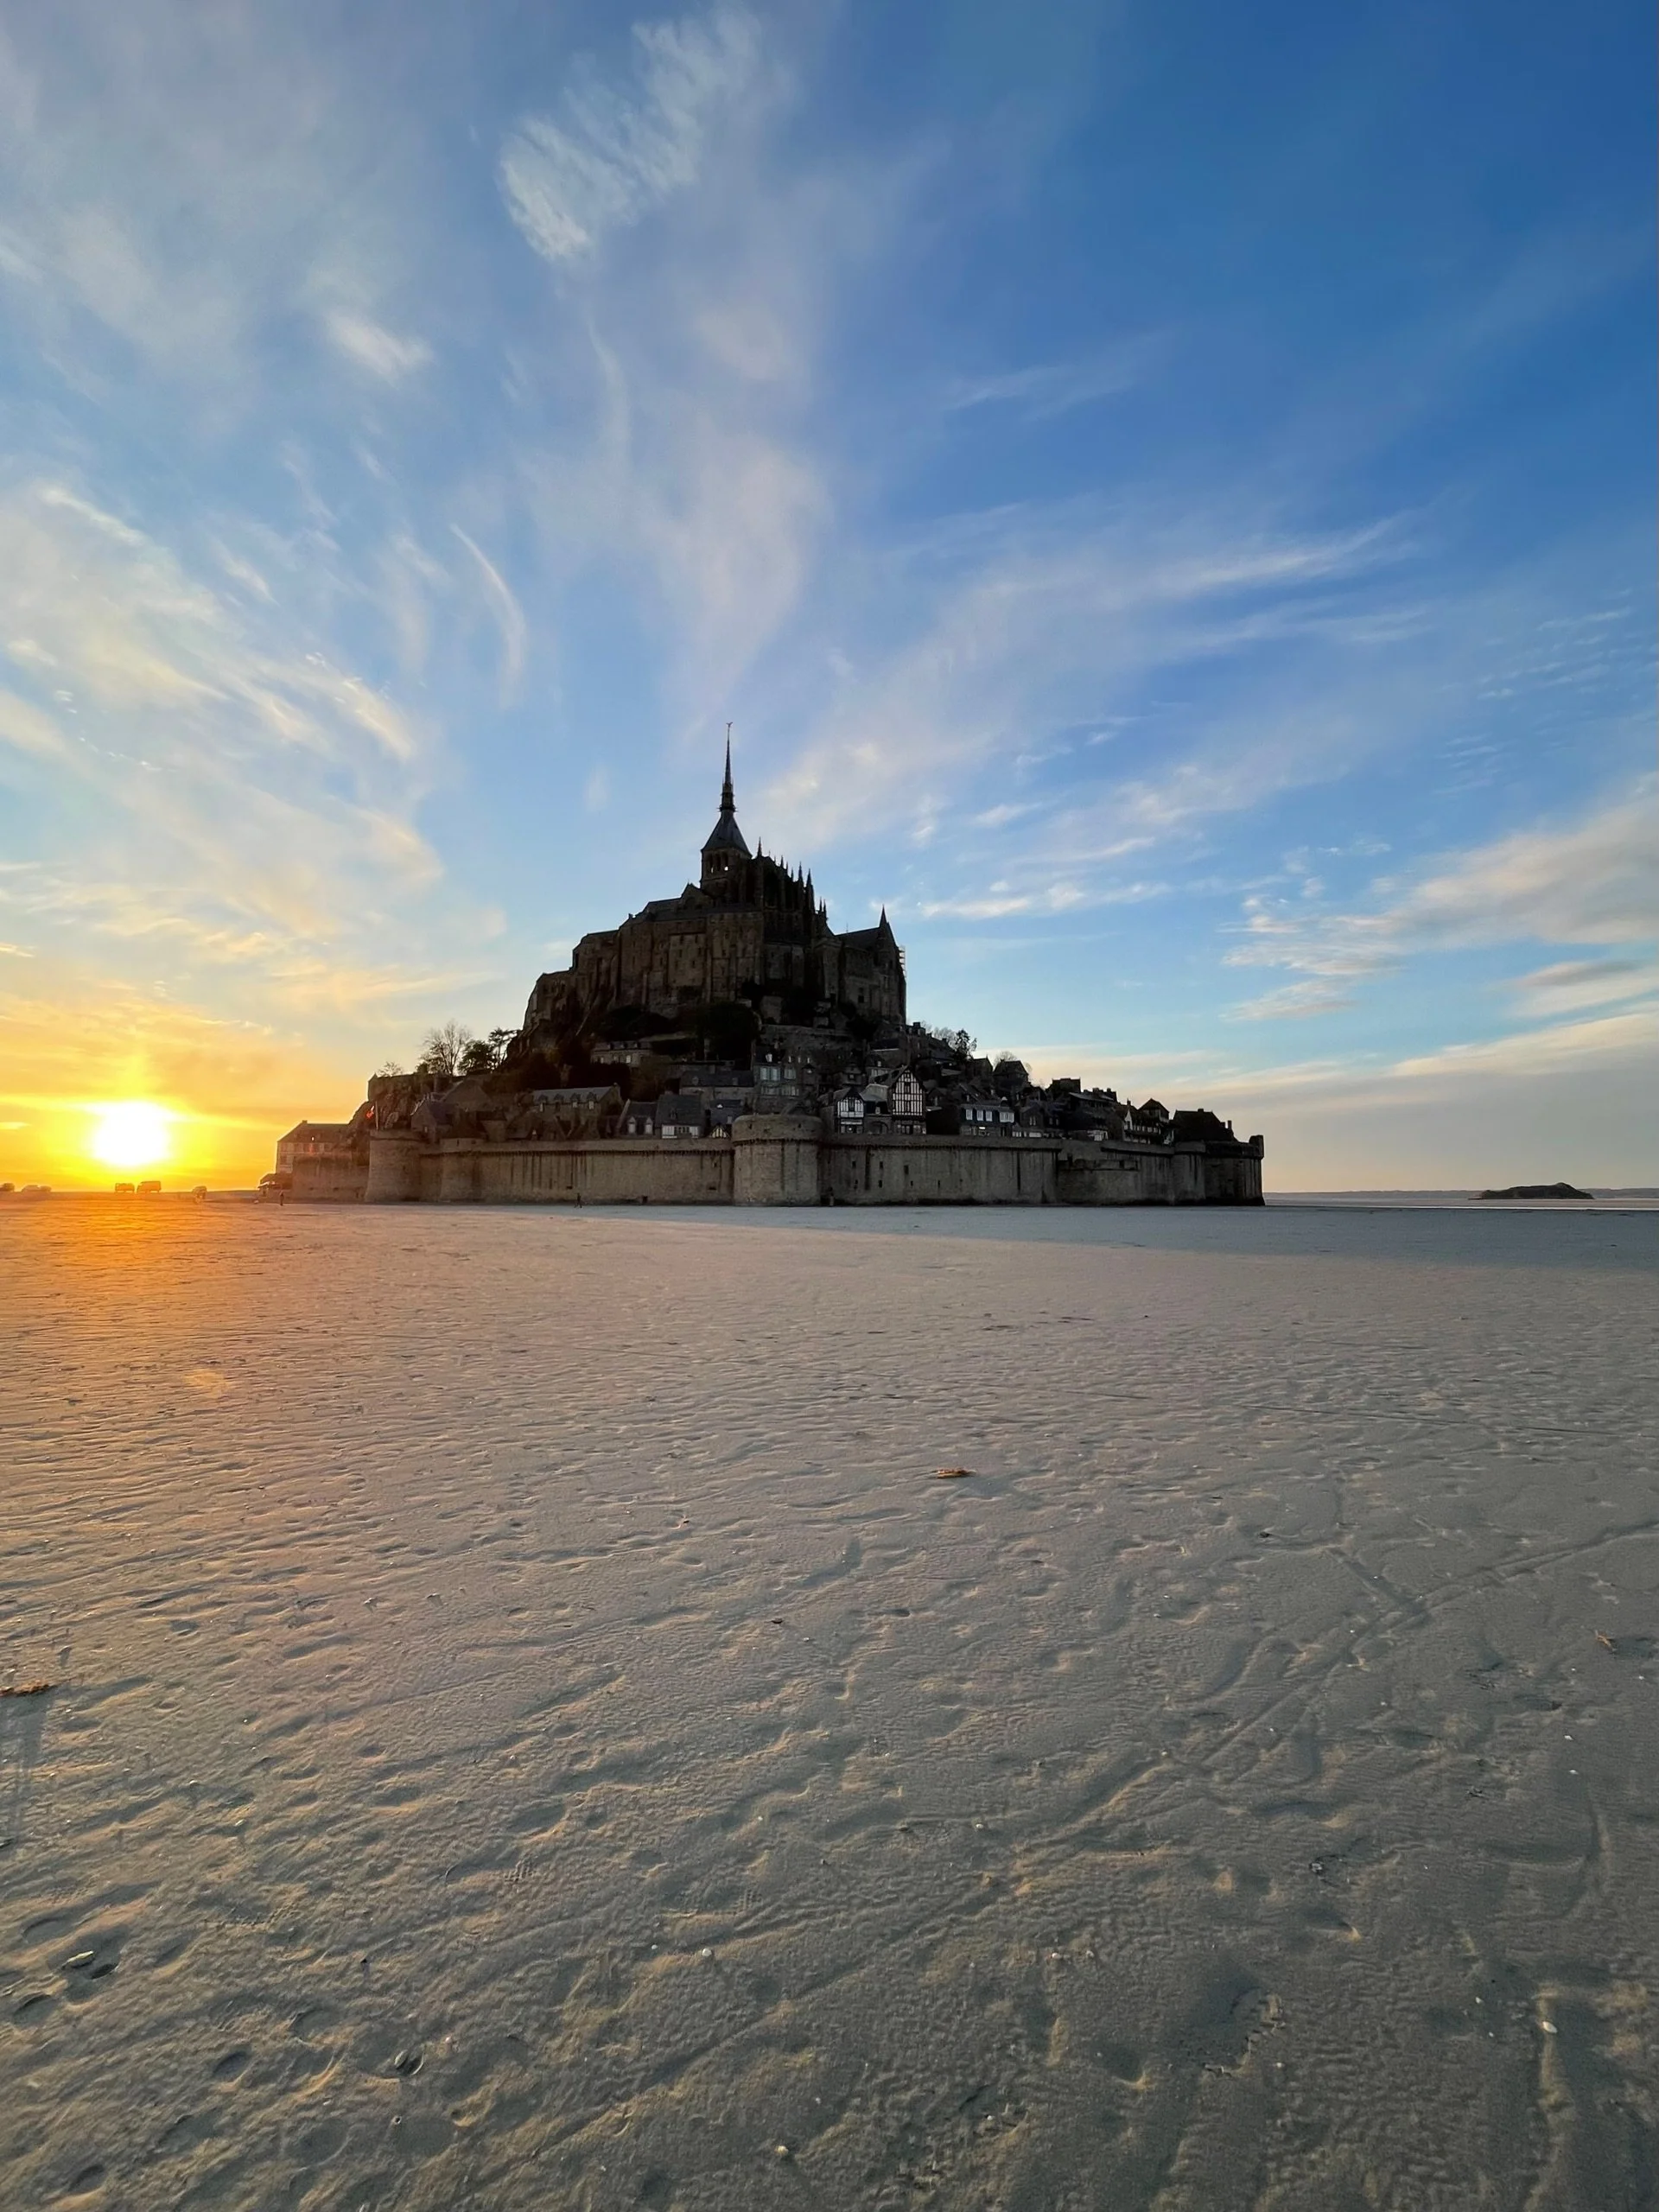
My Photography & Travel Guide To Mont-Saint- Michel, France
Mont Saint-Michel is an abbey that dates back to the 8th century and is located in Normandy. The drive from Paris takes about 4 hours, but it is well worth it. It is a bucket list destination for many photographers to see the Monastery surrounded by water.
For centuries, It has been a pilgrimage location (second only to Santiago de Compostela in Spain), and it is now a UNESCO World Heritage site. But did you know it has been used as a prison?
“To travel is to live” – Hans Christian Anderson

Sunset
In this Mont Saint-Michel photography blog, I will share the best photo locations as well as tips and tricks that will help you get some stunning images.
My Last Visit
The last time I was in Mont Saint Michel (MSM), I was probably 7 or 8 years old. I still remember that trip, which is rare since many of the trips that you take as a kid are a blur. I think when you start paying for your own trips, somehow you remember them better.

When I was a child, you used to be able to drive your car and park on the sand right by the Abbey. The problem was that when the tide would come up, and it came up quickly, your car could be stuck in the sand or worse. I think this is why I remember going there because when we visited, the tide rose up quickly, and a few cars started floating in the water. That is not a memory that you forget, especially as a young boy.
In 2015, they built a new bridge that replaced the former causeway. The bridge is elevated, so it allows the sea to surround the abbey at high tide. However, you can no longer park next to Mont Saint Michel. Now, there is a shuttle bus that goes back and forth from the new parking lots about every 15 minutes.
How to Get There?

The simplest way to get to Mont Saint-Michel is by car. From Paris, it is about a 4-hour drive. This is the best way to visit MSM. The advantage of having a car is that you can drive to other areas, such as Saint-Malo. The drive is straightforward, and there are plenty of places to stop for gas or to use bathrooms.

You can also get to Mont Saint-Michel by train from Paris. Here is a link that provides different options on how to get there.
When to Visit Mont Saint-Michel
MSM is a great option at any time of year except in Winter when it rains a lot. I was there in April, and I think it was a really good time to go since there were so few people. In the Summer, there are 1000s and 1000s of people visiting. So, good luck getting an image without people in it!
When I was there, I would go out in the morning, and I would see less than a dozen people. However, by 10 am, the crowds begin. I could only imagine how crowded it must be in the summer.
I would recommend staying for 2 nights so that you get 2 Sunsets and 2 Sunrise opportunities. Initially, I had planned for 3 nights, but since we had such wonderful weather, we left after 2 nights. A lot of photographers will go for 1 night, which I think is way too risky. If you get bad weather, it is all for nothing.
Where to Stay
I would make sure to stay within the "Gated Area.” When you arrive at Mont Saint Michel, there are 2 options: to stay within the gated area or outside of it. If you stay outside, then you have to park in the massive parking lots and walk about 40 minutes to get to the Abbey, or you can take the shuttle.
However, If you stay within the gated area, it is so much easier for photography. One of the best photo locations is a 5-minute walk or less from your hotel. I would try to stay at one of the hotels near the Dam (the Classic Location). We stayed at the Mercure Hotel, and it was perfect. We paid about 120 Euros per night with breakfast. The rooms were large and clean, and the bed was very comfortable. Also, the shuttle drop-off/pick-up location is right in front of the hotel. The other hotel that looks good is the Hotel Le Relais Saint-Michel.
The nice thing about either hotel is that they are located right by the dam which is a perfect spot for a Sunrise or Sunset photo.
What I would definitely NOT do is stay at a hotel on Mont Saint Michel. The hotels look old and expensive. Also, you are there to take photos of the Abbey, so if you stay at a hotel inside the Abbey, there are not many photo options. Plus, the restaurants are not only expensive but cater to tourists with unremarkable food.
Photography Tips for Mont Saint-Michel
You do not need to bring that much gear with you. All you need is a camera, a tripod, ND Filters, and a wide and telephoto lens. I brought my Canon R5, a 15-35mm and 70-200mm lens, a Gitzo tripod, and a set of Kase ND filters (CPL, 3,6, 10 stop).
Most of my photos were taken with my 70-200 mm lens since you are usually taking photos from further away. If you use a wide-angle lens, the Abbey will look so small.
Best Photography Locations at Mont Saint Michel
The best shots of Mont Saint Michel are from a distance, where you get the water reflections, sheep, and rap seed fields that create the perfect foreground. I walked around the area quite a bit, and here are my suggestions.
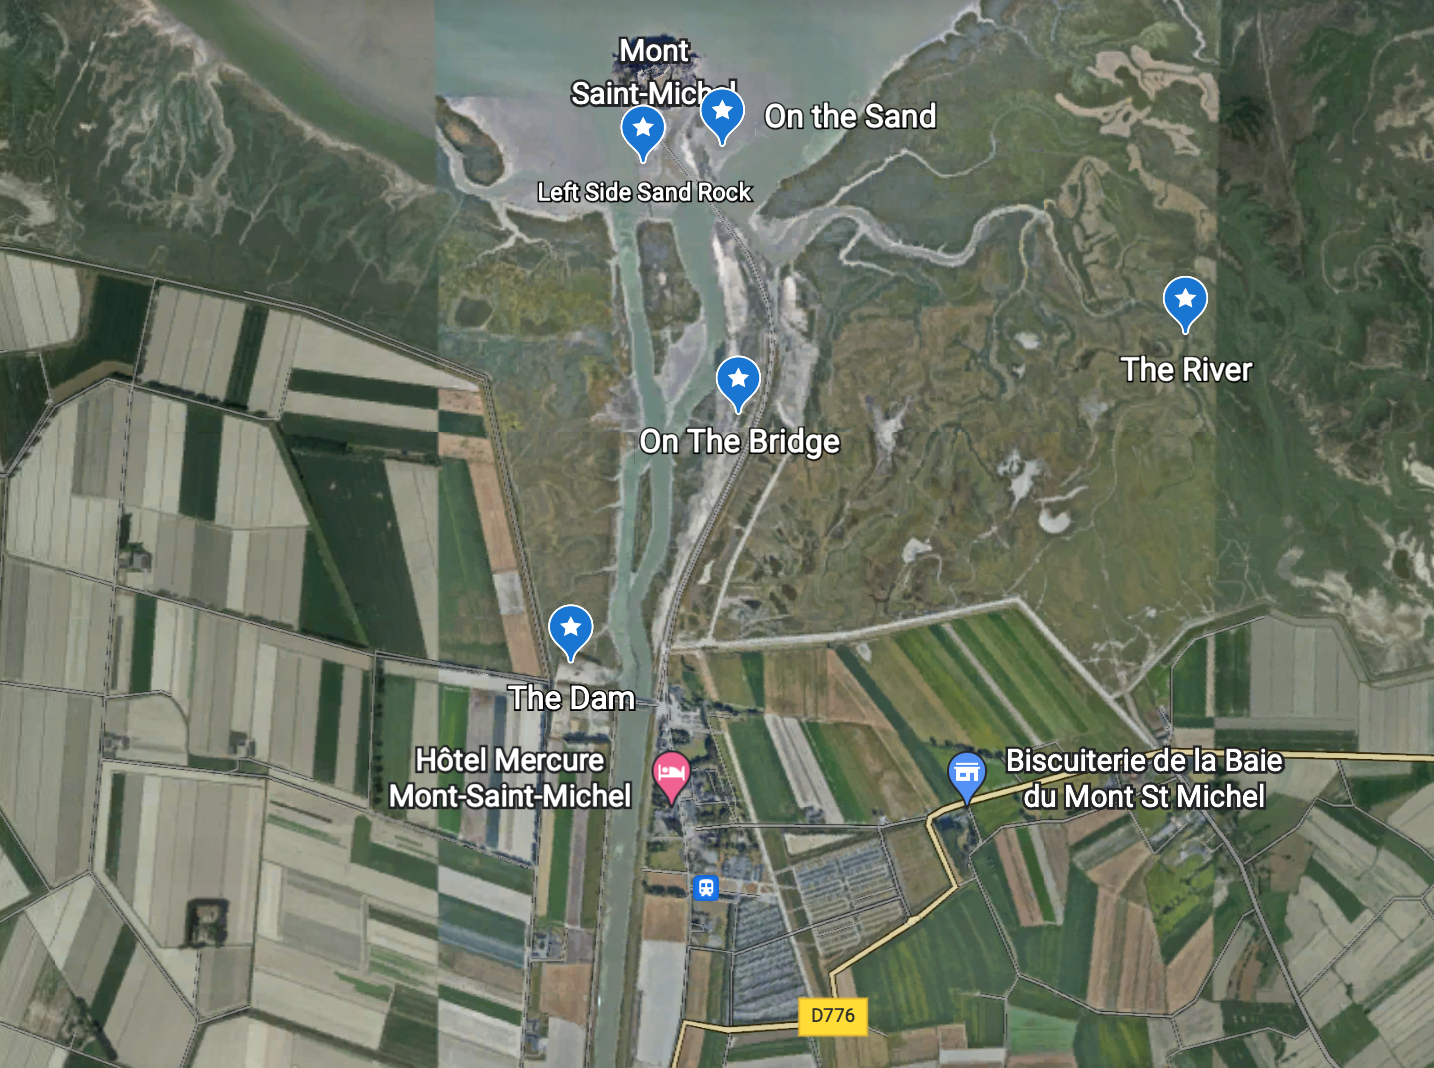
The Dam
The dam is the easiest location to reach. It is the classic location, and the Couesnon River creates a perfect leading line into MSM. To reach the dam, you would take a left out of your hotel and walk towards MSM. The dam is located at the beginning of the causeway on the left side. You will see the spot where the shuttle buses go through a parking barrier-it is just to the left of it.

Sunrise from the Dam
You will be shooting directly towards the castle, in the northern direction, so you will get some beautiful light at Sunrise or Sunset. Keep in mind that Mont Saint-Michel is still a fair distance away, so you will need a telephoto lens and a tripod. One minor thing to keep in mind is that you will feel some shaking above the dam if people walk close to your tripod.
The Causeway/Bridge Road
Once you have taken photos of the dam, I will walk along the causeway that leads up to MSM. The causeway is 2 km or a little over 1.3 miles. You can take plenty of shots using the road as a leading line. It is about a 10-15 minute walk from the Dam all the way up to the Abbey, so there are plenty of spots to choose from. The only thing is that many people walk during the day, so this is a great sunrise/sunset location.

A few other shots from this location

One other image of the causeway

To the Left and Right of the Abbey
Once you reach the abbey, you can walk off the bridge towards the left or right side and take photos from the sand. You will get some beautiful images from both sides. On the left side, there are rocks with water puddles, and on the right, you will find beautiful white sand. I found this location better at Sunset.

Another angle at sunset
The River
Also called Les Méandres (the meanders or river bends). This location is harder to find. As you walk towards MSM, you will see a fenced area on the right side of the road. Even though it looks like you are now allowed to walk past the fence, it is permitted to walk (see photo below).
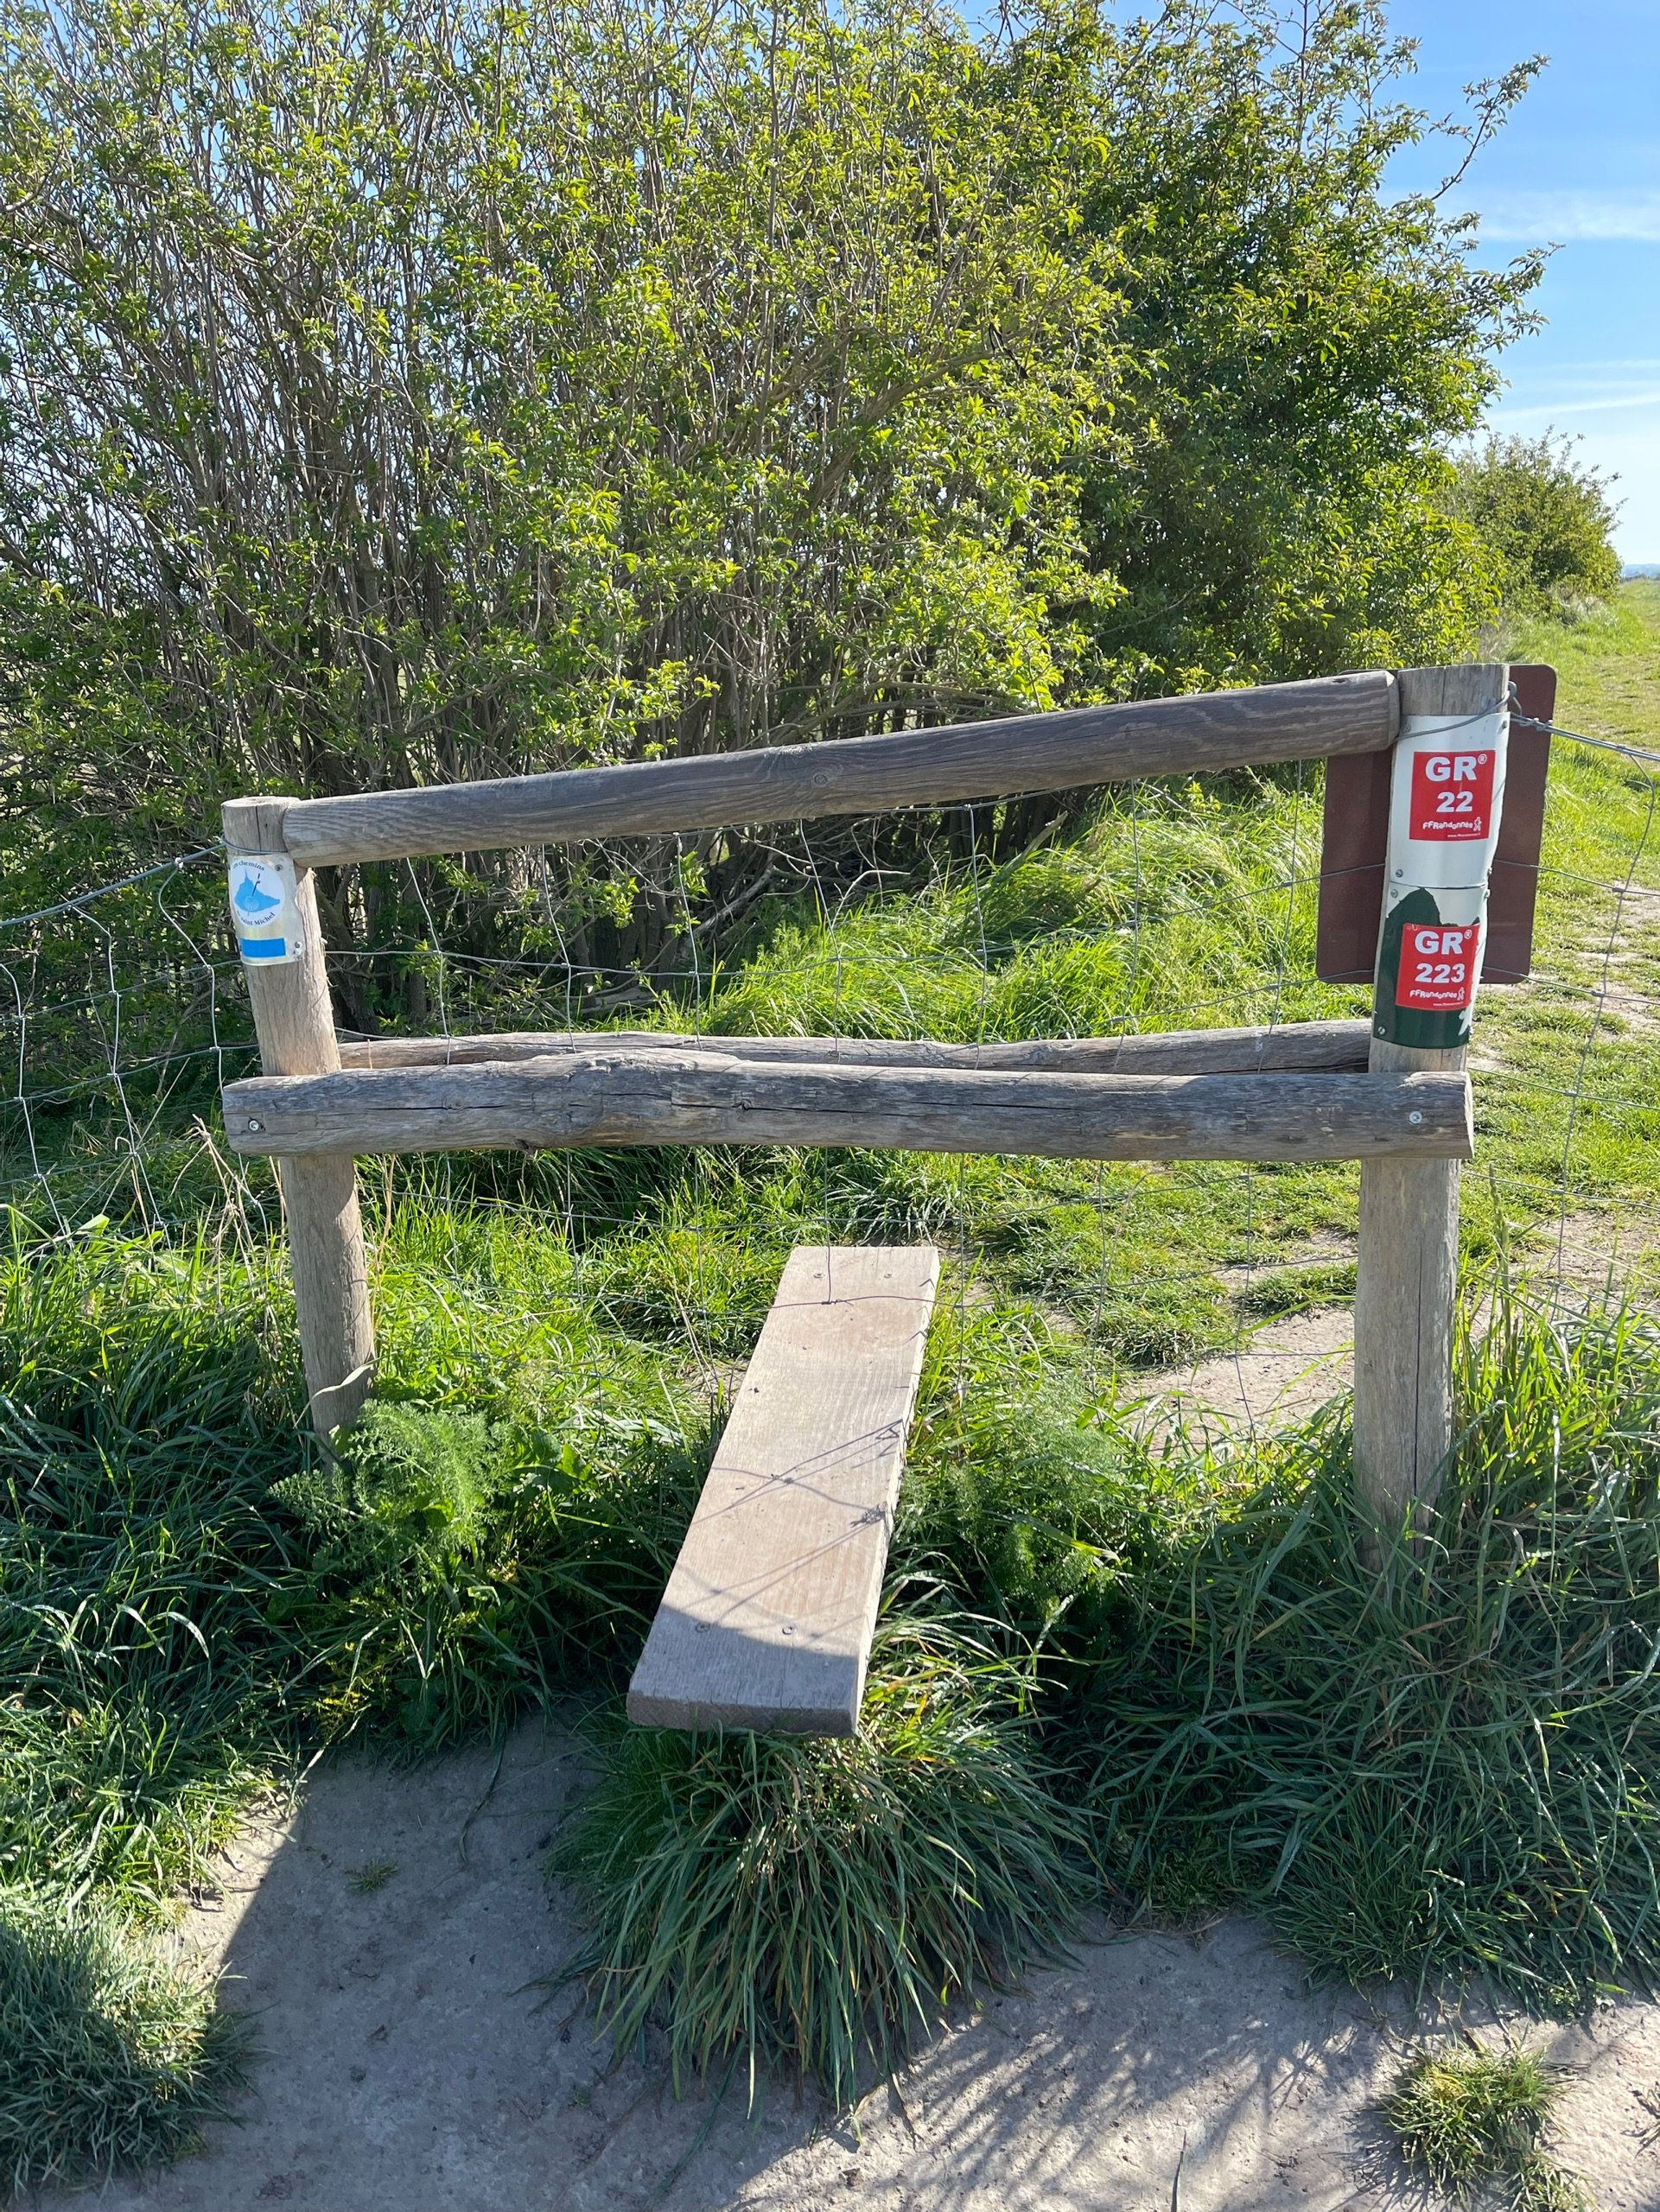
You will need to walk for at least 15 minutes, and most likely, you will see a few photographers in the location. The morning that I finally found it, I was surprised that not only were there no photographers, but it was further than I expected. I think this would be a great spot with water in the river. It is also a Sunrise location.

Final Thoughts
Mont Saint Michel feels almost mythical the first time you see it rise from the tidal flats. The abbey seems to float when the water comes in and stands defiantly rooted when the tide retreats. It is dramatic, yes, but also deeply spiritual.
What makes Mont Saint Michel unforgettable is the constant shift in the landscape. The tides here move quickly, transforming the scene from reflective mirror to vast expanse of sand within hours. The sky often feels larger than life. Clouds race overhead. Light breaks through at unexpected moments. It never looks the same twice.
For photographers, Mont Saint Michel is about timing and distance. Scout your vantage point early. Sunrise offers softer light and fewer crowds. Blue hour creates a glowing silhouette that feels cinematic. A telephoto lens can compress the abbey against dramatic skies, while a wide lens captures the sweeping scale of the bay. If conditions allow, long exposures during high tide can create beautiful reflections and smooth water. Always check tide schedules and respect safety boundaries.
If you are interested in joining one of my photography workshops, you can find the details through the link. You can also follow along on Instagram, Facebook, or subscribe to my newsletter for more travel photography tips and behind-the-scenes insight.
✈️ Travel Photography Planning Sessions
One-on-One Trip Planning with a Professional Travel Photographer
Don’t miss the shot. Let me help you plan for it.
Overview
Planning a photography-focused trip can be overwhelming. From figuring out the best places to shoot, to when the light is just right, to knowing which lens to pack — there are a lot of decisions to make.
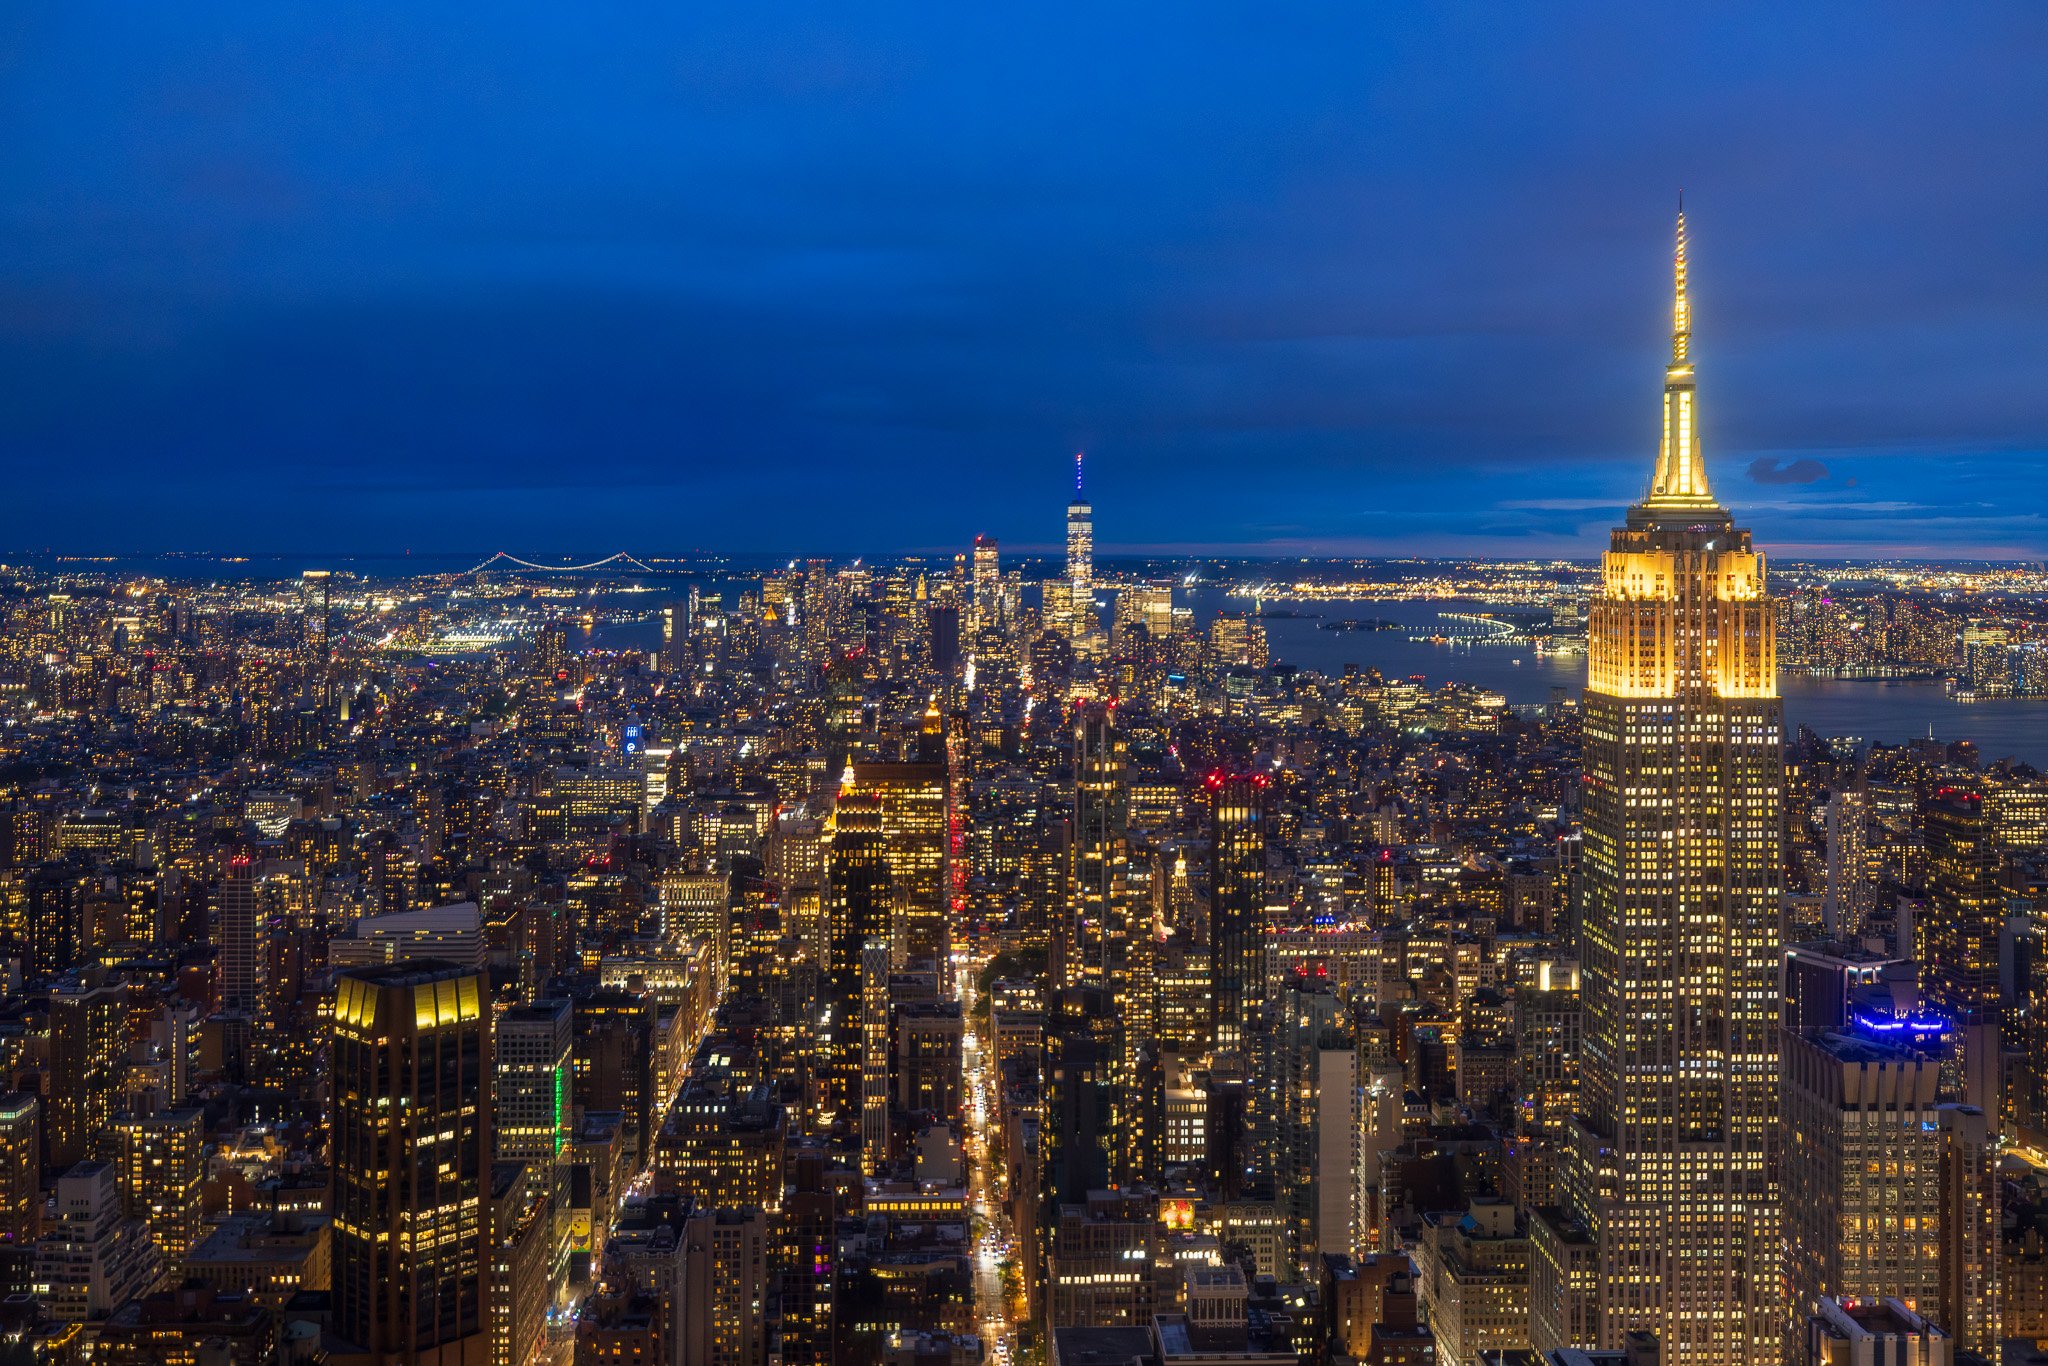
This one-on-one Zoom session is your chance to get personalized travel photography advice from someone who’s spent the past 25 years exploring cities, coastlines, and wild places around the world — camera in hand.
Whether you're headed to Paris, Patagonia, Tokyo, or Tuscany, I’ll help you make sure your photography trip is well-planned and creatively inspired, so you come home with the images you dreamed of (and then some).
What’s Included
✅ Photography Location Planning
I’ll help you create a customized itinerary of the best photo spots, including off-the-beaten-path gems and iconic views.
✅ Best Times to Shoot
Get expert advice on lighting, golden hour, blue hour, and seasonal conditions for each location.
✅ Gear Recommendations
Not sure whether to bring the telephoto or the prime? We’ll walk through your gear and make sure you’re bringing the right tools for your destination and style.
✅ Hotel and Base Recommendations
Stay where it’s convenient for sunrise shoots and late-night strolls with your camera. I’ll recommend hotels that are photographer-friendly and well-located.
✅ Custom Travel Tips
From sunrise entry times to tripod rules at major landmarks, you’ll get insider tips to save time, avoid tourist traps, and make the most of your trip.
Who It’s For
This service is for anyone who:
Is planning a trip and wants to prioritize photography
Wants expert insight on the best places to shoot and how to get there
Is tired of missing the shot because of poor planning or bad timing
Is a beginner, enthusiast, or professional photographer looking for guidance before a trip
How It Works
Book a Session
Choose a time that works for you and tell me where you're headed.Share Your Plans
You’ll fill out a quick questionnaire so I know your travel dates, interests, and photography style.One-on-One Zoom Call (60 minutes)
We’ll meet via Zoom and walk through your trip together — from location ideas to gear and timing. You'll leave with a custom PDF full of notes and suggestions.Follow-Up Support
Get one round of email Q&A after your session to clarify anything as your plans evolve.
Why Work With Me?
I’ve spent the last 25 years photographing the world — from major cities to remote islands. I know what it’s like to travel and shoot under pressure, and I love helping people get the most out of their trips. This is not just about hitting “popular spots” — it’s about crafting a creative and efficient plan tailored to your trip, your gear, and your goals.
Pricing
$125 / Session
Includes:
60-minute Zoom call
Custom PDF summary with photography spots, gear tips, and travel recommendations
One follow-up email with additional Q&A
Introductory rate available through September 2025
Ready to Plan Your Trip?
Let’s make sure you’re ready — so when the light is perfect, you’re in the right place with the right gear.
Questions?
Please email me at vito@chasinghippoz.com if you're not sure whether this is right for you. I'm happy to chat.
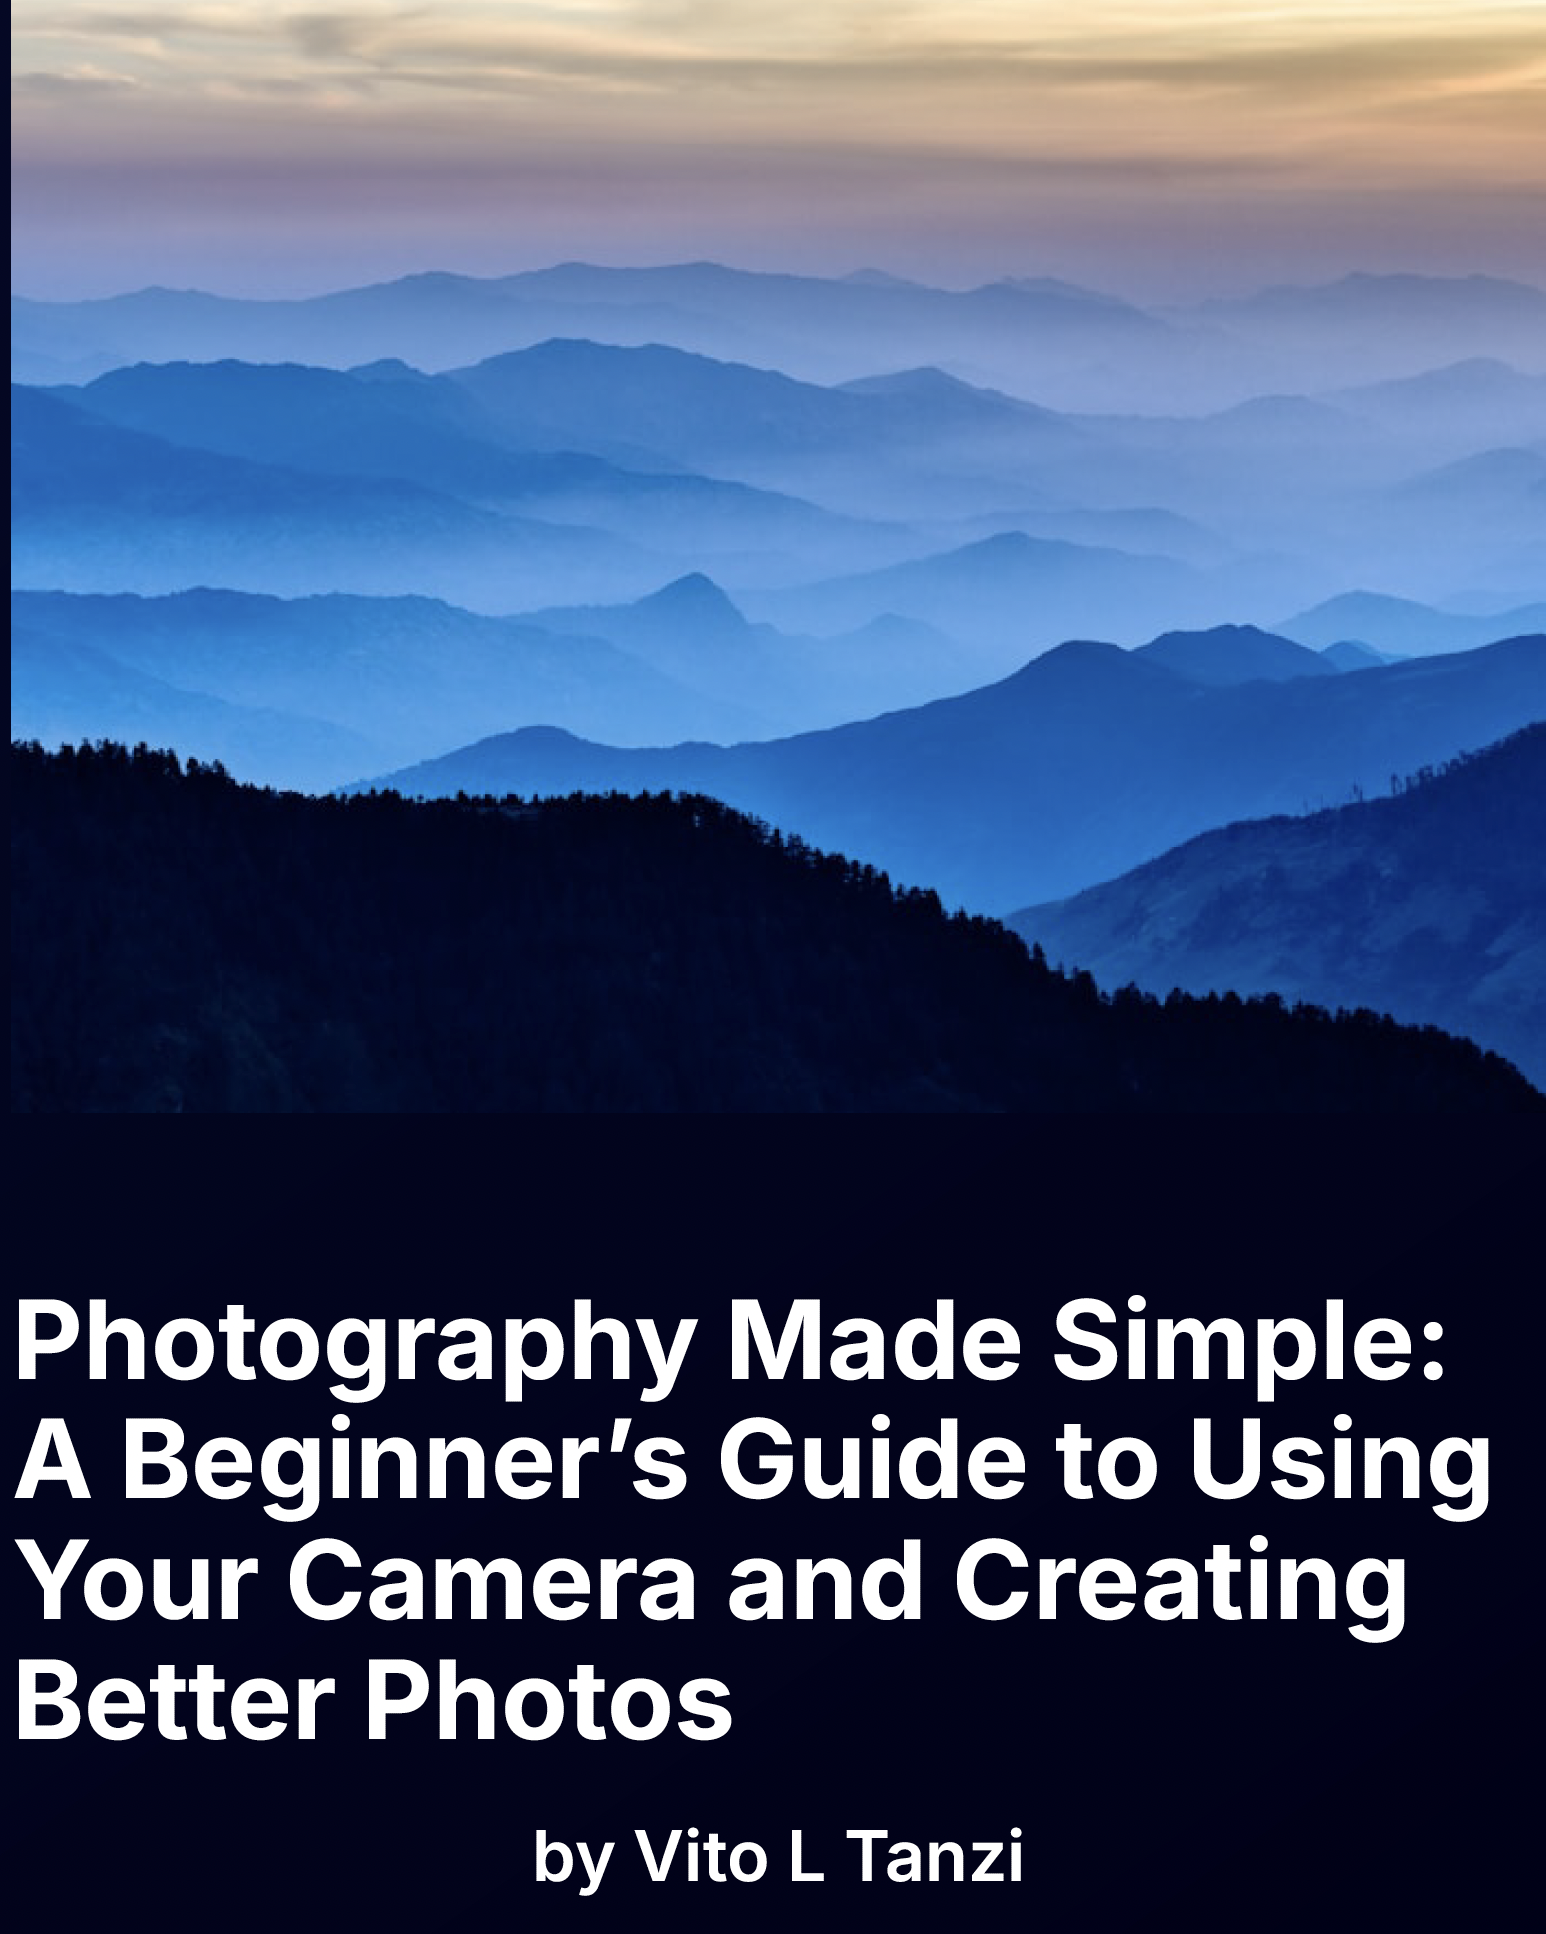
Finally—a beginner-friendly photography guide that makes sense.
If you've ever picked up a camera and thought, "Now what?" this is the book for you.
Photography Made Simple is written for adults who are just starting out and want a clear, encouraging, real-world approach to learning photography. Whether you're using a DSLR, mirrorless, or just your smartphone, this guide walks you through the basics—without the jargon or tech overwhelm.
Inside, you'll learn:
The only camera settings you really need to know to get started
How to shoot sharper, more intentional photos using light and composition
Simple tips for portraits, landscapes, travel, and everyday life
What gear you do (and don’t) need
How to create better photos without upgrading your camera
You’ll also get practical exercises, cheat sheets, and tips for organizing and editing your images—plus the confidence to shoot off Auto Mode for good.
This is not a textbook. It’s a friendly guide to seeing the world with fresh eyes—and finally capturing what you see the way you imagine it.
📸 Format: PDF download
Pages: 100+
Perfect for: Beginners, hobbyists, and anyone ready to take better photos without the stress